
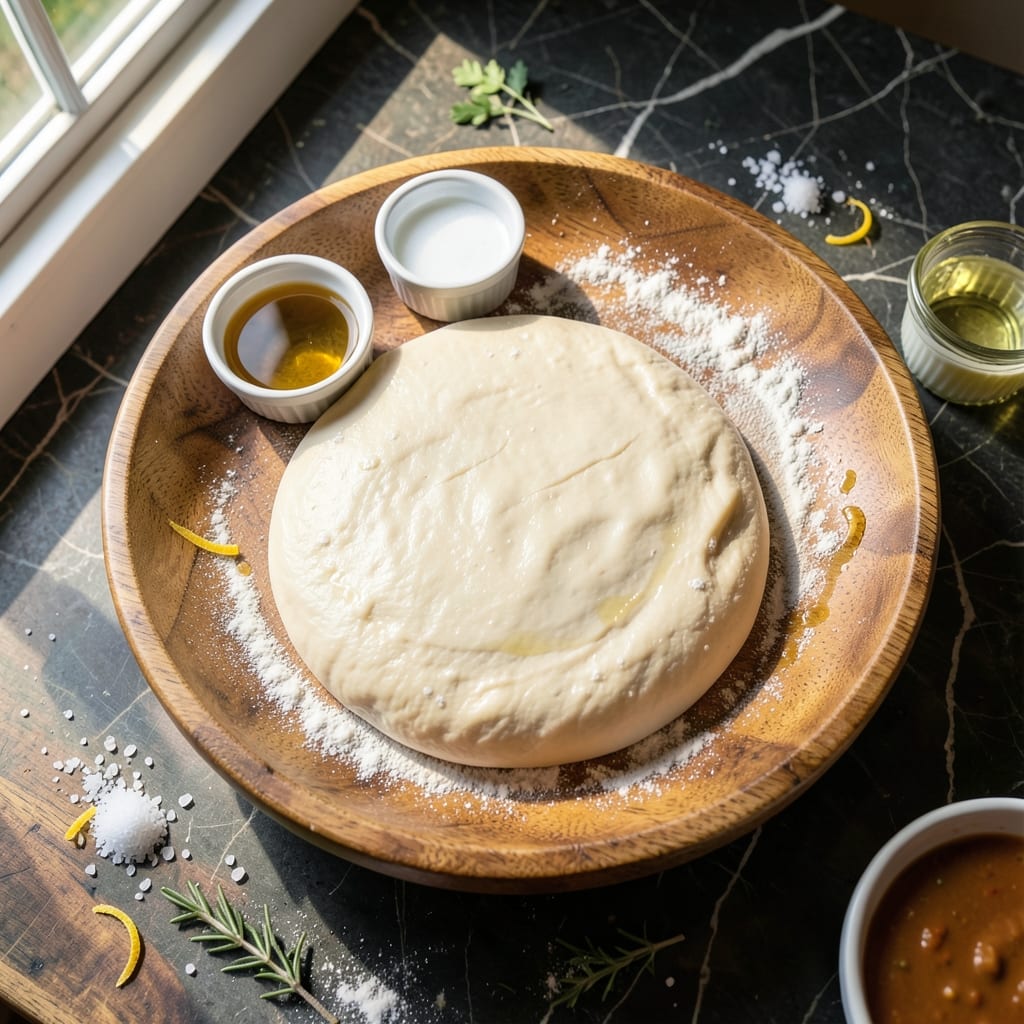
This egg-free pierogi dough delivers tender pockets every time, just like the ones I helped roll out in Nana Mae’s Atlanta diner. The simple combination of flour, water, and oil creates a smooth, elastic dough that’s easy to work with.
After testing multiple ratios, I found this version holds its shape during boiling and frying without cracking. Resting the dough for 30 minutes is crucial—it relaxes the gluten for effortless rolling and shaping.
The beauty of this dough lies in its versatility. Fill it with traditional potato and cheese, sweet fruit compotes, or savory mushrooms and onions. Each bite delivers that perfect, soft yet sturdy texture.
David always requests a double batch, knowing these will disappear fast from the table.
Ingredients for Pierogi Dough Recipe No Egg
Six simple ingredients create a smooth, elastic dough that’s easy to work with.
| Ingredient | Amount | Notes |
|---|---|---|
| All-Purpose Flour 🌾 | 3 cups | Plus extra for dusting |
| Warm Water 💧 | ¾ cup | About 110°F for activation |
| Neutral Oil 🫒 | 2 tbsp | Vegetable or canola oil |
| Salt 🧂 | 1 tsp | Fine sea salt preferred |
| White Vinegar 🍶 | 1 tbsp | Helps tenderize dough |
| Sugar 🍚 | 1 tsp | Optional, for slight sweetness |
The flour is the foundation here. King Arthur or Gold Medal all-purpose both work beautifully—just make sure it’s fresh (old flour loses its elasticity). I always keep a 5-pound bag on hand since this dough disappears fast. The water needs to be warm, about 110°F (think bathwater temperature), to activate the gluten properly without killing it.
No neutral oil? Melted coconut oil works in a pinch, but it’ll add a slight flavor. The vinegar might seem odd, but it’s key for tenderness—apple cider or white wine vinegar both work. Skip the sugar if you’re making savory pierogi, but it balances the dough nicely for sweet fillings. Out of all-purpose? Half bread flour, half cake flour gets you close.
The dough keeps in the fridge for 2 days wrapped tightly in plastic. For longer storage, freeze the rolled-out rounds (stacked with parchment between) for 1 month. Always bring it to room temp before rolling—cold dough cracks.
Why You’ll Love This Recipe
- 5-Minute Mix: I can stir this dough together faster than my coffee brews—just flour, warm water, oil, and a splash of vinegar.
- Tender Every Time: The vinegar keeps it soft, not tough, and the neutral oil lets the fillings shine without competing flavors.
- Freezer Hero: I roll, cut, and stash a double batch for lazy dinners, so pierogi are always 5 minutes from the pan.
- Pantry Friendly: No eggs, no special flour—just basics I already have, so I can make these even when my fridge is bare.
Step-by-Step Instructions for Pierogi Dough No Egg
Here’s the method that guarantees soft, pliable dough every time you make it.
Step 1: Combine Wet Ingredients for Activation
In a medium bowl, whisk together the 0.75 cup Warm Water, 2 tbsp Neutral Oil, 1 tbsp White Vinegar, 1 tsp Sugar, and 1 tsp Salt until the sugar and salt dissolve completely. The water should feel warm to the touch but not hot—this temperature helps activate the gluten in the flour without killing it.
I’ve found that the vinegar not only tenderizes the dough but also gives it a subtle tang that complements both sweet and savory fillings. The sugar adds just a hint of sweetness that balances the salt perfectly.
Step 2: Gradually Incorporate the Flour
Add 1 cup of the All-Purpose Flour to the wet mixture and stir with a wooden spoon until smooth. Continue adding the remaining 2 cups of flour, ½ cup at a time, stirring until a shaggy dough forms. You’ll notice the mixture becoming thicker and more difficult to stir with each addition.
Once all the flour is incorporated, the dough should pull away from the sides of the bowl but still feel slightly sticky. If it’s too wet, add 1 tablespoon of extra flour at a time until it reaches the right consistency. If it’s too dry, add warm water 1 teaspoon at a time.
Step 3: Knead Until Smooth and Elastic
Turn the dough out onto a lightly floured surface and knead for 8-10 minutes until it becomes smooth and elastic. I like to use the heel of my hand to push the dough away, then fold it back over itself—a technique that really develops the gluten structure.
You’ll know the dough is ready when it springs back slightly when pressed and has a satiny finish. If it starts to stick, dust the surface with a bit more flour, but use a light hand—too much flour can make the dough tough. The texture should feel supple, not stiff or dry.
Step 4: Rest the Dough for Optimal Workability
Shape the dough into a ball and place it in a lightly oiled bowl, turning to coat all sides. Cover with a clean kitchen towel or plastic wrap and let it rest at room temperature for 30-45 minutes. This resting period allows the gluten to relax, making the dough much easier to roll out.
During this time, you’ll see the dough rise slightly—this isn’t from yeast but from the gluten strands relaxing. After resting, the dough should feel softer and more pliable. If it springs back too much when you try to roll it, let it rest for another 10-15 minutes.
Step 5: Roll and Cut for Perfect Pockets
Divide the rested dough into 4 equal portions for easier handling. On a lightly floured surface, roll one portion at a time to about ⅛-inch thickness. Use a 3-inch round cutter to cut out circles, rerolling the scraps as needed.
You’ll want to work quickly but carefully to prevent the dough from drying out. If it starts to feel dry or crack at the edges, cover it with a damp towel for a few minutes to restore moisture. This dough should give you about 24-30 circles, perfect for your pierogi fillings.
Pro Tips For Making Pierogi Dough Recipe No Egg
- Knead Until Smooth: Work the dough for at least 8-10 minutes until it stops sticking to your hands—this builds the elasticity needed for rolling thin without tearing.
- Use Warm Water: The water should feel just warm to the touch, about 110°F. Too hot kills the dough’s tenderness, too cold makes it stiff and hard to work.
- Skip the Over-Flouring: I learned this the hard way—dusting the surface is fine, but adding too much flour while kneading turns the dough tough and dry.
- Rest the Dough: Cover it with a damp towel and let it sit for 20-30 minutes before rolling. This relaxes the gluten so it doesn’t shrink back when you stretch it thin.
Serving Suggestions for This Dish
Classic Presentation
I love serving these pierogi on a large white platter, slightly overlapping like Nana Mae taught me. The contrast of the golden-brown edges against the white surface is stunning. Brush them with 1 tbsp melted butter right after cooking for extra shine. 💛
Savory Pairings
For potato and cheese pierogi, serve with sour cream and a sprinkle of chopped chives from my Austin farmers market hauls. David swears by adding crumbled bacon on top. The salty crunch elevates every bite.
Sweet Serving
Blueberry or sweet cheese pierogi are magical with a drizzle of local honey and a dollop of vanilla yogurt. I pick up raw honey from Central Market—Emma and Jack fight over who gets the last one.
Sauce It Up
Sautéed mushrooms and onions make a rich topping for savory pierogi. Deglaze the pan with ½ cup vegetable broth and 1 tsp lemon juice for a quick, flavorful sauce. Biscuit always begs for scraps.
Family-Style Service
Place pierogi on a large wooden board with small bowls of toppings. Let everyone customize their plate—it’s how we do Sunday dinner. The kids love the interactive element, and it prevents kitchen traffic jams. 💡
Nutrition Facts
Frequently Asked Questions
Why use vinegar in the dough?
The 1 tbsp vinegar tenderizes the gluten, creating a softer texture. It also adds a subtle tang that complements both sweet and savory fillings perfectly.
Can I make this dough ahead?
Yes! Wrap it tightly in plastic and refrigerate for up to 2 days. Or freeze rolled rounds (with parchment between) for 1 month. Thaw at room temperature before using.
What if my dough cracks while rolling?
This usually means it’s too dry. Cover with a damp towel for 5 minutes to restore moisture. If it’s too stiff, knead in 1 tsp warm water at a time.
How thin should I roll the dough?
Aim for ⅛-inch thickness for perfect pierogi. Use a rolling pin and check often—too thin and they’ll tear, too thick and they’ll be doughy.

- Potato Candy Recipe 1933: Vintage Peanut Butter Roll Delight - October 30, 2026
- Potato Chip Cookie Recipe With Pecans: Buttery Crunch Meets Nutty Richness - October 30, 2026
- Potato Patty Recipe No Egg: Crispy Edges Without the Binder - October 30, 2026