
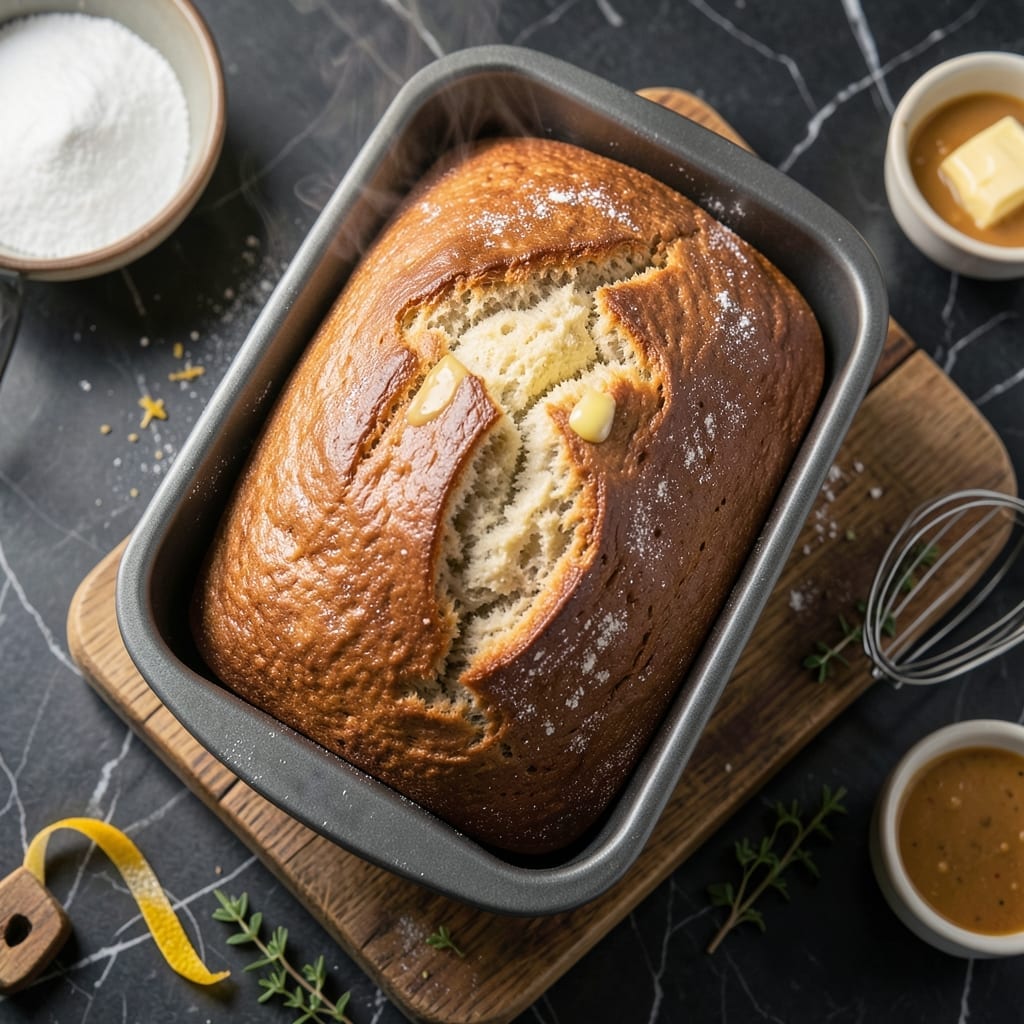
There’s nothing quite like the aroma of freshly baked bread filling your kitchen—even when it’s gluten-free. This hands-off method using Pillsbury gluten-free flour delivers a golden crust and tender crumb without the fuss.
Bread makers take the guesswork out of timing and temperature, ensuring consistent results every time. The right flour blend makes all the difference, and Pillsbury’s version rises beautifully with minimal effort.
What you’ll get is a loaf that rivals traditional bread: soft, sliceable, and perfect for sandwiches or toast. No dense, crumbly textures here—just artisan-quality bread with a simple touch of a button.
The process is straightforward, with precise measurements and machine settings that do most of the work for you. Let’s make gluten-free bread that actually tastes like bread.
Ingredients for Pillsbury Gluten Free Flour Bread Recipe Bread Maker
Pantry staples and a specialized flour blend create this foolproof artisan loaf.
| Ingredient | Amount | Notes |
|---|---|---|
| Pillsbury Gluten-Free Flour Blend 🌾 | 3 ½ cups | Plus extra for dusting pan |
| Warm Water 💧 | 1 ¼ cups | 110°F, measured precisely |
| Large Eggs 🥚 | 2 whole | Room temperature preferred |
| Unsalted Butter 🧈 | 2 tbsp | Melted and cooled slightly |
| Granulated Sugar 🍚 | 2 tbsp | Fine white sugar |
| Instant Yeast 🍞 | 2 ¼ tsp | Or one 0.25 oz packet |
| Salt 🧂 | 1 ½ tsp | Fine sea salt or kosher |
| Xanthan Gum 🧪 | 1 tsp | Omit if flour has it |
| Apple Cider Vinegar 🍏 | 1 tbsp | Enhances rise and flavor |
| Olive Oil 🫒 | 1 tbsp | For greasing bread pan |
| Honey 🍯 | 1 tbsp | Optional for added sweetness |
The Pillsbury gluten-free flour blend is non-negotiable here—it’s formulated specifically for bread makers and contains the right balance of starches and gums. Find it in the baking aisle at Walmart or Target, or order online if your local store doesn’t stock it. Check the label to confirm it includes xanthan gum, which saves you from adding it separately. Room temperature eggs incorporate better, so pull them out 30 minutes before starting.
No apple cider vinegar? White vinegar or lemon juice works in a pinch (same amount). Want it dairy-free? Swap the butter for coconut oil or vegan butter. The honey can be replaced with maple syrup or agave for a vegan version. If your yeast packet is 2.5 tsp instead of 2.25, just use the whole thing—it won’t hurt anything. Don’t skip the precise water temperature, though (110°F is ideal).
Store extra flour blend in an airtight container for up to 3 months. The loaf stays fresh for 3-4 days wrapped at room temp, or freeze slices for up to 1 month. Slice while slightly warm for clean cuts, but let it cool completely before storing to prevent sogginess.
Why You’ll Love This Recipe
- Bread Machine Magic: The bread maker does all the work—I just dump in the Pillsbury mix, eggs, butter, and water, then press start.
- Warm, Buttery Crust: That golden top from the butter and sugar? It’s the first thing my family reaches for.
- Sandwich Savior: Between us, this loaf holds up to peanut butter, turkey, or just a slather of jam for three days straight.
- Pantry Friendly: I always have these ingredients on hand, so fresh gluten-free bread is never more than a few hours away.
Step-by-Step Instructions for Gluten Free Bread in Bread Maker
Trust the process—this method delivers a perfect loaf with minimal effort on your part.
Step 1: Prepare Wet Ingredients and Activate Yeast
Begin by adding the 1.25 cups Warm Water to your bread maker pan. The water should be precisely 110°F—too hot and it will kill the yeast, too cold and it won’t activate properly. I use a kitchen thermometer to ensure accuracy every time.
Next, add the 2 whole Large Eggs, 2 tbsp Unsalted Butter (melted and cooled), 2 tbsp Granulated Sugar, 1 tbsp Apple Cider Vinegar, and 1 tbsp Honey. The vinegar and honey work together to enhance the rise and add subtle depth to the flavor. Whisk these together lightly with a fork until just combined—overmixing isn’t necessary here.
Step 2: Combine Dry Ingredients in Separate Layer
In a separate bowl, whisk together the 3.5 cups Pillsbury Gluten-Free Flour Blend, 2.25 tsp Instant Yeast, 1.5 tsp Salt, and 1 tsp Xanthan Gum. The xanthan gum is crucial for structure in gluten-free baking, so don’t omit it unless your flour blend already contains it.
Create a small well in the center of the dry ingredients and carefully pour this mixture on top of the wet ingredients in the bread pan. This layering is important—it prevents the yeast from activating prematurely. Make sure the yeast doesn’t come into direct contact with the liquid until the machine starts mixing.
Step 3: Set Bread Maker and Begin Cycle
Secure the bread pan in your bread maker and select the gluten-free setting. If your machine doesn’t have a dedicated gluten-free cycle, choose the basic white bread setting with a 1.5-pound loaf size. The entire cycle will take about 3-4 hours, depending on your specific model.
Here’s the thing—gluten-free bread often requires a slightly longer rise time. If your bread maker allows for custom programming, extend the rise time by 10-15 minutes. The dough should look slightly sticky but hold its shape when the paddle moves through it.
Step 4: Check and Adjust During Final Rise
About 2 hours into the cycle, when the dough has had its first rise, check its consistency. Gluten-free bread dough should be softer than traditional bread dough but not liquid. If it looks too wet, add 1-2 tablespoons of additional Pillsbury Gluten-Free Flour Blend. If it’s too dry, add 1-2 teaspoons of warm water.
The dough should rise to nearly double its size during the final proof. It won’t be as tall as wheat-based bread, but you should see noticeable expansion. If it doesn’t rise sufficiently, your yeast may have been old or the water temperature might have been off.
Step 5: Cool Completely Before Slicing
When the cycle completes, carefully remove the pan from the bread maker using oven mitts—it will be hot. Let the bread cool in the pan for 5 minutes, then transfer it to a wire rack to cool completely. This cooling step is critical for gluten-free bread as it allows the structure to set properly.
Wait at least 1 hour before slicing. I know it’s tempting to dive in when it’s still warm, but slicing too soon will result in a gummy texture. The bread should have a golden-brown crust and a soft, slightly dense crumb. Brush the top with a bit of olive oil while still warm for a softer crust if desired.
Pro Tips For Making Pillsbury Gluten Free Flour Bread Recipe Bread Maker
- Warm Your Eggs: Take the eggs out 30 minutes before mixing or soak them in warm water for 10—I learned this the hard way after my first loaf came out dense because the cold eggs seized the butter.
- Measure Flour Right: Scoop the Pillsbury blend into the cup, then level it off, or weigh it; packing it in like brown sugar adds 20% more and throws off the texture every time.
- Skip Tap Water: Use filtered or bottled warm water around 110°F—my tap water’s chlorine taste came through in the bread until I switched.
- Add Xanthan Last: If your Pillsbury blend doesn’t list xanthan gum, whisk 1 teaspoon into the dry ingredients just before mixing—I was skeptical until I tried it, and the crumb tightened right up.
Best Sauces and Condiments for These Flavors
Classic Butter Spread
Nothing beats the simplicity of warm bread with salted butter. I prefer Plugra European-style butter for its higher fat content and rich flavor. Spread it on thick slices right as they come off the cooling rack for that perfect melt. 💛
Herb-Infused Oils
Drizzle with extra virgin olive oil mixed with 1 tsp dried rosemary and ½ tsp garlic powder. Heat gently for 30 seconds to release the aromas. This works beautifully for dipping or brushing on toasted slices.
Sweet Pairings
For a breakfast treat, top slices with 1 tbsp honey or maple syrup and a sprinkle of cinnamon. The natural sweetness complements the bread’s mild flavor. I also love adding sliced strawberries for freshness.
Savory Condiments
Stone-ground mustard or whole-grain Dijon adds a tangy kick that cuts through the richness. Try Annie’s Organic brand for quality. These work especially well for sandwiches with deli meats or sharp cheeses.
Creamy Options
Cream cheese or goat cheese spreads beautifully on this bread. Mix 4 oz cream cheese with 1 tbsp fresh chives for an herbed version. The slight tang pairs perfectly with the bread’s subtle sweetness.
Gourmet Finishing
For special occasions, serve with balsamic glaze and aged Parmesan. The combination of sweet and salty elevates the bread to restaurant quality. Drizzle sparingly—just 1 tsp per slice is plenty. ✨
Nutrition Facts
Frequently Asked Questions
Why do I need to layer wet and dry ingredients?
Layering prevents yeast from activating too early. The machine mixes them at the right time for optimal rise.
Can I skip xanthan gum if my flour has it?
Yes, check your Pillsbury flour label first. Adding extra can make bread gummy.
How do I know when the dough needs more flour?
It should be soft but hold shape. If liquid, add 1-2 tbsp more flour during the 2-hour check.
Why does my loaf look dense?
Old yeast or wrong water temp (110°F is key) often causes this. Also, don’t slice too soon!

- Potato Candy Recipe 1933: Vintage Peanut Butter Roll Delight - October 30, 2026
- Potato Chip Cookie Recipe With Pecans: Buttery Crunch Meets Nutty Richness - October 30, 2026
- Potato Patty Recipe No Egg: Crispy Edges Without the Binder - October 30, 2026