
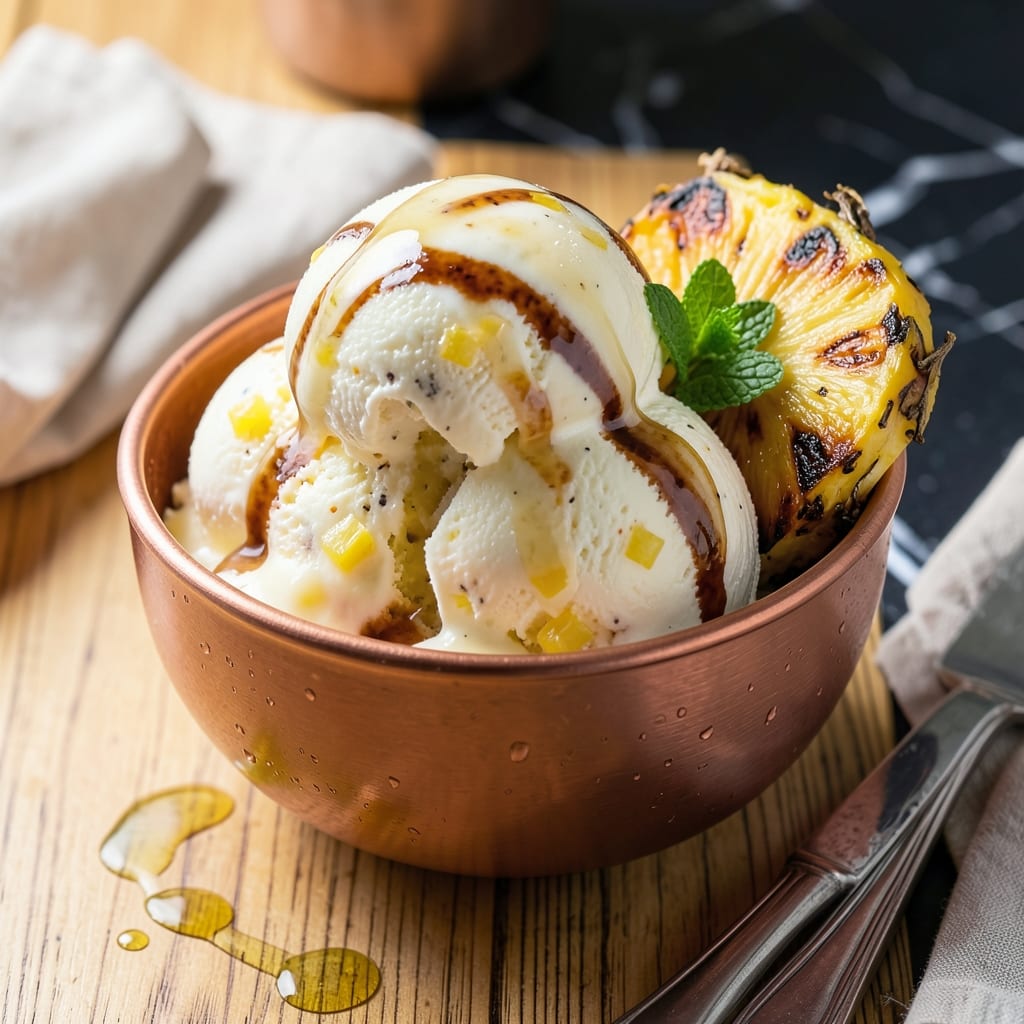
There’s nothing quite like homemade pineapple ice cream with its perfect balance of tropical sweetness and creamy texture.
Using an ice cream maker ensures a smooth, airy consistency that store-bought versions can’t match. The key is fresh pineapple puree combined with rich cream and just enough sugar to enhance the fruit’s natural flavor without overpowering it.
This recipe transforms simple ingredients into a perfect frozen treat that’s both refreshing and indulgent. The machine does most of the work while you enjoy the process.
What you get is a scoopable, velvety ice cream with bright pineapple notes throughout. Serve immediately for soft-serve texture or freeze for firmer scoops.
Ingredients for Pineapple Ice Cream Recipe for Ice Cream Maker
Simple tropical ingredients churn into something extraordinary in your ice cream maker.
| Ingredient | Amount | Notes |
|---|---|---|
| Fresh Pineapple 🍍 | 3 cups | Peeled, cored, and chopped |
| Heavy Cream 🥛 | 2 cups | Full-fat for creaminess |
| Whole Milk 🥛 | 1 cup | Cold, for balance |
| Granulated Sugar 🍚 | ¾ cup | Adjust to taste preference |
| Vanilla Extract 🌿 | 1 tsp | Pure for best flavor |
| Lime Juice 🍈 | 1 tbsp | Freshly squeezed for brightness |
| Lime Zest 🍈 | 1 tsp | Finely grated for aroma |
| Pinch of Salt 🧂 | 1 pinch | Enhances all flavors |
| Large Egg Yolks 🥚 | 4 whole | For rich custard base |
| Vanilla Bean 🌿 | 1 whole | Seeds scraped, optional |
The pineapple is everything here. Use a ripe, fresh pineapple—canned works in a pinch but lacks that bright, juicy punch. I grab mine from Whole Foods or Trader Joe’s when they look extra fragrant. The heavy cream is non-negotiable for that velvety texture (don’t even think about skim milk). If you’re feeling fancy, organic cream takes it up a notch.
No fresh pineapple? Frozen pineapple chunks (thawed and drained) work surprisingly well. Out of heavy cream? Half-and-half plus a splash of melted butter gets you close. The lime juice brightens the sweetness—don’t skip it. For an extra tropical twist, swap the vanilla extract for coconut extract. The egg yolks might seem like overkill, but they’re what give this that perfect custardy base.
Churn it fresh and serve immediately for soft-serve vibes, or freeze for 4-5 hours for firmer scoops. Keeps in an airtight container for 1 week—not that it’ll last that long. If it does, let it sit on the counter for 10 minutes before scooping (trust me on this one).
Why You’ll Love This Recipe
- No Fuss Mixing: I just toss everything into the ice cream maker and let it do the work—no cooking, no tempering eggs.
- Sunshine in a Scoop: The fresh pineapple brings this bright, tropical sweetness that pairs perfectly with the creamy vanilla base.
- Crowd Pleaser: It’s my go-to for summer BBQs and birthday parties, and everyone always asks for the recipe.
- Make Ahead Magic: I can churn a big batch on Sunday and enjoy it all week—it keeps beautifully in the freezer.
Step-by-Step Instructions for Pineapple Ice Cream
Here’s the method. Straightforward, tested, works every time.
Step 1: Prepare the Pineapple Base
In a blender or food processor, puree the 3 cups Fresh Pineapple until completely smooth. You want no visible chunks—this ensures a silky texture in your final ice cream. Strain through a fine-mesh sieve to remove any fibrous bits, pressing with a spatula to extract all the juice.
This step is non-negotiable for that ultra-smooth consistency. The pineapple’s natural sweetness will shine, but we’ll balance it with other ingredients. Set the puree aside while you prepare the custard base.
Step 2: Create the Custard Base
In a saucepan, combine the 2 cups Heavy Cream, 1 cup Whole Milk, 0.75 cup Granulated Sugar, 1 pinch Pinch of Salt, 1 tsp Lime Zest, and the seeds from the 1 whole Vanilla Bean (if using). Warm over medium heat until the mixture just begins to simmer—you’ll see tiny bubbles at the edges.
In a separate bowl, whisk the 4 whole Large Egg Yolks until pale and slightly thickened. Slowly pour about 1 cup of the hot cream mixture into the yolks while whisking constantly. This tempers the eggs and prevents them from scrambling when added back to the pot.
Step 3: Cook the Custard to Silky Perfection
Pour the tempered egg mixture back into the saucepan with the remaining cream. Cook over medium-low heat, stirring constantly with a wooden spoon, until the custard thickens enough to coat the back of the spoon. This should take about 5-7 minutes.
Here’s the thing—don’t let it boil. You’ll know it’s ready when you can run your finger through the custard on the spoon and it leaves a clean line. Immediately remove from heat and stir in the 1 tsp Vanilla Extract and 1 tbsp Lime Juice.
Step 4: Chill and Combine with Pineapple
Strain the custard through a fine-mesh sieve into a clean bowl to remove any cooked bits of egg. Stir in the reserved pineapple puree until fully combined. Cover and refrigerate for at least 4 hours, or preferably overnight.
This chilling step is critical. The mixture needs to be completely cold before churning—if it’s even slightly warm, it won’t freeze properly in your ice cream maker. I’ve found that overnight chilling gives the best texture and allows the flavors to meld beautifully.
Step 5: Churn to Creamy Perfection
Pour the chilled mixture into your ice cream maker and churn according to the manufacturer’s instructions, usually about 20-25 minutes. The ice cream is ready when it reaches the consistency of soft-serve and holds its shape when scooped.
Transfer to a freezer-safe container and freeze for at least 4 hours to firm up completely. The final texture should be creamy and scoopable, with a vibrant tropical flavor that’s perfectly balanced by the tangy lime and rich vanilla. Serve slightly softened for the best experience.
Pro Tips For Making Pineapple Ice Cream Recipe For Ice Cream Maker
- Chill the Base: Always refrigerate your pineapple cream mixture for at least 4 hours before churning—I learned this the hard way after ending up with soupy ice cream that never set properly.
- Strain the Pineapple: After blending fresh pineapple, strain out the fibrous bits through a fine-mesh sieve or you’ll get icy, stringy texture in your final product.
- Use Full-Fat Dairy: Skip the low-fat milk or half-and-half; the high fat content in whole milk and heavy cream is non-negotiable for that rich, scoopable consistency.
- Sweeten to Taste: Pineapple ripeness varies wildly, so taste your base before churning and add an extra tablespoon of sugar if it needs it—sounds simple, but it actually changes the outcome.
Health Benefits of This Recipe
Rich in Vitamin C
This creation delivers a serious dose of vitamin C from fresh pineapple, with 3 cups providing about 135% of your daily needs. This antioxidant supports immune function and skin health while combating free radicals. I love that something so delicious can be this nutritious. 💪
Digestive Enzyme Boost
Pineapple contains bromelain, a digestive enzyme that aids protein breakdown. This can help with digestion after meals and may reduce bloating. The enzyme remains active even after freezing, so you’ll get these benefits with every scoop.
Bone Health Support
The heavy cream and whole milk in this recipe provide calcium and vitamin D, essential for maintaining strong bones. One serving contributes about 20% of your daily calcium needs, making this treat a fun way to support skeletal health.
Energy from Natural Sugars
Natural sugars from pineapple and granulated sugar provide quick energy, while the fat in cream helps sustain that energy. The combination makes this a satisfying treat that can give you a pleasant boost during a hot afternoon. 💡
Mood Enhancing Properties
Pineapple contains serotonin precursors that may help boost mood. The creamy texture and sweet flavor also trigger pleasure centers in the brain. I find a scoop of this always puts a smile on my face.
Protein for Satiety
The egg yolks add about 6 grams of protein per serving, helping you feel full and satisfied. This makes the ice cream more than just an empty calorie treat—it provides lasting satisfaction.
Nutrition Facts
Frequently Asked Questions
Can I use canned pineapple instead of fresh?
Yes, but fresh is best for vibrant flavor. If using canned, drain well and reduce sugar by 2 tablespoons since canned fruit is sweeter. The texture may be slightly softer but still delicious.
Why does my ice cream turn icy?
This usually happens if the base wasn’t cold enough before churning or if it sat too long in the freezer. Ensure your mixture is fully chilled for at least 4 hours before churning.
Can I make this without egg yolks?
You can, but the texture won’t be as rich. Replace yolks with 1/4 cup corn syrup or 1/2 cup sweetened condensed milk for a similar consistency.
How long does homemade pineapple ice cream last?
It keeps well for up to 1 week in an airtight container. For best texture, let it sit at room temperature for 10 minutes before scooping.

- Potato Candy Recipe 1933: Vintage Peanut Butter Roll Delight - October 30, 2026
- Potato Chip Cookie Recipe With Pecans: Buttery Crunch Meets Nutty Richness - October 30, 2026
- Potato Patty Recipe No Egg: Crispy Edges Without the Binder - October 30, 2026