
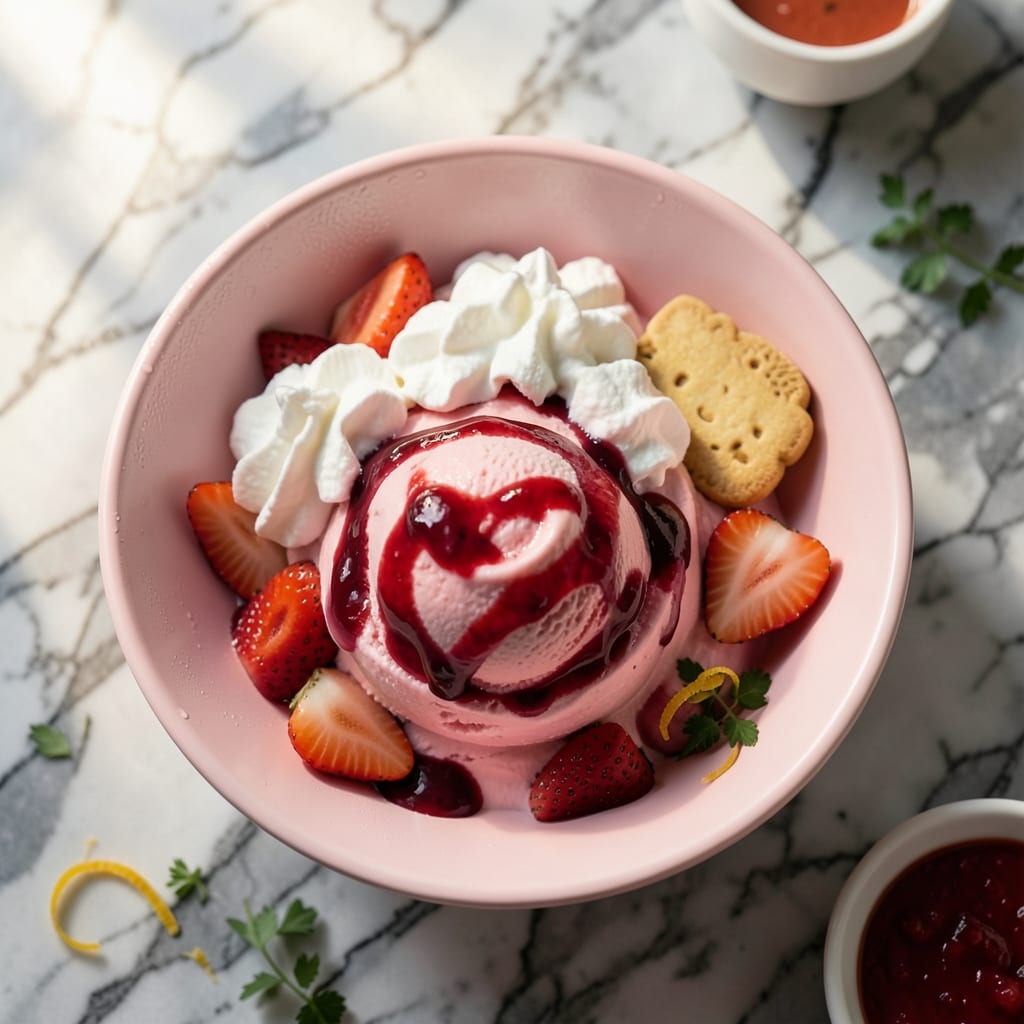
There’s something magical about creating a dessert that’s as delightful to look at as it is to eat. This ice cream brings a playful twist to traditional flavors with its soft pink swirls and dreamy texture.
The secret lies in the balance between creamy vanilla base and sweet strawberry ribbons. I’ve perfected this method to ensure the colors stay vibrant without bleeding together, creating that signature cloud-like appearance.
What emerges is a treat that captures the whimsy of childhood with the sophistication of homemade ice cream. The strawberry swirls add bursts of fruity flavor that complement the smooth vanilla perfectly.
Serve in bowls or cones for a dessert that’s sure to bring smiles to any table. Here’s how to make this creation.
Ingredients for Pink Clouds Ice Cream Recipe Hello Kitty
Creamy, dreamy, and impossibly pretty ingredients for this whimsical frozen treat.
| Ingredient | Amount | Notes |
|---|---|---|
| Heavy Whipping Cream 🥛 | 2 cups | Cold, very important for texture |
| Whole Milk 🥛 | 1 cup | Full-fat for creaminess |
| Granulated Sugar 🍚 | ¾ cup | Divided for base and swirl |
| Vanilla Extract 🌿 | 2 tsp | Pure vanilla for best flavor |
| Salt 🧂 | ¼ tsp | Balances sweetness |
| Fresh Strawberries 🍓 | 2 cups | Hulled and finely chopped |
| Lemon Juice 🍋 | 1 tbsp | Brightens strawberry flavor |
| Vanilla Bean 🌱 | 1 whole | Split and scraped (optional) |
| Pink Food Coloring 🎨 | 4 drops | Adjust for desired color intensity |
| Corn Syrup 🧈 | 2 tbsp | Prevents ice crystals |
The cream is non-negotiable here—heavy whipping cream with at least 36% fat gives that fluffy, cloud-like texture. I grab mine from Whole Foods or Trader Joe’s since their dairy is consistently high quality. The strawberries? Pick the ripest, reddest ones you can find (organic if possible). They’ll give you the best color and flavor without needing extra sugar. Vanilla bean is a splurge, but Nielsen-Massey extract works just as well for the base.
No fresh strawberries? Frozen works in a pinch—just thaw and drain well to avoid ice crystals. Short on cream? Substitute half with full-fat coconut milk (but the flavor changes slightly). The corn syrup is key for texture, but light agave can replace it if needed. Skip the food coloring if you prefer natural pink—just know it’ll be softer. For extra Hello Kitty flair, a drop of raspberry extract boosts the berry flavor.
The base keeps in the fridge for 24 hours before churning, but don’t go longer or the texture suffers. Once churned, it’s best eaten within 5 days (though good luck making it last that long). Store in an airtight container with parchment pressed directly on the surface to prevent freezer burn.
Why You’ll Love This Recipe
- No-Churn Magic: I just whisk heavy cream, milk, and sugar, then freeze—no ice cream maker needed.
- Velvety Sweetness: The vanilla and sugar create this ridiculously smooth, melt-in-your-mouth texture.
- Party Ready: Honestly, it’s my go-to for birthdays since kids adore the soft pink color and fluffy texture.
Step-by-Step Instructions for Pink Clouds Ice Cream With Strawberry Swirls
This method ensures a light, airy texture with vibrant strawberry ribbons throughout.
Step 1: Prepare the Strawberry Swirl
Combine the 2 cups Fresh Strawberries with 1 tbsp Lemon Juice and ¼ cup of the 0.75 cup Granulated Sugar in a small saucepan. Cook over medium heat for 8-10 minutes, stirring frequently until the mixture thickens and the strawberries break down into a jam-like consistency.
Remove from heat and let cool completely. The swirl should be thick enough to hold its shape when spooned but still pourable. This prevents it from bleeding into the ice cream base and keeps those distinct pink ribbons throughout your creation.
Step 2: Infuse the Cream Base
In a medium bowl, whisk together the 2 cups Heavy Whipping Cream, 1 cup Whole Milk, remaining ½ cup Granulated Sugar, 2 tsp Vanilla Extract, and 0.25 tsp Salt until the sugar fully dissolves. For extra depth, split and scrape the 1 whole Vanilla Bean, adding the seeds and pod to the mixture.
Let this base sit at room temperature for 15 minutes to allow the flavors to meld. The salt enhances the sweetness while the vanilla bean adds those beautiful speckles characteristic of premium ice cream. Remove the vanilla pod before proceeding.
Step 3: Whip and Color the Base
Using a stand mixer or hand mixer, whip the cream base on high speed for 3-5 minutes until it forms soft peaks. This incorporates air, creating that signature cloud-like texture. As you near the end of whipping, add the 4 drops Pink Food Coloring to achieve your desired pastel hue.
Be careful not to overmix—you want soft, billowy peaks, not stiff ones. The color should be even but gentle, like a soft sunrise. The 2 tbsp Corn Syrup will be added next to prevent ice crystals from forming during freezing.
Step 4: Layer and Freeze
Gently fold the 2 tbsp Corn Syrup into the whipped base until just combined. Pour half of the mixture into a loaf pan or freezer-safe container. Dollop half of the cooled strawberry swirl over the top, then use a knife to gently swirl it through the base—just 2-3 passes to create marbled ribbons.
Add the remaining base, then the rest of the strawberry swirl. Swirl again lightly. Cover with plastic wrap pressed directly against the surface to prevent ice crystals. Freeze for at least 6 hours or overnight until firm.
Step 5: Serve and Enjoy
Remove the ice cream from the freezer and let it sit at room temperature for 5-10 minutes to soften slightly for easier scooping. The texture should be creamy and light, with distinct swirls of strawberry throughout each serving.
Scoop into bowls and serve immediately. The contrast between the fluffy pink base and the tangy strawberry swirl creates a playful, dreamy dessert that’s as delightful to look at as it is to eat. For best results, consume within 1 week of making.
Pro Tips For Making Pink Clouds Ice Cream Recipe Hello Kitty
- Chill the Base: Whisk your cream, milk, and sugar mix the night before and refrigerate it—cold bases churn smoother and freeze faster, keeping those pink clouds light and fluffy.
- Use Real Vanilla: Skip the imitation stuff; a splash of pure vanilla extract adds that rich, warm depth that makes the pink flavor pop (I learned this the hard way after a batch tasted flat).
- Don’t Over-Churn: Once the ice cream thickens to soft-serve consistency, stop the machine—overdoing it turns it dense, and you’ll lose that airy Hello Kitty pink cloud texture.
- Add Salt Last: Stir in the pinch of salt right before churning; it balances the sweetness without muting the delicate pink hue from any added colorings.
Pro Cooking Tips for Perfect Results
Whipping Perfection
Use a stand mixer with whisk attachment for the fluffiest texture. I learned from Nonna that chilled bowls and beaters help the cream whip faster and hold peaks better. Stop when you see soft, billowy peaks—overmixing will deflate your clouds. 💫
Color Control
Add pink food coloring gradually while whipping. Start with 2 drops, assess the color, then add more if needed. The hue deepens slightly as it freezes, so aim for a shade lighter than your final vision.
Swirl Technique
Use a butter knife for swirling—it gives more control than a spoon. Make 2-3 gentle figure-8 motions per layer to create those signature ribbons. Too much mixing will blend the colors together.
Freezing Secrets
Press parchment paper directly on the surface before covering with plastic wrap. This prevents ice crystals from forming on top. A loaf pan works better than shallow containers for even freezing.
Serving Warm-Up
Let it sit at room temperature for exactly 7-10 minutes before scooping. This is the sweet spot where it’s soft enough to serve but still holds its shape. I always use my Nonna’s wooden spoon to test the texture.
Hello Kitty Touch
For extra whimsy, add edible glitter or sprinkles between layers. A light dusting of freeze-dried strawberry powder on top enhances both flavor and the pink theme beautifully.
Nutrition Facts
Frequently Asked Questions
Can I make this without an ice cream maker?
Yes! After layering, freeze and stir vigorously with a fork every 30 minutes for 3-4 hours to break up ice crystals. This mimics churning for a creamy texture.
How do I get the perfect pastel pink color?
Start with 2 drops of food coloring, whip, then add more as needed. The color intensifies as it freezes, so go lighter than you think. Natural options like beet juice work but may affect flavor.
Why did my strawberry swirl bleed into the base?
Your swirl likely wasn’t thick enough. Cook it longer next time until it reaches a jam-like consistency. Also, avoid over-swirling—2-3 gentle passes is all you need.
Can I use frozen strawberries for the swirl?
Yes, but thaw and drain them well first to remove excess liquid. Pat dry with paper towels to prevent ice crystals. Fresh berries give the best flavor and color, though.

- Potato Candy Recipe 1933: Vintage Peanut Butter Roll Delight - October 30, 2026
- Potato Chip Cookie Recipe With Pecans: Buttery Crunch Meets Nutty Richness - October 30, 2026
- Potato Patty Recipe No Egg: Crispy Edges Without the Binder - October 30, 2026