
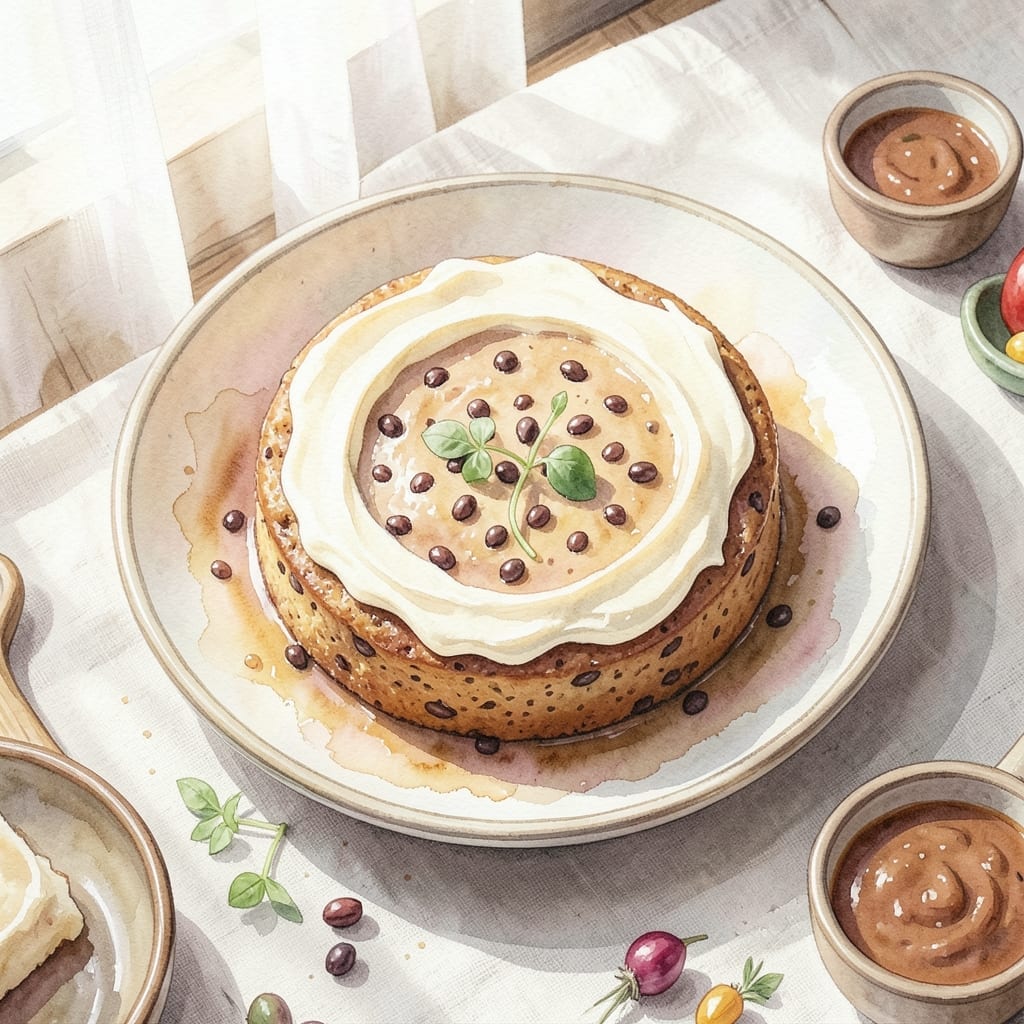
Frugality met ingenuity in 1955 kitchens, where pinto beans transformed into surprisingly delicious cake. This vintage recipe proves that necessity breeds culinary creativity, turning humble pantry staples into a moist, spiced dessert that delighted families during lean times.
The secret lies in cooked pinto beans blended into the batter, creating a dense, pudding-like texture that stays wonderfully moist for days. Traditional techniques use simple, shelf-stable ingredients that were always on hand, ensuring nothing went to waste.
What emerges from the oven is a spiced cake with a tender crumb and subtle earthiness, balanced by warm cinnamon and nutmeg. The beans disappear into the batter, leaving only a rich, satisfying dessert that belies its modest origins.
Perfect for history buffs and thrifty bakers alike, this cake offers a taste of resourceful homemaking from a bygone era.
Ingredients for Pinto Bean Cake Recipe 1955
Simple pantry staples transform into this moist, spiced vintage dessert with a secret ingredient.
| Ingredient | Amount | Notes |
|---|---|---|
| Cooked Pinto Beans 🫘 | 2 cups | Drained, mashed until smooth |
| All-Purpose Flour 🌾 | 2 cups | Sifted for lighter texture |
| Granulated Sugar 🍚 | 1 ½ cups | Fine white sugar preferred |
| Large Eggs 🥚 | 2 whole | Room temperature for best volume |
| Vegetable Oil 🫒 | ½ cup | Neutral flavor like canola |
| Baking Powder 🧂 | 2 tsp | Fresh for proper rise |
| Baking Soda 🧂 | 1 tsp | Balances acidity in beans |
| Ground Cinnamon 🌿 | 1 ½ tsp | Warm spice for depth |
| Ground Nutmeg 🌰 | ½ tsp | Freshly grated if possible |
| Salt 🧂 | ½ tsp | Enhances all flavors |
| Vanilla Extract 🌿 | 1 tsp | Pure extract for best flavor |
| Raisins 🍇 | ½ cup | Optional, plump in warm water |
The pinto beans must be fully cooked and smooth—canned beans work perfectly (drain and rinse thoroughly). For best texture, blend them into a puree before adding to the batter. I’ve had success with both canned and home-cooked beans, but canned saves time. If using dried beans, soak overnight and cook until very soft. The flour should be all-purpose; avoid cake flour as it’s too light for this dense cake.
No raisins? Chopped dates or nuts add nice texture. For a gluten-free version, 1:1 gluten-free flour blend works well. If you’re out of vanilla, a pinch of almond extract gives a different but pleasant flavor. The spices can be adjusted to taste—some vintage recipes call for allspice or cloves in addition to cinnamon and nutmeg. The oil can be replaced with melted butter if preferred.
This cake stays moist for days—store covered at room temperature for up to 3 days or refrigerate for 5 days. For longer storage, wrap tightly and freeze for up to 3 months. The flavors actually improve after a day, making it perfect for baking ahead.
Why You’ll Love This Recipe
- Mix and Bake: I just dump the cooked pinto beans, sugar, eggs, and oil together—no fancy steps, just stir and into the oven it goes.
- Nostalgic Sweetness: The beans make it dense and moist, while the sugar caramelizes into this rich, old-fashioned flavor that reminds me of my grandma’s kitchen.
- Feeds a Hungry Table: I’ve served this at potlucks, packed it for picnics, and even snuck a slice for breakfast—it’s sturdy enough for any moment.
- Pennywise Favorite: Honestly, a can of pinto beans is cheaper than most cake mixes, and I already have the rest in my pantry.
Step-by-Step Instructions for Pinto Bean Cake
This vintage method delivers moist, spiced cake with perfect texture using simple pantry staples.
Step 1: Prepare the Pinto Bean Base
Drain the 2 cups Cooked Pinto Beans thoroughly, then mash them until completely smooth using a potato masher or fork. This step is crucial—any lumps will create uneven texture in your finished cake.
I recommend pressing the beans through a fine-mesh sieve for the silkiest result. The mashed beans should resemble a thick puree. Their natural moisture replaces some of the liquid typically needed in cake batters, while their mild flavor disappears into the spiced sweetness.
Step 2: Cream Wet Ingredients and Sugar
In a large mixing bowl, beat the 1.5 cups Granulated Sugar with the 0.5 cup Vegetable Oil until fully combined. Add the 2 whole Large Eggs one at a time, beating well after each addition.
Then stir in the 1 tsp Vanilla Extract and the mashed Cooked Pinto Beans. The mixture will appear slightly curdled at first but will smooth out as you continue. This wet base provides the foundation for your cake’s moisture and structure.
Step 3: Combine Dry Ingredients Separately
In a separate bowl, whisk together the 2 cups All-Purpose Flour, 2 tsp Baking Powder, 1 tsp Baking Soda, 0.5 tsp Salt, 1.5 tsp Ground Cinnamon, and 0.5 tsp Ground Nutmeg.
Sifting the flour first, as noted in the ingredients, ensures a lighter crumb. The combination of baking powder and baking soda provides the perfect lift while balancing the beans’ natural acidity. The spices should be evenly distributed throughout the flour mixture.
Step 4: Create the Final Batter
Gradually add the dry ingredients to the wet mixture, folding gently just until no flour streaks remain. Overmixing will develop gluten and result in a dense cake. The batter will be thick but pourable.
Fold in the 0.5 cup Raisins at this stage. If using, ensure they’ve been plumped in warm water and drained well to prevent excess moisture in your cake. The raisins should be evenly distributed throughout the batter.
Step 5: Bake to Golden Perfection
Pour the batter into a greased 9×13-inch baking pan and smooth the top with a spatula. Bake at 350°F for 30-35 minutes, or until a toothpick inserted in the center comes out clean.
The cake is done when the top springs back when lightly pressed and the edges have pulled slightly away from the pan. Allow it to cool in the pan for 10 minutes before transferring to a wire rack to cool completely. This vintage treat tastes even better the next day as the flavors meld.
Pro Tips For Making Pinto Bean Cake Recipe 1955
- Blend Beans Smooth: I learned this the hard way—lumpy beans make a dense cake. Puree your cooked pinto beans until completely smooth, almost like a thick paste, before mixing with the other ingredients.
- Room Temp Eggs: After my first cake turned out tough, I realized cold eggs were the culprit. Pull your eggs out 30 minutes early so they blend better with the oil and sugar.
- Don’t Overmix Batter: Sounds weird, but it works: stir just until the flour disappears. Overmixing develops gluten, and your cake will end up rubbery instead of tender.
- Test with Toothpick: My grandmother swore by this, and she was right: start checking for doneness at 25 minutes. A clean toothpick means it’s done—no guessing.
Essential Equipment for This Recipe
Mixing Bowls
I always reach for my stainless steel mixing bowls—they’re lightweight yet sturdy, and the nested set saves space. A large 4-quart bowl gives plenty of room for mixing the batter without spills. The non-reactive surface won’t absorb odors or stains from the beans.
Hand Mixer
A reliable hand mixer is essential for creaming the sugar and oil, then incorporating the eggs smoothly. I use my KitchenAid 5-speed for this—it handles the thick bean puree without straining. The beaters should fully submerge in the mixture for even blending.
Potato Masher
For mashing the 2 cups Cooked Pinto Beans, a traditional potato masher works perfectly. I press the beans against the bowl sides for a smooth puree. For extra silky texture, follow up with a fine-mesh sieve to remove any stubborn skins. 💪
Baking Pan
A 9×13-inch metal baking pan is ideal for even baking and easy serving. I prefer dark nonstick pans for their even heat distribution. Grease it thoroughly with butter or oil, then dust with flour to prevent sticking.
Whisk and Spatula
A balloon whisk ensures your dry ingredients are perfectly combined before adding to the wet mixture. Use a rubber spatula for folding everything together gently. These tools help maintain the cake’s tender crumb.
Cooling Rack
After baking, transfer your cake to a wire cooling rack to prevent soggy bottoms. I let mine cool for 10 minutes in the pan first, then move it to the rack. This vintage treat needs proper cooling to set its texture. 🔥
Nutrition Facts
Frequently Asked Questions
Why use beans in a cake recipe?
Beans add moisture and density without a strong flavor. In this vintage recipe, pinto beans replace some fat while keeping the cake rich and tender for days.
Can I use canned beans instead of cooked?
Yes! Drain and rinse 2 cups of canned beans thoroughly. They work perfectly and save time. Just mash until completely smooth before adding to the batter.
How do I know when it’s done baking?
Bake at 350°F for 30-35 minutes. The cake is ready when a toothpick comes out clean and the top springs back when touched.
What can I substitute for raisins?
Try chopped dates, nuts, or even chocolate chips. Each adds a different texture but keeps the vintage charm. The amount stays the same: 0.5 cup.

- BBQ Sausage Recipe Oven: Smoky Depth Without the Grill - September 28, 2026
- BBQ Chicken Bowl Recipe Rice: Smoky Sweetness Over Fluffy Grains - September 28, 2026
- Beef Cutlet Recipe Ideas: Crispy Breaded Patties With Bold Seasonings - September 28, 2026