
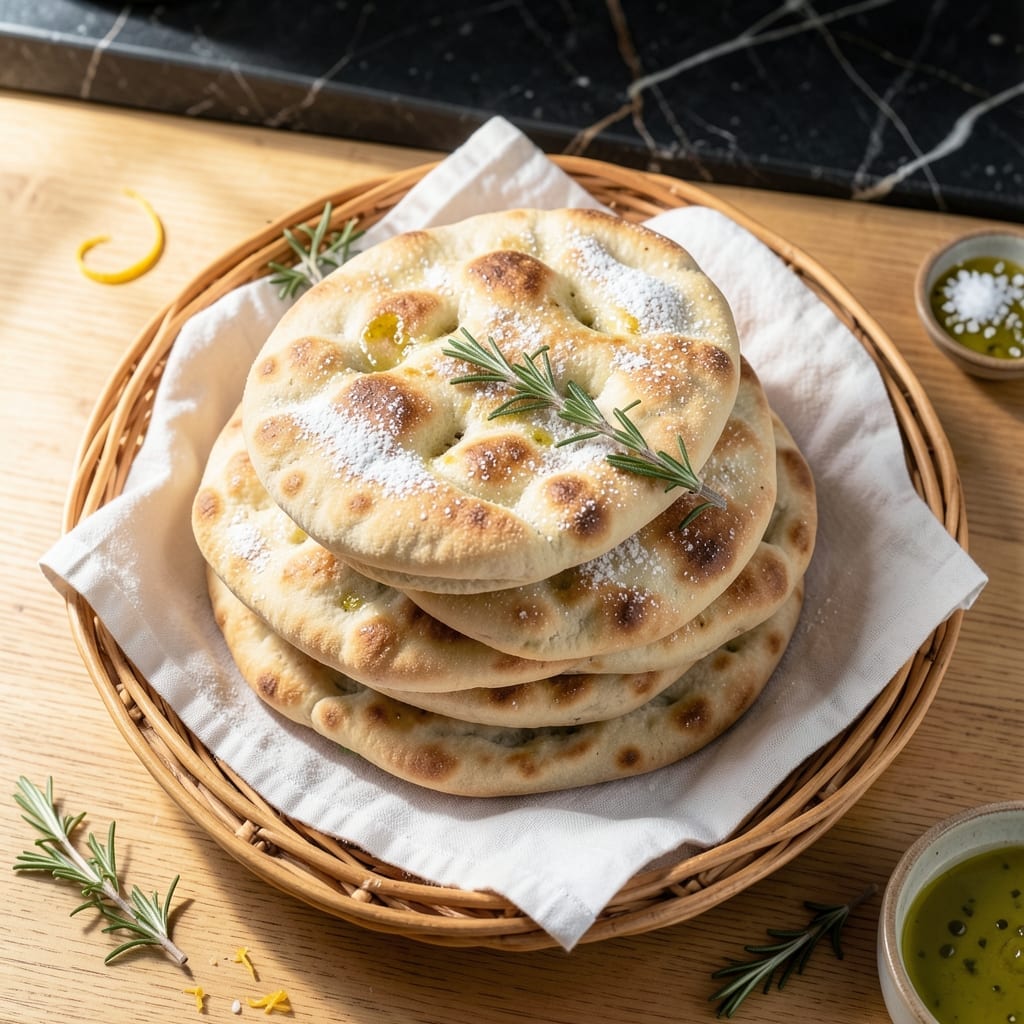
Flat, soft, and ready in 30 minutes—this yeast-free pita bread delivers everything you love about traditional flatbread without the wait. The secret is baking powder, which creates the perfect lift and texture.
With just a handful of pantry staples, you can have warm, pillowy pita straight from your skillet. These hold up beautifully for dipping, wrapping, or serving alongside any meal.
Ingredients for Pita Bread Recipe Without Yeast
Pantry staples plus warm water. That’s all you need for pillowy flatbreads.
| Ingredient | Amount | Notes |
|---|---|---|
| All-Purpose Flour 🌾 | 3 cups | Plus extra for dusting |
| Baking Powder 🧂 | 2 tsp | Leavening agent for lift |
| Salt 🧂 | 1 tsp | Fine sea salt preferred |
| Olive Oil 🫒 | 2 tbsp | Extra-virgin for flavor |
| Water 💧 | 1 cup | Warm, about 110°F |
| Sugar 🧈 | 1 tsp | Optional, for browning |
| Vinegar 🍋 | 1 tbsp | White or apple cider |
The flour is the foundation here. King Arthur or Gold Medal all-purpose work perfectly—no need for bread flour since baking powder handles the lift. Measure by spooning into the cup (don’t scoop directly from the bag) for accurate results. The baking powder must be fresh (test it by dropping a spoonful into hot water—it should bubble vigorously). I always keep a small canister in the pantry for recipes like this.
No vinegar? Lemon juice at the same amount works just as well. Out of olive oil? Melted coconut oil or any neutral oil is fine, but you’ll lose some flavor. The sugar is optional but helps with browning—maple syrup or agave can sub in if you prefer. For a whole wheat version, swap up to half the all-purpose with whole wheat flour (add a tablespoon more water if the dough feels dry).
The dough rests for just 15 minutes—no long fermentation. Cooked pitas keep in an airtight container for 3 days (reheat in a dry skillet). Or freeze for up to 1 month with parchment between each to prevent sticking.
Why You’ll Love This Recipe
- No Yeast Needed: I love that I can skip the waiting—just mix, rest 10 minutes, and cook. No proofing, no fuss.
- Buttery Warmth: The olive oil in the dough gives it this rich, subtle depth that makes fresh pita irresistible.
- Pocket Perfection: These puff up beautifully on the skillet, ready to stuff with anything from falafel to breakfast eggs.
- Pantry Staples: Flour, baking powder, salt—things I always have on hand. Honestly, it’s cheaper than store-bought and twice as good.
Step-by-Step Instructions for Pita Bread Without Yeast
Here’s the method. Straightforward, tested, works every time.
Step 1: Combine Dry Ingredients for the Base
In a large mixing bowl, whisk together the 3 cups All-Purpose Flour, 2 tsp Baking Powder, 1 tsp Salt, and 1 tsp Sugar until uniformly distributed. I like to sift the baking powder directly into the flour to prevent any clumping—this ensures even leavening throughout the dough.
The sugar is optional here, but I include it for a subtle browning effect and a touch of sweetness that balances the tang from the vinegar. Use fine sea salt if you have it; the smaller grains dissolve more evenly in the dough.
Step 2: Incorporate Wet Ingredients to Form the Dough
Make a well in the center of your dry ingredients. Pour in the 2 tbsp Olive Oil, 1 cup Water, and 1 tbsp Vinegar. Using a wooden spoon or silicone spatula, gradually incorporate the dry ingredients into the wet until a shaggy dough forms.
The vinegar reacts with the baking powder to create lift, mimicking the action of yeast. Use warm water (around 110°F) to help activate the baking powder more effectively. The dough will be slightly sticky at this stage—that’s normal.
Step 3: Knead Until Smooth and Elastic
Turn the dough out onto a lightly floured surface (use extra all-purpose flour from your stash) and knead for 8-10 minutes until smooth and elastic. I press the heel of my hand into the dough, then fold it over, rotating a quarter turn after each push.
You’ll know it’s ready when the dough springs back slowly when poked and no longer sticks to your hands. If it’s too sticky, add flour 1 tablespoon at a time—but don’t overdo it, or your pitas will be dense. The texture should be soft but not tacky.
Step 4: Rest and Divide the Dough
Place the kneaded dough in a lightly oiled bowl, cover with a damp kitchen towel, and let it rest for 15-20 minutes. This rest allows the gluten to relax, making the dough easier to roll out. The dough won’t rise much, but it will become more pliable.
After resting, divide the dough into 4 equal portions (for 4 servings) and roll each into a ball. On a floured surface, roll each ball into a 6-7 inch circle, about ¼-inch thick. If the dough resists, let it rest for another 5 minutes before continuing.
Step 5: Cook the Pitas in a Hot Skillet
Heat a heavy skillet (cast iron works best) over medium-high heat until hot. Place one rolled dough circle in the dry skillet and cook for 1-2 minutes until bubbles form on the surface and the bottom is lightly browned.
Flip and cook for another 30-60 seconds until the second side is golden brown with dark spots in places. Press down gently with a spatula if the pita isn’t puffing—this helps steam build up inside. Transfer to a clean kitchen towel and cover to keep warm while you cook the remaining pitas.
Pro Tips For Making Pita Bread Recipe Without Yeast
- Heat the Pan First: Get your skillet or griddle screaming hot before adding the dough—I learned this the hard way after my first few pitas came out dense and pale. A properly heated pan is non-negotiable for that signature puff and golden char.
- Use Fresh Baking Powder: Sounds obvious, but old baking powder loses its oomph. After a flat, sad batch, I now check the expiration date and replace it if it’s been sitting for more than 6 months.
- Don’t Overwork the Dough: Knead just until smooth, about 3-4 minutes max. Overdoing it makes the pitas tough—I was skeptical until I tried it, but less handling really does yield a tender, pliable bread.
- Roll Evenly Thin: Aim for about ¼-inch thickness when rolling out the dough. Any thicker and they won’t puff; any thinner and they’ll burn before cooking through—yes, even if you’re impatient like me.
Storing and Reheating This Dish
Room Temperature Storage
For same-day enjoyment, cool your pitas completely and store them in an airtight container or zip-top bag. They’ll stay soft for up to 2 days at room temperature. I like to line my container with a paper towel to absorb any excess moisture. ❄️
Refrigerator Storage
For longer freshness, refrigerate cooled pitas in an airtight container with parchment between each one. They’ll keep for up to 5 days. The cold can make them slightly firmer, but they’ll soften when reheated.
Freezing for Later
To freeze, wrap each cooled pita individually in plastic wrap, then place all in a freezer bag. They’ll maintain quality for up to 1 month. Squeeze out all air before sealing to prevent freezer burn.
Skillet Reheating
My preferred method: heat a dry skillet over medium heat for 30 seconds per side. This restores the soft texture and slight char. Add a drop of olive oil to the pan for extra crispness if desired.
Oven Reheating
Preheat oven to 350°F and wrap pitas in aluminum foil. Heat for 5-10 minutes until warm. For crispier results, unwrap and bake for 2 minutes on a baking sheet.
Microwave Method
For quick reheating, place a pita on a microwave-safe plate and cover with a damp paper towel. Heat on high for 15-20 seconds. This method works best for single servings. 🔥
Frequently Asked Questions
Why does this recipe use vinegar?
The vinegar reacts with baking powder to create lift, mimicking yeast. It also adds a subtle tang that balances the flavor.
Can I make these ahead of time?
Yes! Cooked pitas keep in an airtight container for 3 days at room temperature. For longer storage, freeze for up to 1 month with parchment between each.
What if my pitas don’t puff?
Press gently with a spatula while cooking to help steam build. Ensure your skillet is medium-high heat and the dough isn’t too thick.
Can I use whole wheat flour?
Swap up to half the all-purpose with whole wheat. Add 1 extra tablespoon water if the dough feels dry.
Nutrition Facts

- BBQ Sausage Recipe Oven: Smoky Depth Without the Grill - September 28, 2026
- BBQ Chicken Bowl Recipe Rice: Smoky Sweetness Over Fluffy Grains - September 28, 2026
- Beef Cutlet Recipe Ideas: Crispy Breaded Patties With Bold Seasonings - September 28, 2026