
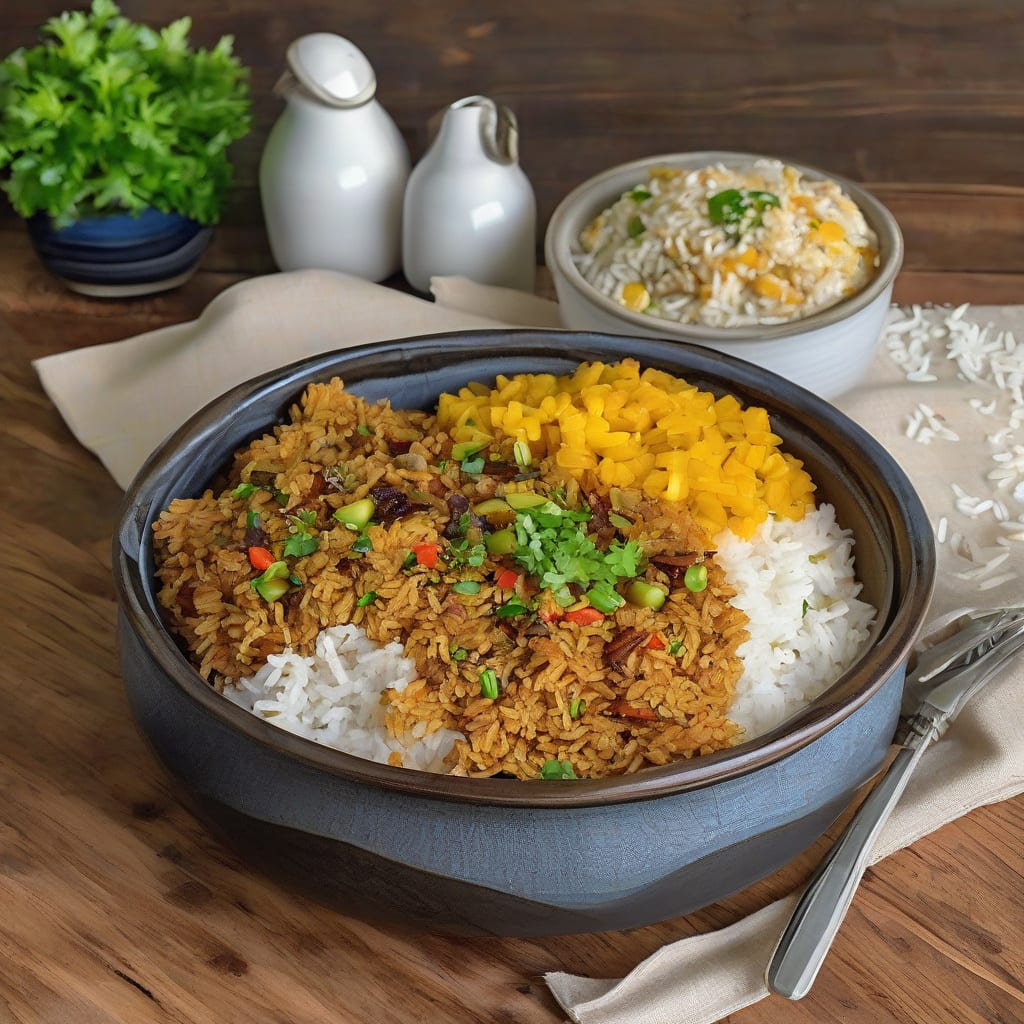
I’ve perfected the Pita Inn Rice recipe, achieving fluffy and flavorful results every time. This side dish is a game-changer for Mediterranean-inspired meals, complementing grilled meats and vegetables beautifully.
The secret lies in precise water ratio and gentle cooking. With just a few simple ingredients and 20 minutes of cooking time, you’ll have a delicious accompaniment that’s sure to impress. Let’s make it!
Ingredients for Pita Inn Rice
Simple ingredients make this Mediterranean rice shine. Fluffy, flavorful, and ready in 20 minutes.
| Ingredient | Amount | Notes |
|---|---|---|
| Uncooked White Rice 🍚 | 1 cup | Long-grain or basmati preferred |
| Water 💧 | 2 cups | Cold water for best results |
| Olive Oil 🫒 | 2 tbsp | Extra-virgin for richness |
| Onion 🧅 | ½ whole | Finely chopped, yellow or white |
| Garlic Cloves 🧄 | 2 cloves | Minced for best flavor |
| Chicken or Vegetable Broth 🍜 | 1 cup | Low-sodium broth preferred |
| Salt 🧂 | ½ tsp | Kosher or sea salt |
| Black Pepper 🌶️ | ¼ tsp | Freshly ground preferred |
| Fresh Parsley 🌿 | ¼ cup | Chopped, for garnish |
The rice matters here. Basmati gives that signature Pita Inn fluffiness—other long-grain works too. Most grocery stores carry it, or grab it at Whole Foods if you’re feeling fancy. For the broth, low-sodium is key so you can control the salt. I use Swanson’s or Pacific Foods organic broth.
No chicken broth? Vegetable broth is a great swap. Want more flavor? Add one tablespoon of lemon juice with the broth. Fresh parsley is nice for color, but dried parsley at one-third the amount works in a pinch. The garlic can be minced ahead and stored in olive oil in the fridge.
This rice keeps beautifully—3-4 days in the fridge, 3 months frozen. Reheat with a tablespoon of water or broth to refresh. I portion mine into containers so lunches are sorted for the week. Freezes and reheats like a dream.
❤️
Why You’ll Love This Recipe
- Quick Prep: I can get this Pita Inn Rice recipe on the table in under 30 minutes, and honestly, it’s a weeknight lifesaver.
- Garlic Goodness: The combination of sautéed onion and garlic cloves with olive oil creates a ridiculously good flavor that elevates the simple white rice.
- Meal Prep Master: This recipe is perfect for meal prep – I make a big batch on Sunday and use it throughout the week in different meals, from lunches to dinners.
- Budget Friendly: Using basic ingredients like uncooked white rice, onion, and garlic cloves makes this recipe super budget-friendly, and it reheats beautifully for leftovers.
Step-by-Step Instructions for Pita Inn-Style Rice
Here’s the method that delivers perfectly fluffy and flavorful rice every time.
Step 1: Sauté Aromatics in Olive Oil
Heat 2 tbsp of olive oil in a medium saucepan over medium heat. Once the oil is hot and shimmering, add the 0.5 whole finely chopped onion. Cook for 3-4 minutes until it becomes translucent and starts to soften. You’ll know it’s ready when the onion releases its fragrance and turns slightly golden.
Next, add the 2 cloves of minced garlic cloves to the saucepan. Stir well to combine with the onion, and continue cooking for another 1 minute. Be careful not to burn the garlic, as it can quickly become bitter. The mixture should be fragrant and aromatic.
Step 2: Toast the Rice for Better Flavor
Add the 1 cup of uncooked white rice to the saucepan, stirring to coat the rice with the olive oil and mix with the onion and garlic. Cook for 2-3 minutes, stirring frequently, until the rice is lightly toasted. You’ll notice the rice becoming more fragrant and slightly opaque.
Toasting the rice enhances its natural flavor and gives it a nuttier taste. Keep stirring to prevent the rice from burning or sticking to the bottom of the pan. The rice should be coated evenly with the oil and aromatics.
Step 3: Add Liquid and Seasonings
Pour in the 2 cups of water and 1 cup of chicken or vegetable broth into the saucepan. Add 0.5 tsp of salt and 0.25 tsp of freshly ground black pepper. Stir gently to combine all the ingredients.
Bring the mixture to a boil, then reduce the heat to low and cover the saucepan with a tight-fitting lid. The liquid should be bubbling gently around the edges. Be careful not to lift the lid too often, as this can release steam and affect the cooking process.
Step 4: Cook Until Fluffy and Tender
Simmer the rice for 15-20 minutes or until all the liquid has been absorbed and the rice is tender. You’ll know it’s done when the rice is fluffy and separate, and there’s no excess moisture at the bottom of the pan.
Once cooked, remove the saucepan from the heat and let it rest, covered, for 5 minutes. This resting period allows the rice to steam off the heat and become even fluffier.
Step 5: Garnish and Serve
Fluff the cooked rice gently with a fork to separate the grains. Stir in the 0.25 cup of chopped fresh parsley. The parsley adds a fresh, herbaceous flavor and a pop of color to the dish.
Serve the Pita Inn-style rice hot alongside your favorite dishes. The fluffy texture and flavorful taste make it a perfect accompaniment to a variety of meals.
👨🍳
Pro Tips For Making Pita Inn Rice
- TOAST THE RICE: Before adding water, toast the uncooked white rice in olive oil until it’s lightly golden – this enhances the flavor and gives it that signature Pita Inn texture. I learned this the hard way after making it plain for years.
- SOFTEN THE ONIONS: Cook the onions slowly over low heat until they’re translucent and starting to caramelize – this brings out their natural sweetness and depth. It’s worth the extra 5-10 minutes.
- USE GOOD OIL: Use a high-quality olive oil for sautéing – it makes a real difference in the flavor. I was skeptical until I tried it with a good extra virgin olive oil.
Dietary Considerations for pita inn rice
Making it Gluten-Free
The Pita Inn Rice recipe is naturally gluten-free, making it an excellent side dish for those with gluten sensitivities. The key is to ensure your chicken or vegetable broth is gluten-free – many brands now offer certified gluten-free options like Pacific Foods. Always check labels.
Low-FODMAP Considerations
For those on a low-FODMAP diet, this recipe can be adapted by replacing the onion and garlic with garlic-infused oil or using the green parts of scallions instead. The rice itself is naturally low-FODMAP, and using low-sodium broth helps control overall salt content.
Vegan and Vegetarian Adaptations
To make this dish vegan or vegetarian-friendly, simply swap the chicken broth for vegetable broth. I prefer using mushroom-based or seaweed-based broth for added depth of flavor. The rest of the ingredients are naturally plant-based.
Reducing Sodium
For those watching their sodium intake, use low-sodium broth and reduce the added salt to 0.25 tsp or even omit it entirely. The parsley adds great flavor without sodium. You can also use homemade broth where you control the salt content.
Dairy-Free and Other Considerations
This rice dish is naturally dairy-free, making it suitable for various dietary needs. If serving with other Mediterranean dishes, be mindful of dairy-containing ingredients in accompanying dishes. The olive oil provides richness without dairy, making it a great base for various dietary restrictions.
Storage and Reheating
For meal prep, this rice keeps well in airtight containers in the refrigerator for 3-4 days. When reheating, add a splash of water or broth and microwave covered for 1-2 minutes, stirring halfway through. You can also reheat on the stovetop over low heat with a bit of extra liquid. 🔥
Nutrition Facts
220kcal
Frequently Asked Questions
Can I use brown rice instead of white rice for this recipe?
You can substitute brown rice, but you’ll need to adjust the liquid ratio and cooking time. Brown rice typically requires 2.5 cups of liquid per 1 cup of rice and cooks for 40-45 minutes. The result will be nuttier and chewier.
How do I prevent the rice from becoming mushy?
To avoid mushy rice, use the correct water ratio and avoid overcooking. The 2:1 liquid to rice ratio works perfectly for this recipe. Also, let the rice rest for 5 minutes after cooking before fluffing. This helps the grains separate properly.
Can I make this recipe in a rice cooker?
Yes, you can adapt this recipe for a rice cooker. Simply sauté the aromatics in a pan, then transfer everything to the rice cooker. Use the same liquid ratio and let the rice cooker do the work. Cooking time will be around 15-20 minutes.
How can I add more flavor to this rice dish?
For extra flavor, try adding a bay leaf or a sprig of fresh thyme when you add the liquid. You can also sauté some pine nuts or chopped almonds with the onion for added depth. Remove any whole spices before serving.

- BBQ Sausage Recipe Oven: Smoky Depth Without the Grill - September 28, 2026
- BBQ Chicken Bowl Recipe Rice: Smoky Sweetness Over Fluffy Grains - September 28, 2026
- Beef Cutlet Recipe Ideas: Crispy Breaded Patties With Bold Seasonings - September 28, 2026