
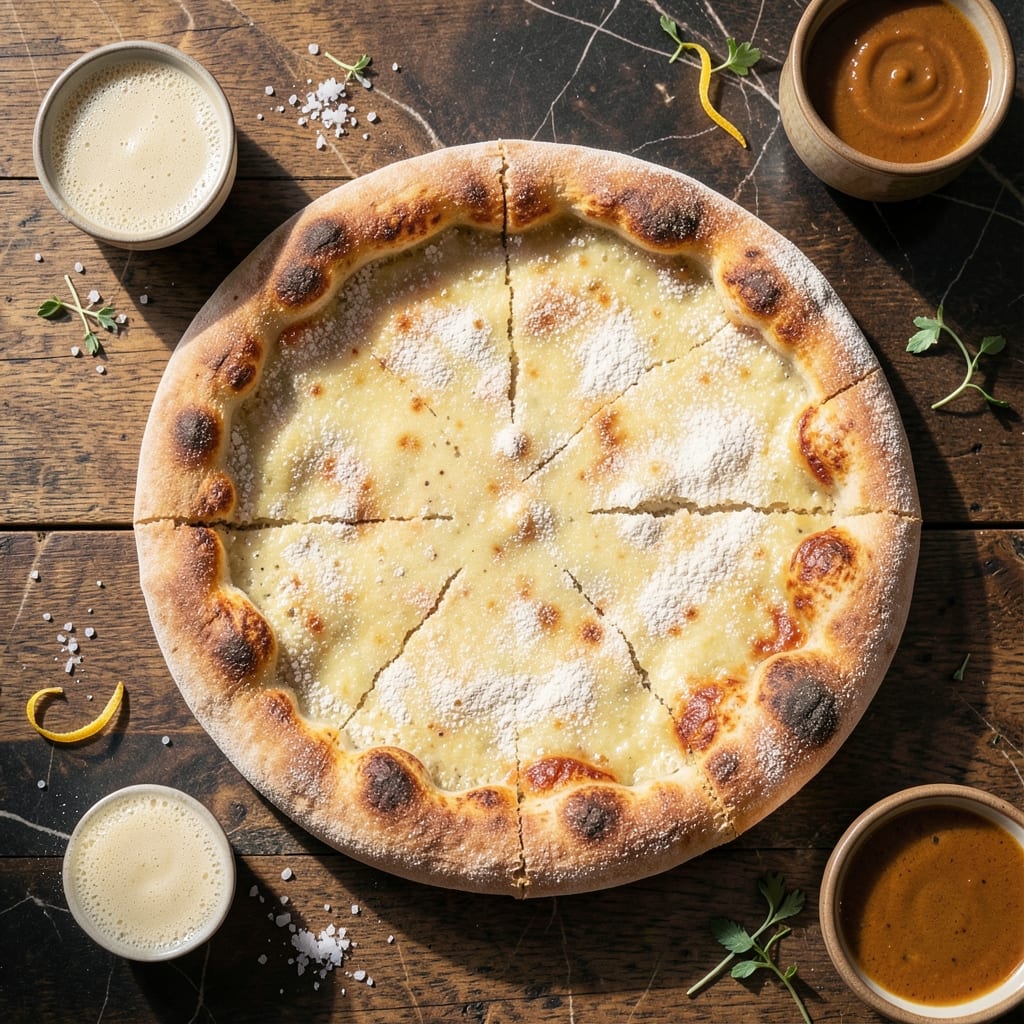
There’s a precise method to achieving perfect pizza crust with active dry yeast that delivers both fluffiness and chew. This proven technique ensures a consistent foundation for any pie you create.
The key lies in proper yeast activation and controlled proofing. With simple ingredients and careful timing, you’ll develop a dough that bakes into a golden, airy crust with just the right amount of chew.
This approach balances traditional methods with modern efficiency. The result is a reliable crust that holds up to your favorite toppings without becoming soggy or tough.
Master this base recipe and you’ll have the confidence to experiment with various styles and flavors. The foundation for exceptional pizza starts here.
Ingredients for Pizza Crust Recipe Active Dry Yeast
Simple pantry staples create that ideal fluffy yet chewy texture everyone loves.
| Ingredient | Amount | Notes |
|---|---|---|
| Active Dry Yeast 🍞 | 2 ¼ tsp | One packet, proofed in warm water |
| Warm Water 💧 | 1 ¼ cups | 110-115°F for yeast activation |
| Granulated Sugar 🍚 | 1 tsp | Feeds the yeast for rise |
| All-Purpose Flour 🌾 | 3 ½ cups | Plus extra for dusting surface |
| Bread Flour 🍞 | ½ cup | For extra chewiness in crust |
| Kosher Salt 🧂 | 1 ½ tsp | Diamond Crystal preferred for consistency |
| Extra-Virgin Olive Oil 🫒 | 2 tbsp | Divided for dough and bowl greasing |
| Cornmeal 🌽 | ¼ cup | For dusting baking surface |
| Semolina Flour 🌾 | 2 tbsp | Optional for extra crisp texture |
| Honey 🍯 | 1 tbsp | Optional for slightly sweeter crust |
The flour blend is everything here. King Arthur all-purpose is my go-to—consistent protein content every time. For the bread flour, Bob’s Red Mill hits the right chew factor without being dense. Yeast freshness matters more than brand; just check the expiration date (those little packets go stale fast). The salt should be fine grain so it dissolves evenly throughout the dough.
No bread flour? Replace with all-purpose plus 1 tsp vital wheat gluten. Swap honey for sugar if you prefer a less sweet crust. Warm water too hot? Yeast dies at 120°F—use a thermometer or test with your wrist like a baby bottle. The olive oil can be any neutral oil in a pinch, but extra-virgin adds depth. Cornmeal not on hand? Semolina or extra flour works too.
Dough keeps in the fridge 2-3 days in an oiled bowl (it’ll develop more flavor). Freeze uncooked dough balls for up to 3 months—thaw overnight before using. Baked crusts? Cool completely, then store airtight for 1 week.
Why You’ll Love This Recipe
- No-Fuss Dough: I mix the yeast, sugar, and warm water, let it foam, then dump in the flours—no fancy steps, just a bowl and a spoon.
- That Yeast Magic: Honestly, the active dry yeast gives it that airy, chewy texture that store-bought crusts just can’t match.
- Endless Toppings: Between us, this blank-canvas crust works for margarita night or loaded veggie feasts—same dough, zero stress.
- Budget Stretch: A few cents of flour and yeast makes two large crusts. I’ll be real: it’s cheaper than delivery and twice as good.
Step-by-Step Instructions for Pizza Crust with Active Dry Yeast
This method delivers a fluffy, chewy crust with a crisp base every time.
Step 1: Activate the Yeast Properly
In a large bowl, combine the 2.25 tsp Active Dry Yeast, 1.25 cups Warm Water, and 1 tsp Granulated Sugar. The water should be between 110-115°F—any hotter and you’ll kill the yeast, any cooler and it won’t activate properly. Let this sit for 5-7 minutes until the mixture becomes frothy and cloudy.
This proofing step is non-negotiable. If you don’t see bubbles forming on the surface, your yeast might be expired or the water temperature was off. I always double-check with a thermometer to be sure.
Step 2: Develop the Dough Structure
Add the 3.5 cups All-Purpose Flour, 0.5 cup Bread Flour, 1.5 tsp Kosher Salt, and 1 tbsp Honey (if using) to the yeast mixture. Stir with a wooden spoon until a shaggy dough forms. The bread flour adds that extra chewiness you want in a proper pizza crust.
Turn the dough onto a lightly floured surface and knead for 8-10 minutes until smooth and elastic. You’ll know it’s ready when you can stretch a small piece thin enough to see light through it without tearing. This windowpane test ensures proper gluten development.
Step 3: First Rise for Maximum Flavor
Lightly grease a large bowl with 1 tbsp Extra-Virgin Olive Oil (from the 2 tbsp Extra-Virgin Olive Oil). Place the dough in the bowl, turning to coat all sides. Cover with a damp towel and let rise in a warm, draft-free place for 1-2 hours or until doubled in size.
I like to turn my oven on for 2 minutes then turn it off and place the bowl inside with the door closed. The residual heat creates the perfect proofing environment. The dough should spring back slowly when poked with a finger when ready.
Step 4: Shape and Second Rise
Punch down the risen dough and divide into 4 equal portions for individual pizzas. On a surface dusted with 0.25 cup Cornmeal and 2 tbsp Semolina Flour, roll each portion into a ¼-inch thick circle. The cornmeal adds texture and prevents sticking.
Transfer to a parchment-lined baking sheet and let rise again for 15-20 minutes while you preheat your oven to 475°F. This second rise gives the crust that airy, light texture that makes all the difference.
Step 5: Pre-Bake for Perfect Crust
Before adding toppings, pre-bake the crusts for 5-7 minutes until just set but not browned. This prevents the dreaded soggy bottom. Look for the edges to start firming up and the surface to lose its raw dough appearance.
Remove from the oven, add your sauce and toppings, then return to the oven for another 8-10 minutes until the crust is golden brown and the cheese is bubbly. The pre-baking step is the secret to a crust that stays crisp even under all those delicious toppings.
Pro Tips For Making Pizza Crust Recipe Active Dry Yeast
- Test Your Yeast: Always bloom your active dry yeast in warm water (105-110°F) with a pinch of sugar first—I learned this the hard way after wasting flour on dead yeast.
- Use Bread Flour: Swap at least half your all-purpose for bread flour. The extra gluten gives that chewy, pizzeria-style crust you’re after.
- Skip Cold Water: Resist the urge to use cold water to speed things up. Yeast needs that warm (not hot) water to activate properly, or your dough won’t rise.
- Let It Double: Give your dough a full 1-2 hours to rise until it’s nearly doubled in size. Rushing this step means a dense, flat crust.
Troubleshooting Great pizza crust recipe active dry yeast
Yeast Won’t Activate
If your yeast mixture isn’t bubbly after 7 minutes, check your water temperature first. It must be between 110-115°F—use a thermometer for accuracy. Also verify your yeast isn’t expired; those little packets lose potency quickly. I always test my yeast in a separate small bowl first. 💡
Dense Crust Issues
Under-kneaded dough or insufficient rising time often causes dense results. Knead for the full 8-10 minutes until smooth and elastic. For rising, ensure your environment is warm enough—my oven trick with residual heat works perfectly every time.
Crust Not Browning
This usually means your oven isn’t hot enough. Preheat to 475°F for at least 30 minutes with a pizza stone or baking steel inside. The pre-baking step is crucial too—don’t skip those 5-7 minutes of initial baking before adding toppings.
Soggy Bottom Problems
Too many toppings or insufficient pre-baking can lead to this disappointment. Stick to a thin layer of sauce and cheese, and always pre-bake your crust. Using cornmeal or semolina flour on your baking surface helps create that crisp barrier against moisture. ✨
Dough Not Rising
Cold environments or old yeast are common culprits. Make sure your rising spot is consistently 75-85°F. If your kitchen is chilly, try the oven method I mentioned earlier. Also check that your bowl is large enough—dough needs room to expand.
Crust Too Thick
When rolling out your dough, aim for that ¼-inch thickness consistently. Use a rolling pin for even results, or stretch by hand for a more rustic look. The second rise after shaping helps achieve the perfect airy texture without excessive thickness.
Nutrition Facts
Frequently Asked Questions
Can I use instant yeast instead?
Yes, you can. Use the same amount but skip the proofing step. Just mix it directly with your dry ingredients. Instant yeast activates faster and works well in this recipe.
How do I know when the dough is ready?
Perform the windowpane test by stretching a small piece thin. If it holds without tearing, your dough is properly kneaded. This usually takes 8-10 minutes.
Why did my crust turn out dense?
This often happens with under-kneaded dough or insufficient rising time. Ensure you knead fully and let it rise until doubled in a warm (75-85°F) spot.
Can I make the dough ahead?
Store in an oiled bowl in the fridge for 2-3 days or freeze for up to 3 months. Let it come to room temperature before shaping.

- Potato Candy Recipe 1933: Vintage Peanut Butter Roll Delight - October 30, 2026
- Potato Chip Cookie Recipe With Pecans: Buttery Crunch Meets Nutty Richness - October 30, 2026
- Potato Patty Recipe No Egg: Crispy Edges Without the Binder - October 30, 2026