
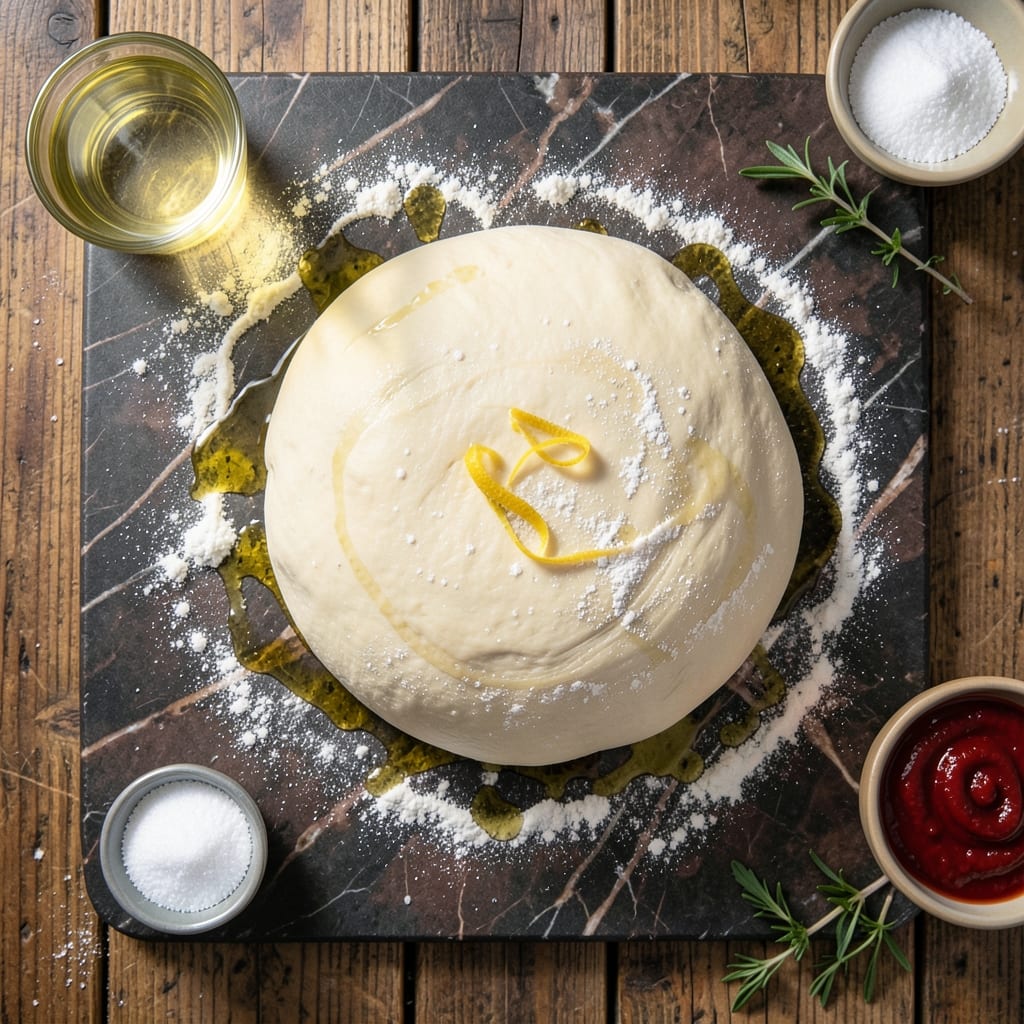
Making homemade pizza dough by hand delivers a chewy, flavorful crust that store-bought versions simply can’t match. The process is simpler than most expect, requiring only basic ingredients and a bit of elbow grease.
This method focuses on proper kneading technique to develop the gluten that gives pizza dough its signature stretch and chew. Resting the dough allows the flour to fully hydrate, resulting in a smoother, more workable texture.
The final product will be a smooth, elastic dough that bakes into a golden crust with just the right amount of bite. It forms the perfect foundation for your favorite toppings.
With a little practice, you’ll produce restaurant-quality pizza dough that’s far superior to anything you can buy pre-made.
Ingredients for Pizza Dough Recipe by Hand
Basic pantry staples transform into restaurant-quality crust with just your hands and patience.
| Ingredient | Amount | Notes |
|---|---|---|
| Bread Flour 🌾 | 3 ½ cups | High protein for chewiness |
| Active Dry Yeast 🍞 | 1 tsp | Proofed in warm water |
| Granulated Sugar 🍚 | 1 tsp | Feeds the yeast |
| Kosher Salt 🧂 | 1 ½ tsp | Diamond Crystal preferred |
| Extra-Virgin Olive Oil 🫒 | 2 tbsp | For richness and elasticity |
| Warm Water 💧 | 1 ¼ cups | 110-115°F for yeast activation |
| All-Purpose Flour 🌾 | ½ cup | For dusting work surface |
| Semolina Flour 🌾 | ¼ cup | For dusting peel |
| Cornmeal 🌽 | 2 tbsp | Alternative to semolina |
The flour is non-negotiable here. Bread flour gives that chewy, stretchy texture you want—all-purpose works in a pinch but won’t have the same bite. King Arthur is my go-to brand, but any high-protein flour (12-13%) will do. Yeast should be fresh—check the expiration date. If it’s been sitting in your cupboard for a year, grab a new packet from the store. The water temp matters too: too hot kills the yeast, too cold won’t activate it.
Out of bread flour? All-purpose plus 1 tbsp vital wheat gluten per cup gets you close. No olive oil? Melted butter (cooled) works but changes the flavor slightly. For a faster rise, swap sugar for honey at the same amount. The semolina or cornmeal prevents sticking when stretching—skip it if you don’t have it, but don’t expect the same crispiness on the bottom crust.
Dough keeps in the fridge for 3 days (it actually improves with time). Freeze for up to 3 months in an airtight bag. Bring to room temp before shaping—cold dough tears easily. Always dust your surface well (trust me on this one).
Why You’ll Love This Recipe
- No Knead Needed: I love that I can mix this dough with just a wooden spoon—no stand mixer, no sore arms.
- Buttery Crust: The olive oil in the dough gives it that golden, crisp edge with a tender bite.
- Endless Toppings: Honestly, this base works for margarita night or a loaded veggie feast.
- Pennywise Pies: Bread flour and yeast are cheap, and one batch makes two large pizzas.
Step-by-Step Instructions for Pizza Dough by Hand
Here’s the method I use for perfect chewy dough every time.
Step 1: Activate the Yeast and Mix Wet Ingredients
In a large mixing bowl, combine the 1.25 cups Warm Water with the 1 tsp Active Dry Yeast and 1 tsp Granulated Sugar. Let it sit for 5-7 minutes until the mixture becomes foamy—that’s how you know the yeast is alive and active.
Once foamy, stir in the 2 tbsp Extra-Virgin Olive Oil. The sugar feeds the yeast, while the oil adds richness and helps develop elasticity in the dough. You should see small bubbles forming on the surface, which means the yeast is ready to do its job.
Step 2: Incorporate Dry Ingredients to Form the Dough
Add the 3.5 cups Bread Flour and 1.5 tsp Kosher Salt to the bowl. Using a wooden spoon, stir until the mixture comes together into a shaggy dough. The high-protein bread flour gives this dough its signature chewiness, while the salt enhances flavor and controls yeast activity.
At this point, the dough will look rough and slightly sticky. Don’t worry about getting it perfectly smooth yet—you’ll work on that in the next step. The key is to ensure all the flour is hydrated before you start kneading.
Step 3: Knead the Dough Until Smooth and Elastic
Turn the dough out onto a surface dusted with 0.5 cup All-Purpose Flour. Knead for 8-10 minutes by hand, pushing the dough away from you with the heel of your hand, then folding it back over itself. The dough will start off sticky but will become smoother as you work it.
You’ll know it’s ready when it passes the “windowpane test”: stretch a small piece of dough between your fingers—it should be thin enough to see light through without tearing. This indicates the gluten has developed properly, giving your pizza that perfect chewy texture.
Step 4: Let the Dough Rise Until Doubled
Shape the dough into a ball and place it in a lightly oiled bowl. Cover with a damp towel and let it rise in a warm, draft-free spot for 1.5-2 hours, or until doubled in size. The ideal temperature for rising is around 75-80°F.
This rise time allows the yeast to ferment the sugars, developing flavor and creating those beautiful air pockets in your crust. If your kitchen is cooler, the rise might take a bit longer—that’s perfectly normal. Just keep an eye on the size rather than the clock.
Step 5: Shape and Prepare for Baking
Punch down the risen dough to release the air. Divide it into 4 equal portions for individual pizzas. On a surface dusted with either 0.25 cup Semolina Flour or 2 tbsp Cornmeal, roll out each portion to your desired thickness.
The semolina or cornmeal not only prevents sticking but also adds a nice crispness to the bottom of your crust. Let the shaped dough rest for 10-15 minutes before adding toppings—this final rest makes it easier to stretch and prevents shrinking during baking.
Pro Tips For Making Pizza Dough Recipe By Hand
- Proof the Yeast: Always dissolve the active dry yeast in warm water (about 110°F) with a pinch of sugar first—I learned this the hard way after killing yeast with water that was too hot.
- Use Bread Flour: Skip all-purpose flour; bread flour’s higher protein content gives the dough that chewy, elastic texture pizza needs.
- Don’t Over-Flour: Resist the urge to dump extra flour on the counter while kneading—too much makes the dough tough, and you’ll end up with a dense crust.
- Let It Rest: After kneading, let the dough rise for at least 1-2 hours in a warm spot (I use my oven with the light on)—rushing this step leads to flat, flavorless dough.
Essential Equipment for Great pizza dough recipe by hand
Mixing Bowl
A large, sturdy stainless steel mixing bowl is essential for combining your ingredients. I use a 3-quart bowl which gives enough room for the dough to rise without overflowing. The weight of a good bowl also helps keep it steady while you’re mixing. 💪
Measuring Tools
Accurate measurements are crucial for consistent results. I recommend a dry measuring cup set for the flour and a liquid measuring cup for the water. For small quantities like yeast and salt, a set of measuring spoons is indispensable.
Work Surface
A clean, flat surface is needed for kneading. I prefer a large wooden cutting board—it provides just the right amount of grip. Alternatively, a clean countertop works well. Just be sure to dust it generously with flour to prevent sticking.
Dough Scraper
A bench scraper is incredibly helpful for dividing and handling the dough. It allows you to portion the dough evenly and helps clean up your work surface. I use a stainless steel scraper with a comfortable handle.
Rising Container
For the rising stage, a lightly oiled bowl is perfect. I use the same mixing bowl I started with, just wiped clean and oiled. Cover it with a damp kitchen towel or plastic wrap to keep the dough from drying out.
Kitchen Scale
While not strictly necessary, a digital kitchen scale helps ensure precise measurements. I use a OXO Good Grips scale which is accurate and easy to clean. Weighing your ingredients can make a noticeable difference in your results.
Nutrition Facts
Frequently Asked Questions
Can I use all-purpose flour instead of bread flour?
Yes, but the texture will be slightly different. Bread flour’s higher protein creates more chew. For better results, add 1 tbsp vital wheat gluten per cup of all-purpose flour.
How do I know when the dough is kneaded enough?
Perform the windowpane test: stretch a small piece. If it’s thin enough to see light through without tearing, it’s ready. This usually takes 8-10 minutes of kneading.
Why didn’t my dough rise?
Common reasons: expired yeast, water too hot/cold, or a drafty rising spot. Always proof yeast first and ensure your kitchen is around 75-80°F.
Can I make the dough ahead?
Refrigerate for up to 3 days (flavor improves) or freeze for 3 months. Thaw in the fridge overnight before using.

- Potato Candy Recipe 1933: Vintage Peanut Butter Roll Delight - October 30, 2026
- Potato Chip Cookie Recipe With Pecans: Buttery Crunch Meets Nutty Richness - October 30, 2026
- Potato Patty Recipe No Egg: Crispy Edges Without the Binder - October 30, 2026