
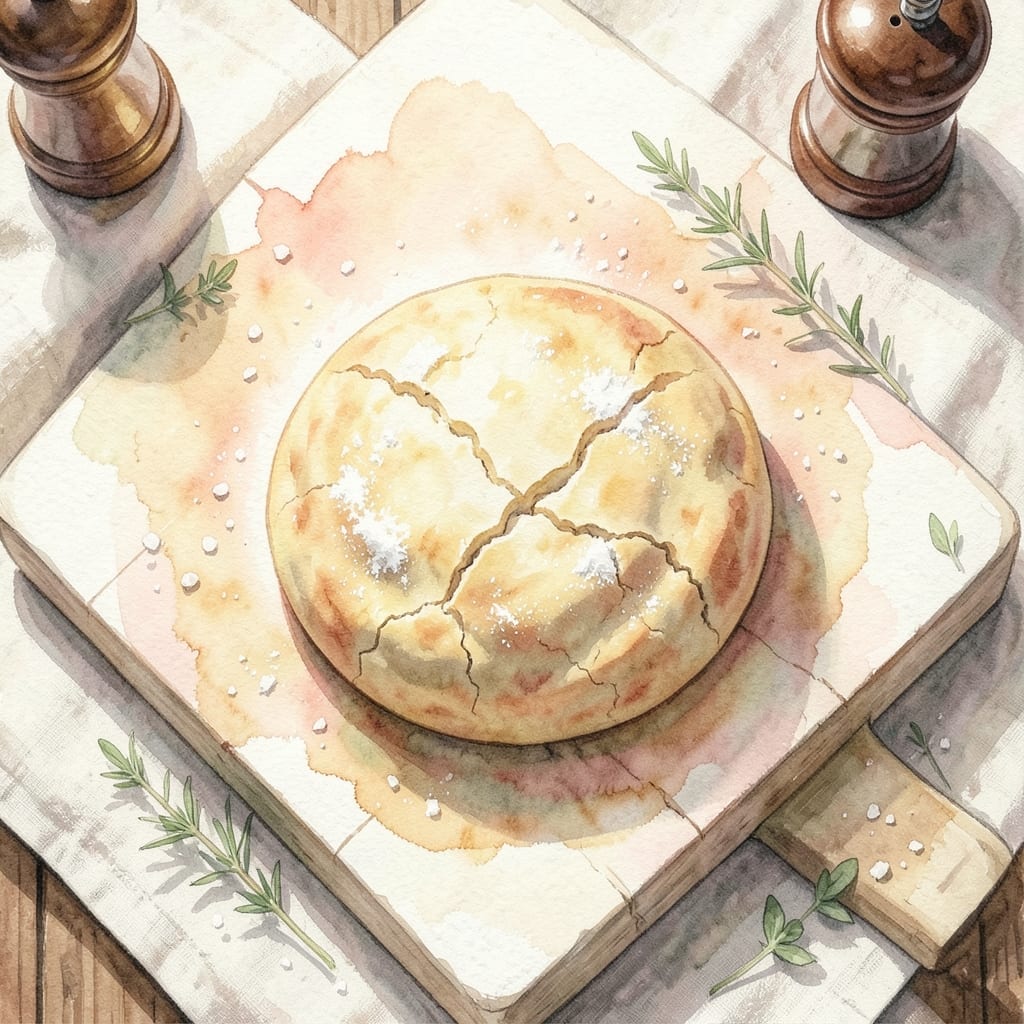
Making pizza dough for one is simpler than you think with this proven method. The result is a single-serving crust with the perfect artisan chew and golden-brown finish every time.
This approach uses basic pantry staples and requires just 10 minutes of active prep. The dough rests briefly to develop flavor and texture without long fermentation.
You’ll achieve a crust that’s crisp on the outside, soft inside, and sturdy enough to hold your favorite toppings. The small batch ensures no waste and consistent results.
No special equipment needed—just a bowl, your hands, and a little patience. Here’s how to make it.
Ingredients for Pizza Dough Recipe for One Pizza
Basic pantry staples create this single-serve artisan crust with perfect chew.
| Ingredient | Amount | Notes |
|---|---|---|
| Bread Flour 🌾 | 1 cup | Plus extra for dusting |
| Instant Yeast 🍞 | ¼ tsp | Or active dry yeast |
| Salt 🧂 | ½ tsp | Fine sea salt preferred |
| Olive Oil 🫒 | 1 tbsp | Extra-virgin for flavor |
| Warm Water 💧 | ⅓ cup | 110-115°F, not hot |
| Sugar 🍚 | ¼ tsp | Optional, helps yeast activate |
| Semolina Flour 🌾 | 2 tbsp | For dusting, optional |
| Cornmeal 🌽 | 1 tbsp | For baking surface, optional |
The flour is key here—bread flour gives you that chewy, restaurant-quality texture. King Arthur is my go-to brand (the bag is bright red, can’t miss it). Instant yeast is easiest for small batches, but active dry works with a 5-minute proof in warm water. Don’t skip the salt—it’s not just for flavor, it strengthens the gluten for that perfect bite (trust me on this).
No bread flour? All-purpose works in a pinch—just add 1 extra tsp of vital wheat gluten per cup. Out of yeast? This isn’t a no-yeast recipe, so you’ll need to grab some. Sugar is optional but helps the yeast wake up faster. For extra crispiness, semolina or cornmeal on your baking surface makes all the difference (frozen works too).
The dough rests briefly—no long fermentation needed. Keeps in the fridge for 24 hours (tightly wrapped) or freezes for 1 month. I always make a double batch and freeze half for next time (worth the extra minute).
Why You’ll Love This Recipe
- No Fuss Mixing: I just dump the bread flour, yeast, salt, olive oil, and warm water in a bowl—no fancy steps, no waiting forever for dough to rise.
- Crisp Yet Chewy: That bread flour gives it the perfect bite, and the olive oil adds a subtle richness that makes every slice taste like it came from a wood-fired oven.
- Single Serve Magic: It’s exactly enough for one pizza, so I can make dinner for myself without leftovers or wasted ingredients.
- Budget Friendly: A handful of pantry staples is all it takes, and honestly, it’s cheaper than calling for delivery.
Step-by-Step Instructions for Pizza Dough for One Pizza
Here’s my proven method for crafting the perfect single-serve crust with professional results.
Step 1: Activate the Yeast and Begin the Dough
In a small bowl, combine the 0.33 cup Warm Water, 0.25 tsp Instant Yeast, and 0.25 tsp Sugar. I like to use a fork to stir gently until the yeast dissolves completely. You should see tiny bubbles forming within 2-3 minutes—this confirms the yeast is active and ready to work its magic.
The water temperature is crucial here. It needs to be 110-115°F; any hotter and you’ll kill the yeast, any cooler and it won’t activate properly. If you don’t have a thermometer, it should feel like warm bathwater on your wrist.
Step 2: Mix and Knead the Dough to Develop Gluten
In a medium mixing bowl, combine the 1 cup Bread Flour and 0.5 tsp Salt. Create a well in the center and pour in the yeast mixture along with the 1 tbsp Olive Oil. Using a wooden spoon, stir until a shaggy dough begins to form and all the flour is incorporated.
Turn the dough out onto a clean surface and knead by hand for 8-10 minutes. The dough will be sticky at first, but resist the urge to add more flour. As you knead, it should become smooth and elastic. You’re looking for that classic “windowpane test” where you can stretch a small piece thin enough to see light through without it tearing.
Step 3: First Rise for Optimal Flavor Development
Lightly oil the mixing bowl, place the dough inside, and cover with a damp kitchen towel or plastic wrap. Let it rise in a warm, draft-free place for 1-2 hours, or until doubled in size. I like to set mine near the oven with the light turned on for gentle warmth.
This first rise, or bulk fermentation, is where the yeast gets to work developing complex flavors in your dough. Don’t rush this step—you’ll know it’s ready when the dough has clearly doubled in volume and springs back slowly when gently pressed with a finger. If your kitchen is cool, this might take closer to 2 hours.
Step 4: Shape and Prepare for Final Proof
Punch down the risen dough to release the air, then transfer it to a surface lightly dusted with 2 tbsp Semolina Flour. The semolina adds a nice texture and prevents sticking. Shape the dough into a ball, cover with a towel, and let it rest for 15 minutes to relax the gluten.
After the rest, shape the dough into your desired pizza round. I find it easiest to start by pressing from the center outward, leaving a slightly thicker rim for the crust. If it resists, let it rest for another 5 minutes and try again. The dough should be thin enough to see some light through when held up, but not so thin it tears.
Step 5: Final Proof and Preparation for Baking
Transfer your shaped dough to a surface dusted with 1 tbsp Cornmeal. The cornmeal adds a pleasant crunch and prevents sticking when you transfer it to the oven. Cover loosely and let it proof for 30-45 minutes while you preheat your oven.
You’ll know it’s ready to bake when the dough looks slightly puffy and holds an imprint when gently pressed. Preheat your oven to its highest setting (usually 500-550°F) with a pizza stone or inverted baking sheet inside. This high heat is essential for achieving that perfect crispy-yet-chewy crust that defines great pizza.
Pro Tips For Making Pizza Dough Recipe For One Pizza
- Use Warm Water: Aim for 105-110°F—hotter kills the yeast, cooler slows the rise. I learned this the hard way after a few dense, sad pizzas.
- Weigh Your Flour: Scooping with a cup compacts the flour, so 1 cup can weigh 120g or 150g. Use a scale for 150g of bread flour—it actually changes the outcome.
- Resist Extra Flour: Dust lightly when kneading, but too much toughens the dough. Sounds weird, but it works: sticky hands are better than a brick crust.
- Let It Double: Give it 1-2 hours in a warm spot—rushing this step means less flavor. I skip this when I’m lazy, but the pizza is noticeably better when I don’t.
Health Benefits of This Recipe
Nutrient-Rich Base
This dough provides a solid foundation of complex carbohydrates from 1 cup bread flour, offering sustained energy without blood sugar spikes. The whole grain version adds 3g fiber per serving for digestive health. I always feel satisfied longer after eating whole grain crust.
Healthy Fats
The 1 tbsp olive oil contributes heart-healthy monounsaturated fats that support cardiovascular health. Extra-virgin varieties also contain polyphenols, powerful antioxidants that combat inflammation. I prefer California Olive Ranch for its robust flavor.
Minimal Processed Ingredients
With just 0.5 tsp salt and optional 0.25 tsp sugar, this recipe keeps processed ingredients to a minimum. The 0.25 tsp instant yeast provides B vitamins without artificial additives. This makes it a cleaner option than store-bought doughs. 💪
Yeast Benefits
Yeast is a natural source of B vitamins, including thiamine and riboflavin, which support energy metabolism. The fermentation process also makes some nutrients in flour more bioavailable. I notice I have more energy on days I include yeast-based foods.
Customizable for Dietary Needs
Easily adapt this recipe by swapping bread flour for gluten-free blends or adding 1 tbsp flaxseed meal for omega-3s. The basic ingredients make it simple to modify for most dietary restrictions without losing the artisan quality.
Low in Saturated Fat
This crust contains virtually no saturated fat, making it a heart-smart choice compared to deep-dish or buttery crusts. The olive oil provides all the fat needed for texture and flavor without compromising health goals. 🥗
Nutrition Facts
Frequently Asked Questions
Can I use all-purpose flour instead of bread flour?
Yes, but add 1 tsp vital wheat gluten per cup for better chew. Bread flour’s higher protein creates that perfect elastic texture. All-purpose works in a pinch but may be slightly less chewy.
Why does my dough keep springing back when stretching?
It needs more rest time. Let it sit 15-20 minutes after shaping to relax the gluten. If it still resists, your kitchen might be too cool—try resting near a warm oven.
How do I store leftover dough?
Wrap tightly in plastic and refrigerate for up to 24 hours or freeze for 1 month. Thaw overnight in the fridge before using. Cold dough is easier to shape than room temperature.

- BBQ Sausage Recipe Oven: Smoky Depth Without the Grill - September 28, 2026
- BBQ Chicken Bowl Recipe Rice: Smoky Sweetness Over Fluffy Grains - September 28, 2026
- Beef Cutlet Recipe Ideas: Crispy Breaded Patties With Bold Seasonings - September 28, 2026