
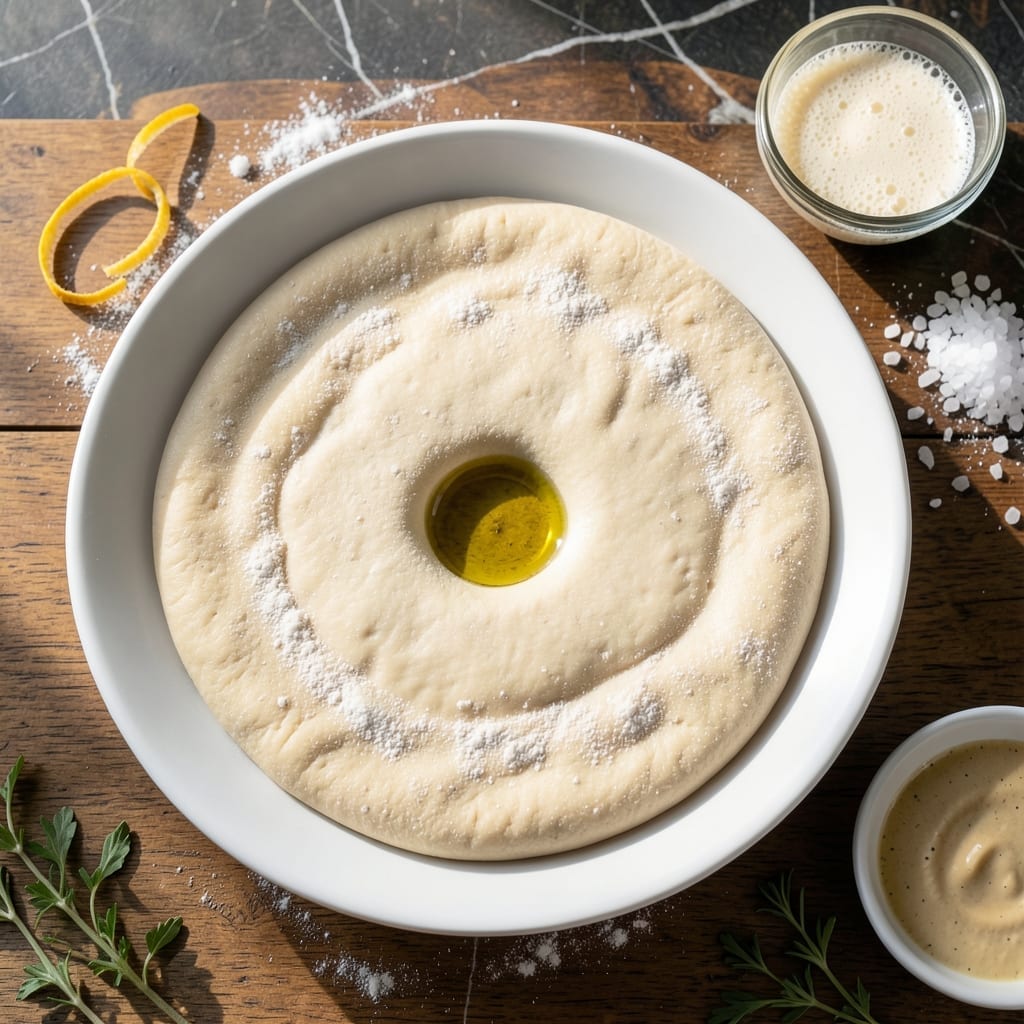
Homemade pizza dough doesn’t need hours to develop flavor—not when you have instant yeast on hand. This method delivers a chewy, flavorful crust in just 90 minutes, start to finish.
I perfected this recipe after years of experimenting with hydration levels and rising times. The instant yeast activates quickly, cutting the traditional wait without sacrificing texture or taste.
The result is a dough that bakes up golden with airy bubbles and that perfect balance of crisp and chewy. It holds toppings beautifully and browns evenly in a hot oven.
No special equipment required—just a mixing bowl, your hands, and a little patience. The process is straightforward, but the results taste like they came from a wood-fired oven.
Ingredients for Pizza Dough Recipe Instant Yeast
Eight ingredients transform into chewy, flavorful crust in record time.
| Ingredient | Amount | Notes |
|---|---|---|
| Bread Flour 🌾 | 3 ½ cups | High-protein for chewiness |
| Instant Yeast 🍞 | 2 ¼ tsp | One packet, rapid activation |
| Warm Water 💧 | 1 ¼ cups | 110-115°F ideal |
| Olive Oil 🫒 | 2 tbsp | Extra-virgin preferred |
| Granulated Sugar 🧂 | 1 tsp | Feeds the yeast |
| Kosher Salt 🧂 | 1 ½ tsp | Diamond Crystal preferred |
| Semolina Flour 🌾 | ¼ cup | For dusting work surface |
| Cornmeal 🌽 | 2 tbsp | For pizza peel dusting |
The flour is non-negotiable here—King Arthur Bread Flour has the protein content you need for that perfect chew. Instant yeast (I use SAF or Fleischmann’s) activates faster than active dry, which is why this works in 90 minutes. Find both in the baking aisle at any major grocery store. Warm water temp matters: too hot kills the yeast, too cold slows it down (a kitchen thermometer is handy).
No bread flour? All-purpose works in a pinch but the texture won’t be as chewy. Out of instant yeast? Swap active dry at the same amount but expect 20 extra minutes of rise time. Sugar can be honey (same amount), but since this is vegetarian, either works. The olive oil can be any neutral oil, but extra-virgin adds depth. Skip the semolina? Cornmeal alone does the job.
Dough keeps 2 days in the fridge (let it come to room temp before shaping). Freeze for 1 month wrapped tight in plastic. Baked crusts? Reheat in a dry skillet to revive crispness. Always dust your peel well—nothing worse than a stuck pizza (trust me on this one).
Why You’ll Love This Recipe
- No Fuss Rising: I just mix, knead, and let the instant yeast work its magic—no proofing headaches or waiting hours.
- Crisp Yet Chewy: That perfect crust comes from the bread flour and olive oil combo, with just a touch of sugar for balance.
- Weeknight Hero: I pull this together faster than delivery arrives, and honestly, it tastes better.
- Dough for Days: One batch makes two pizzas, so I freeze half for next time—my wallet and future self both thank me.
Step-by-Step Instructions for Pizza Dough with Instant Yeast
Here’s the method I’ve perfected for chewy, flavorful dough in under two hours.
Step 1: Activate the Yeast and Mix Wet Ingredients
In a large mixing bowl, combine the 1.25 cups warm water with the 1 tsp granulated sugar and 2.25 tsp instant yeast. I use instant yeast because it doesn’t require proofing, but I still let it sit for 5 minutes until the mixture becomes foamy and cloudy—that’s your sign the yeast is active and ready to work.
Stir in the 2 tbsp olive oil until fully incorporated. The sugar gives the yeast a quick food source to get started, while the olive oil adds richness and helps create that perfect tender chew we’re after. If your water isn’t quite 110-115°F, the yeast won’t activate properly.
Step 2: Combine Dry Ingredients and Form the Dough
In a separate bowl, whisk together the 3.5 cups bread flour and 1.5 tsp kosher salt. I use bread flour specifically because its higher protein content develops more gluten, which gives you that satisfying chewy texture. Diamond Crystal kosher salt is my preference—it dissolves evenly and seasons perfectly without overpowering.
Gradually add the dry ingredients to the wet mixture, stirring with a wooden spoon until a shaggy dough forms. It’ll look rough at first, but that’s normal. Once it comes together, switch to mixing by hand—you’ll feel the dough start to pull away from the sides of the bowl as the gluten begins to develop.
Step 3: Knead Until Smooth and Elastic
Turn the dough onto a surface dusted with 0.25 cup semolina flour. This coarse flour prevents sticking while adding a subtle nutty flavor. Knead for 8-10 minutes until the dough becomes smooth, elastic, and slightly tacky to the touch. If it’s too sticky, add a little more bread flour, but be conservative—too much will make your crust tough.
You’ll know it’s ready when you can stretch a small piece thin enough to see light through it without tearing (the windowpane test). This level of gluten development is what gives your pizza that perfect chew. The dough should spring back slowly when poked, not immediately bounce back.
Step 4: First Rise Until Doubled in Size
Form the dough into a ball and place it in a lightly oiled bowl, turning once to coat all sides. Cover with a damp towel or plastic wrap and let it rise in a warm, draft-free spot for 45-60 minutes. I like to turn my oven on to its lowest setting for 2 minutes, then turn it off and place the bowl inside—this creates the perfect proofing environment.
Watch for the dough to double in volume. It should look puffy and when you gently press it with a finger, the indentation should remain. If your kitchen is cool, this might take closer to 60 minutes. Don’t rush this step—proper rising is crucial for that open, airy crumb structure.
Step 5: Shape and Final Rest Before Using
Punch down the risen dough to release the air, then turn it out onto a surface dusted with 2 tbsp cornmeal. The cornmeal adds a nice crunch to the crust and prevents sticking when you transfer your pizza to the oven. Divide the dough into 4 equal portions for individual pizzas.
Shape each portion into a ball, then let them rest covered for 15-20 minutes before rolling out. This final rest relaxes the gluten, making the dough much easier to stretch into that perfect thin crust. You’ll find it stretches more easily and holds its shape better after this rest period.
Pro Tips For Making Pizza Dough Recipe Instant Yeast
- Check Water Temp: Use water between 105°F-110°F—any hotter kills the instant yeast, and colder just slows it down. I learned this the hard way after my dough refused to rise.
- Use Bread Flour: Skip all-purpose flour; bread flour’s higher protein content gives that chewy, elastic texture pizza dough needs.
- Don’t Rush Proofing: Let the dough double in size—about 1-2 hours at room temp. Resist the urge to speed it up, or you’ll end up with dense, flat crust.
- Oil the Bowl: Coat the bowl with about 1 tablespoon of olive oil before the first rise. It keeps the dough from sticking and makes cleanup way easier.
Essential Equipment for This Dish
Baking Essentials
For perfect pizza, I swear by my pizza stone—it mimics a wood-fired oven by maintaining steady, high heat. A 14-inch stone fits most home ovens and costs under $40. Preheat it for 1 hour before baking to ensure even cooking.
Mixing Tools
A stand mixer with dough hook attachment makes kneading effortless. I use my KitchenAid Artisan for this recipe, mixing on speed 2 for 6-8 minutes. If mixing by hand, a large wooden bowl and sturdy spoon work just as well.
Measuring Accuracy
Precision matters in baking. I rely on my OXO Good Grips measuring cups and spoons for consistent results. A kitchen scale helps too—1 cup bread flour should weigh about 120 grams. 💡
Rolling and Shaping
A rolling pin helps achieve uniform thickness. I prefer a French tapering pin for better control. For stretching by hand, dust your surface with semolina flour to prevent sticking while adding texture to the crust.
Temperature Control
An infrared thermometer ensures your stone reaches the ideal 500°F before baking. I check multiple spots on the stone for accuracy. A pizza peel with a long handle makes launching and retrieving pizzas safe and easy.
Optional Upgrades
For serious pizza makers, a pizza steel retains heat better than stone. I also love my perforated peel—it allows excess flour to sift through, preventing a gummy crust. A simple pastry brush helps with olive oil application. 🔥
Nutrition Facts
Frequently Asked Questions
Can I use all-purpose flour instead of bread flour?
Yes, but expect a slightly less chewy texture. Bread flour’s higher protein creates more gluten for that perfect bite.
Why does my dough not rise properly?
Check your water temperature—it should be 110-115°F. Too hot kills yeast, too cold slows activation. Also, ensure your yeast isn’t expired.
How thin should I roll the dough?
For a crispy crust, aim for 1/4-inch thickness. Use semolina or cornmeal to prevent sticking while rolling.
Can I make this dough ahead of time?
Refrigerate for up to 2 days or freeze for 1 month. Thaw in the fridge overnight before using.

- Potato Candy Recipe 1933: Vintage Peanut Butter Roll Delight - October 30, 2026
- Potato Chip Cookie Recipe With Pecans: Buttery Crunch Meets Nutty Richness - October 30, 2026
- Potato Patty Recipe No Egg: Crispy Edges Without the Binder - October 30, 2026