
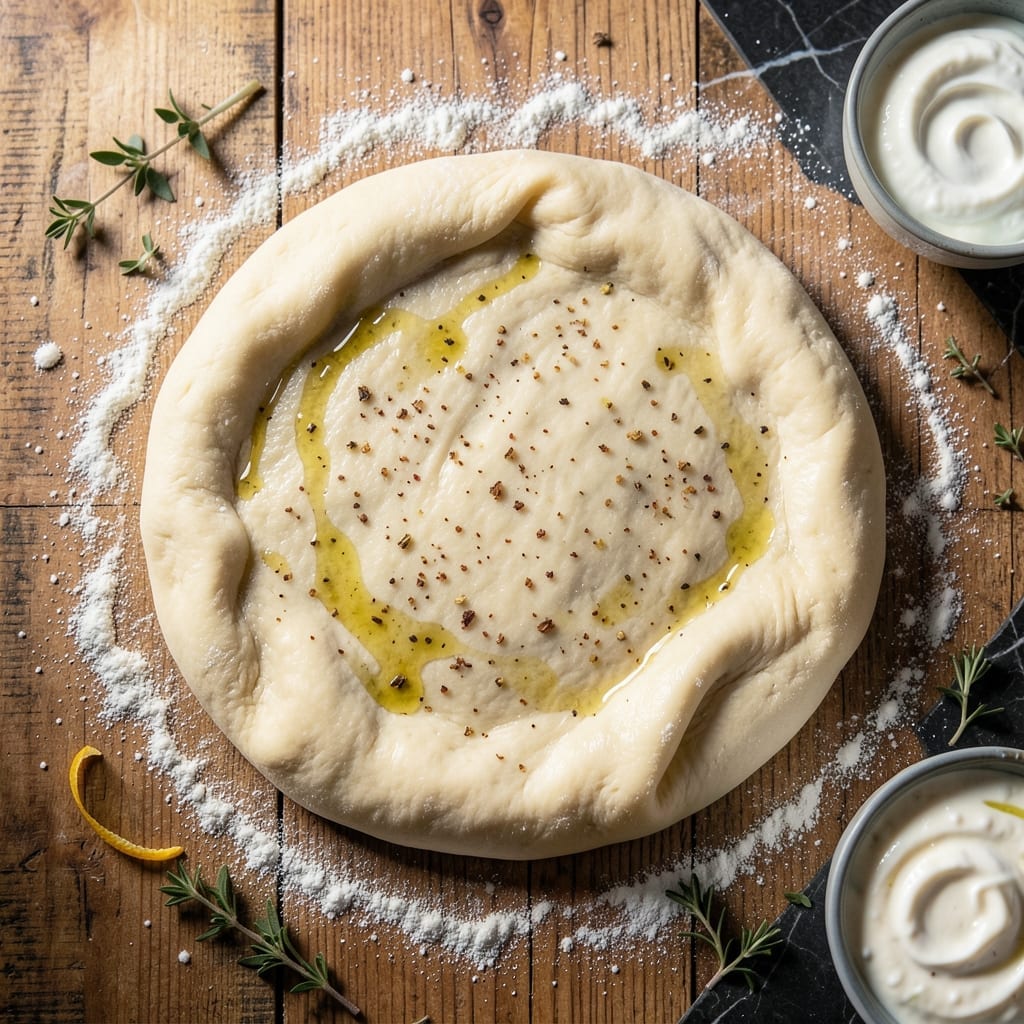
Homemade pizza dough doesn’t require yeast or hours of rising when you use self-rising flour as the base. This method delivers a fluffy, tender crust with minimal effort and maximum flavor. The science behind self-rising flour creates the perfect lift without traditional proofing.
I developed this recipe for busy weeknights when the craving for fresh pizza hits but time is limited. The dough comes together in minutes, requires no special equipment, and bakes into a golden crust that holds toppings beautifully. It’s the ideal solution for no-yeast pizza making.
The result is a crust that’s soft and airy inside with just enough chew, proving that excellent pizza dough doesn’t need complex techniques. You’ll achieve professional-quality results with ingredients you likely already have in your pantry.
Use this for classic pizzas, flatbreads, or even as a base for creative appetizers. The versatility makes it a go-to recipe for any occasion.
Ingredients for Pizza Dough Recipe with Self Rising Flour
Pantry staples plus a quick fridge grab. No yeast, no waiting, no stress.
| Ingredient | Amount | Notes |
|---|---|---|
| Self-Rising Flour 🌾 | 2 ½ cups | All-purpose self-rising, sifted |
| Greek Yogurt 🥛 | 1 cup | Plain, full-fat preferred |
| Olive Oil 🫒 | 2 tbsp | Extra-virgin for flavor |
| Salt 🧂 | ½ tsp | Fine sea salt preferred |
| Sugar 🍚 | 1 tsp | Granulated, optional for browning |
| Garlic Powder 🧄 | 1 tsp | For extra flavor depth |
| Dried Oregano 🍃 | 1 tsp | Mediterranean variety preferred |
| Water 💧 | ¼ cup | Warm, as needed for consistency |
The flour is everything here. Self-rising does the heavy lifting—no yeast, no proofing. King Arthur or White Lily are my go-tos, but any brand works if it’s fresh. Check the expiration date on the bag (old flour loses its oomph). The Greek yogurt adds tenderness and a slight tang—Fage full-fat is my pick, but any thick, plain yogurt does the trick.
No Greek yogurt? Plain yogurt drained in a sieve works, or sour cream for a richer dough. Swap garlic powder for fresh minced garlic at half the amount. Out of oregano? Dried basil or Italian seasoning fills in. The sugar is just for browning—skip it if you’re making savory flatbreads. Water amount can be eyeballed; add just enough to bring the dough together.
Dough keeps wrapped in plastic for 2 days in the fridge, or freeze for 1 month. Let it come to room temp before rolling out. Baked crusts freeze beautifully too—just reheat in a toaster oven.
Why You’ll Love This Recipe
- No-Fuss Mixing: I just stir the self-rising flour, Greek yogurt, and a glug of olive oil—no yeast, no proofing, no waiting.
- Rich, Tangy Crust: The yogurt adds this subtle creaminess that pairs perfectly with the crisp edges.
- Weeknight Hero: I’ve made this for lazy Fridays and last-minute dinner parties—always a hit.
Step-by-Step Instructions for Pizza Dough With Self Rising Flour
No yeast, no waiting—this method comes together fast with impressive results.
Step 1: Mix Dry Ingredients for Even Distribution
In a large mixing bowl, whisk together the 2.5 cups Self-Rising Flour, 0.5 tsp Salt, 1 tsp Sugar, 1 tsp Garlic Powder, and 1 tsp Dried Oregano. I always sift the flour first to break up any lumps and ensure a smooth dough texture.
The salt enhances the flavor, while the sugar helps with browning when the crust bakes. The garlic powder and oregano give it that classic pizza aroma. Whisk thoroughly so every bite of your crust has consistent seasoning.
Step 2: Add Wet Ingredients and Combine
Create a well in the center of the dry mixture and add the 1 cup Greek Yogurt and 2 tbsp Olive Oil. Using a wooden spoon or spatula, start mixing from the center outward, gradually incorporating the dry ingredients into the wet.
I’ve found that full-fat Greek yogurt gives the best texture—it’s thick enough to create a soft, pliable dough without additional yeast. The olive oil adds richness and helps the dough stretch more easily. Mix until you have a shaggy, slightly sticky dough.
Step 3: Adjust Consistency with Water as Needed
At this point, your dough might feel a bit dry or crumbly. Add the 0.25 cup Water, one tablespoon at a time, mixing between each addition. You may not need all of it—stop when the dough comes together and pulls away from the sides of the bowl.
Here’s the thing—self-rising flour can vary in moisture content, so the exact amount of water needed might differ slightly. The dough should be soft but not sticky. If it sticks to your fingers, add a dusting of flour and knead lightly.
Step 4: Knead Briefly and Let Rest
Turn the dough out onto a lightly floured surface and knead for 2-3 minutes until smooth. Don’t overwork it—this isn’t bread dough. You just want to ensure everything is evenly distributed and the gluten starts to develop.
Form the dough into a ball, place it back in the bowl, and cover with a damp towel. Let it rest for 15-20 minutes. This short rest makes the dough easier to roll out and helps relax the gluten, so it doesn’t shrink back when you stretch it.
Step 5: Shape and Prepare for Baking
After resting, divide the dough into 4 equal portions (for individual pizzas) or leave it whole for a larger pie. Roll out each portion on a floured surface to your desired thickness. I like mine thin in the center with a slightly thicker edge for a rustic crust.
Transfer the shaped dough to a parchment-lined baking sheet or pizza stone. Add your toppings and bake at 425°F for 12-15 minutes, or until the crust is golden brown and the cheese is bubbly. The self-rising flour does the work of yeast, giving you a fluffy, airy texture without the wait.
Pro Tips For Making Pizza Dough Recipe With Self Rising Flour
- Rest the Dough: Give it 10-15 minutes to relax after mixing—I learned this the hard way when my crust kept springing back while rolling. The self-rising flour needs that time to start working its magic.
- Use Full-Fat Yogurt: Skip the low-fat versions; the extra fat in full-fat Greek yogurt makes the dough more tender and easier to stretch. After trying both, the difference is night and day.
- Don’t Over-Flour: Resist the urge to dump extra flour on the counter when rolling. Too much toughens the dough, and with self-rising flour already in the mix, you don’t need much.
- Warm the Yogurt: Take it out of the fridge 10 minutes before mixing, or microwave it for 15 seconds—cold yogurt can shock the flour and slow down the rise. Sounds weird, but it works.
Common Mistakes When Making Perfect Results
Overworking the Dough
Self-rising flour creates a delicate structure, so knead just until smooth—about 2-3 minutes. Overworking develops too much gluten, making your crust tough. I learned this the hard way with my first batch. 💪
Skipping the Rest
Even though self-rising flour acts fast, don’t skip the 15-20 minute rest. This lets the gluten relax so the dough stretches easily. Skipping this step often causes the dough to shrink when rolling.
Using Cold Yogurt
Always use room temperature Greek yogurt. Cold yogurt can shock the flour and prevent proper activation of the leavening agents. I pull my yogurt out 30 minutes before starting.
Incorrect Flour Measurement
Spoon flour into your measuring cup and level it off—never scoop directly from the bag. Packed flour adds too much, leading to dense dough. For accuracy, I weigh 300g of self-rising flour instead of using volume.
Adding Too Much Water
Start with 2 tbsp water and add more gradually. Too much makes the dough sticky and hard to handle. The perfect consistency should be soft but not cling to your fingers. 💡
Baking at Wrong Temperature
Bake at 425°F for 12-15 minutes for optimal rise and browning. Lower temperatures won’t properly activate the leavening agents, resulting in a flat, pale crust.
Nutrition Facts
Frequently Asked Questions
Can I use regular flour instead?
No, regular flour lacks the leavening agents. To substitute, use 2.5 cups all-purpose flour plus 1.5 tsp baking powder and 0.5 tsp salt for similar results.
Why does the dough need to rest?
The 15-20 minute rest relaxes the gluten, making it easier to roll out. Skipping this may cause the dough to shrink when stretching.
Can I make this ahead of time?
Yes! Store wrapped dough in the fridge for up to 2 days or freeze for 1 month. Thaw before rolling out.
What if my dough is too sticky?
Add a dusting of flour, 1 tbsp at a time, until it no longer sticks to your fingers. Avoid over-flouring.

- BBQ Sausage Recipe Oven: Smoky Depth Without the Grill - September 28, 2026
- BBQ Chicken Bowl Recipe Rice: Smoky Sweetness Over Fluffy Grains - September 28, 2026
- Beef Cutlet Recipe Ideas: Crispy Breaded Patties With Bold Seasonings - September 28, 2026