
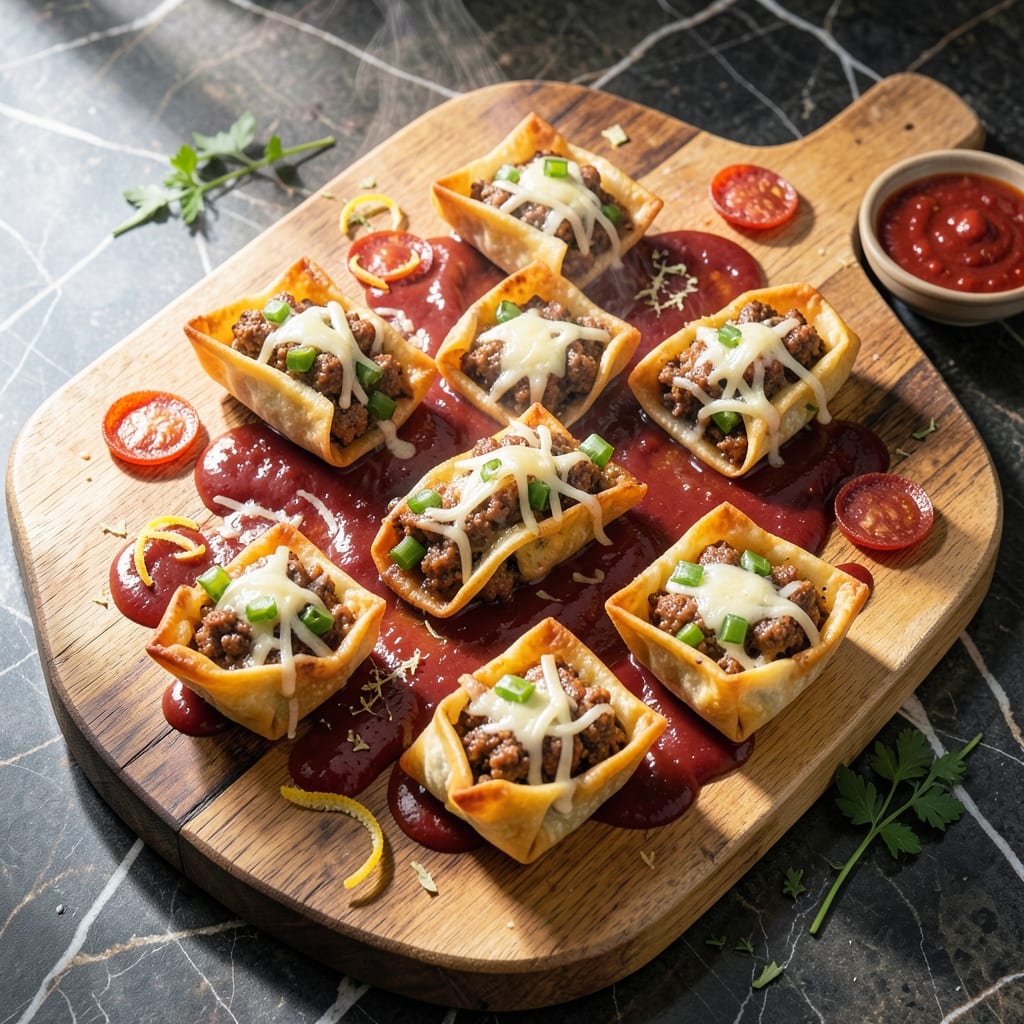
These Italian-inspired bites deliver a crispy texture that rivals any takeout version. I developed this method to transform simple egg roll wrappers into restaurant-quality appetizers with minimal effort.
The key is properly sealing the rolls and using high heat to achieve that signature golden, shatteringly crispy exterior. Each bite reveals a flavorful filling that stays perfectly contained within its delicate wrapper.
You’ll end up with perfectly browned rolls that hold their shape while offering that satisfying crunch with every bite. The egg roll wrappers provide just the right amount of chew to complement the savory filling.
Serve these warm with marinara for dipping. Here’s everything you need to make them at home.
Ingredients for Pizza Rolls Recipe Egg Roll Wrappers
Transform egg roll wrappers into crispy, Italian-inspired bites with these simple ingredients.
| Ingredient | Amount | Notes |
|---|---|---|
| Egg Roll Wrappers 🥟 | 12 pieces | Thawed if frozen |
| Italian Sausage 🌭 | ½ lb | Mild or spicy, casings removed |
| Marinara Sauce 🍅 | 1 cup | Thick variety preferred |
| Shredded Mozzarella Cheese 🧀 | 1 ½ cups | Low-moisture for best melt |
| Pepperoni 🍕 | ½ cup | Mini or regular, chopped |
| Green Bell Pepper 🌶️ | ½ whole | Finely diced |
| Yellow Onion 🧅 | ¼ whole | Finely diced |
| Garlic Cloves 🧄 | 2 cloves | Minced |
| Dried Oregano 🌿 | 1 tsp | Crushed for better flavor |
| Dried Basil 🍃 | 1 tsp | Optional but recommended |
| Olive Oil 🫒 | 2 tbsp | For frying |
| Water 💧 | 1 tbsp | For sealing wrappers |
| Grated Parmesan Cheese 🧀 | ¼ cup | For topping |
| Red Pepper Flakes 🔥 | ¼ tsp | Optional, for heat |
Egg roll wrappers are the secret here—Nasoya or Spring Roll Pastry brands work best (find them in the freezer section at Kroger or Asian markets). The Italian sausage makes the filling rich, so splurge on Johnsonville or Jimmy Dean. For mozzarella, Sargento or Kraft low-moisture shreds melt perfectly without getting greasy. Fresh is key for the bell pepper and onion—look for vibrant color and firm texture.
No Italian sausage? Ground beef or turkey with a pinch of fennel seeds mimics the flavor. Swap pepperoni for diced salami or skip it entirely. Fresh herbs at one-third the amount work if you’ve got basil or oregano growing. The marinara can be jarred—Rao’s or Victoria are my go-tos (no shame in store-bought). Out of mozzarella? Provolone melts just as well.
Assemble and fry right before serving—that crispiness is best fresh. Leftovers keep 2-3 days in the fridge but lose the crunch. Reheat in an air fryer at 375°F for 3-4 minutes to revive. Or freeze uncooked rolls on a tray, then transfer to a bag—they’ll last 2 months.
Why You’ll Love This Recipe
- No-Fuss Assembly: I just roll, fill, and bake—the egg roll wrappers do all the work, no dough-making required.
- That Pepperoni Punch: The spicy Italian sausage and pepperoni pack a serious flavor hit in every bite.
- Party or Lunchbox: Honestly, these disappear whether I’m feeding a crowd or packing leftovers for work the next day.
- Stretches Further: One package of wrappers makes a ton, and the filling is cheap—my wallet actually thanks me.
Step-by-Step Instructions for Pizza Rolls with Egg Roll Wrappers
Here’s how I get that perfect golden crunch with every bite.
Step 1: Sauté the Filling Base
Heat 2 tbsp olive oil in a skillet over medium heat. Add the 0.5 lb Italian sausage with casings removed, breaking it up as it browns. Cook for 5-6 minutes until no pink remains and the sausage is crumbly and golden brown.
Stir in the 0.5 whole green bell pepper and 0.25 whole yellow onion, both finely diced. Sauté for 3-4 minutes until the vegetables soften and the onion becomes translucent. Add the 2 cloves garlic cloves and cook for 30 seconds until fragrant.
This builds a flavorful foundation. I always let the sausage brown well—it adds depth that carries through the entire dish. Drain excess fat if needed, but leave about 1 tbsp for flavor.
Step 2: Combine Filling Ingredients
Reduce heat to low and stir in 1 cup marinara sauce, 0.5 cup pepperoni, 1 tsp dried oregano, 1 tsp dried basil, and 0.25 tsp red pepper flakes. Simmer for 2-3 minutes to meld the flavors.
Remove from heat and fold in 1.5 cups shredded mozzarella cheese. The cheese should melt slightly but not completely—you want visible streaks for gooey pockets in the finished rolls. Let the mixture cool slightly; it should be warm but not piping hot when you handle it.
I use low-moisture mozzarella for this. Regular shredded mozzarella can release too much liquid and make the wrappers soggy before they even hit the pan.
Step 3: Assemble the Pizza Rolls
Place an egg roll wrapper in a diamond orientation. Add about 2-3 tbsp of the filling near the bottom corner, leaving a ½-inch border. Fold the bottom corner up over the filling, then fold in the sides, and roll tightly toward the top corner.
Use 1 tbsp water to moisten the top corner before sealing. Press firmly along the edges to create a tight seal—this prevents leaks during frying. Repeat with all 12 pieces egg roll wrappers.
Here’s the thing—don’t overfill. It’s tempting, but too much filling makes sealing difficult and can burst open while cooking. A tight roll fries up crispier.
Step 4: Fry to Golden Perfection
Heat about ½ inch of neutral oil in a deep skillet to 350°F. Fry the rolls in batches for 2-3 minutes per side, turning occasionally, until they’re deep golden brown and crispy all over.
Don’t crowd the pan—this lowers the oil temperature and leads to greasy, not crispy, results. I use a slotted spoon to turn them, letting excess oil drip back into the pan.
Transfer to a paper towel-lined plate to drain. The rolls should be crisp enough to hear a slight crunch when you handle them, but still pliable.
Step 5: Finish and Serve
While still warm, sprinkle the rolls with 0.25 cup grated parmesan cheese. The residual heat will melt it slightly, creating a beautiful salty finish that complements the crispy exterior.
Serve immediately with extra marinara sauce for dipping. These are best fresh out of the pan when the cheese is still gooey and the wrapper is at its crispiest. If you must hold them, keep warm in a 200°F oven for up to 15 minutes.
The contrast of textures is what makes these so addictive—the crunch of the wrapper giving way to the melty, savory filling inside.
Pro Tips For Making Pizza Rolls Recipe Egg Roll Wrappers
- Seal Tightly: Press the edges of the egg roll wrappers firmly with a bit of water—sounds simple, but I learned this the hard way after losing too many fillings to the pan.
- Precook Sausage: Brown the Italian sausage before wrapping to render fat and prevent soggy wrappers. Drain it well, or you’ll regret the greasy mess.
- Skip Overfilling: Resist the urge to stuff them full—more than a tablespoon of cheese and filling per roll makes them burst open while frying.
- Fry in Batches: Crowding the pan drops the oil temp, and you’ll end up with limp, greasy rolls. Two or three at a time in hot oil gives that crispy shell you want.
Essential Equipment for This Dish
Deep Fry Setup
For the crispiest results, I recommend a heavy-bottomed pot or Dutch oven with at least 3-inch sides to prevent oil splatter. My go-to is a Lodge enameled cast iron pot—it heats evenly and maintains temperature beautifully. Fill with ½ inch of neutral oil like vegetable or canola. 🔥
Temperature Control
A candy or deep fry thermometer is essential for maintaining 350°F. I use the Taylor Precision model—it clips to the pot and gives accurate readings. Without proper temp control, your rolls will either absorb too much oil or cook unevenly.
Frying Tools
Invest in a slotted metal spoon or spider strainer for safe turning and removal. I also keep a paper towel-lined plate nearby for draining. For extra crispiness, place drained rolls on a wire rack set over a baking sheet.
Alternative Cooking
No deep fryer? An air fryer works great at 375°F for 8-10 minutes, flipping halfway. I use my Ninja Foodi for this method. Just brush rolls lightly with oil first for that golden finish.
Prep Station
Set up your workspace with wax paper for rolling and a small bowl of water for sealing. I like using a pastry brush to moisten edges evenly. Have your filling and wrappers ready before starting assembly.
Cleanup Essentials
Keep paper towels and dish soap handy for quick cleanup. I always have a silicone brush ready to scrub my pot after frying. A splatter screen helps contain oil pops during cooking.
Nutrition Facts
Frequently Asked Questions
Can I bake these instead of frying?
Yes! Brush with oil and bake at 400°F for 15-18 minutes, flipping halfway. They won’t be quite as crispy but still delicious.
Why did my rolls burst open while cooking?
Overfilling is the usual culprit. Use 2-3 tbsp max per wrapper and seal edges tightly. Chilling assembled rolls for 10 minutes before cooking helps too.
Can I make these ahead of time?
Assemble and freeze uncooked rolls on a tray, then transfer to a bag. Fry from frozen, adding 1-2 minutes extra. Perfect for party prep!
What’s the best oil for frying?
Use neutral oils like vegetable, canola, or peanut oil with a high smoke point. Avoid olive oil—it burns at frying temps.

- Potato Candy Recipe 1933: Vintage Peanut Butter Roll Delight - October 30, 2026
- Potato Chip Cookie Recipe With Pecans: Buttery Crunch Meets Nutty Richness - October 30, 2026
- Potato Patty Recipe No Egg: Crispy Edges Without the Binder - October 30, 2026