
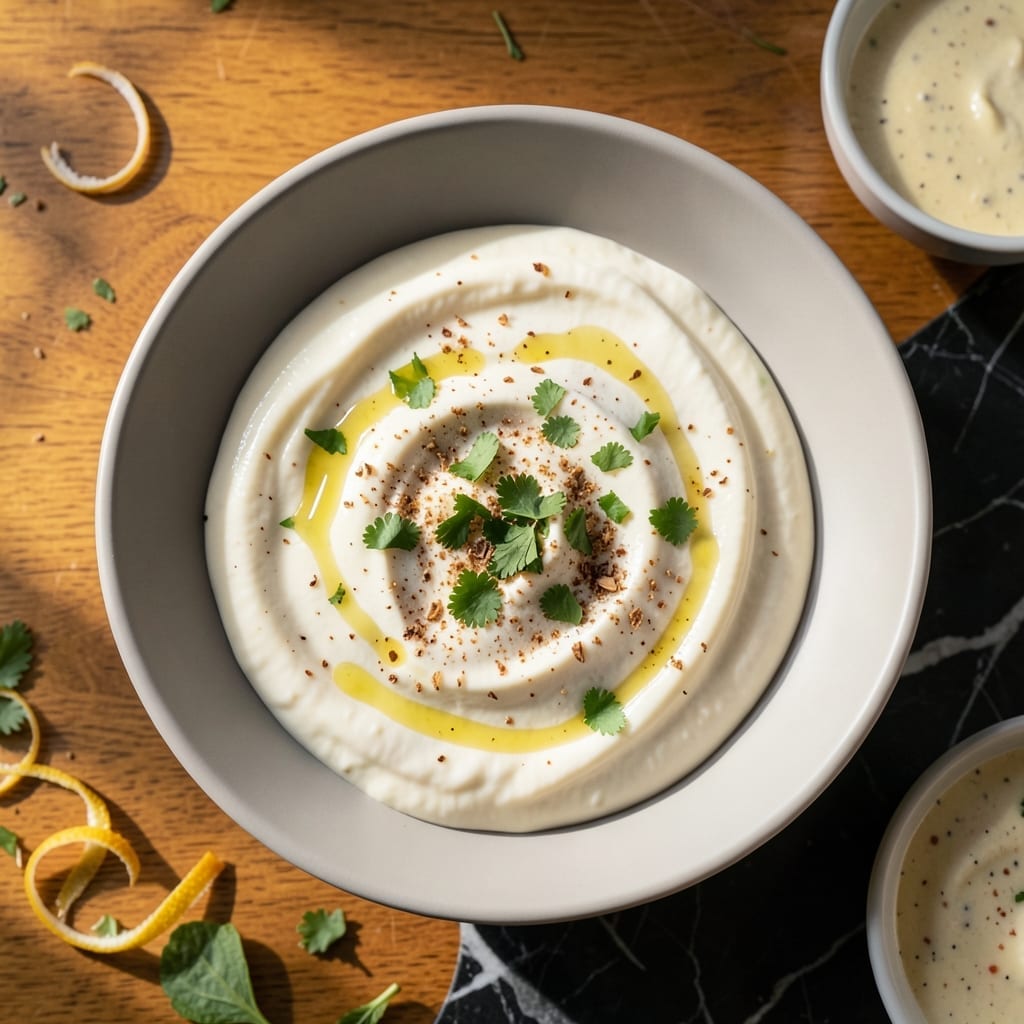
This authentic white sauce captures the creamy essence of Plaza Azteca’s famous dip, perfect for pairing with chips, tacos, or grilled meats. I developed this recipe after years of experimenting to match the restaurant’s signature flavor and texture.
The secret lies in balancing sour cream, mayonnaise, and a touch of lime juice for that signature tang. It comes together in 5 minutes with simple ingredients, yet delivers the rich, velvety consistency you expect from a Mexican classic.
What you get is a versatile sauce that’s smooth, slightly tangy, and just the right thickness for dipping or drizzling. It stays fresh for days, making it ideal for meal prep or gatherings.
Use it as a base for enchiladas, a topping for nachos, or simply enjoy it with warm tortilla chips.
Ingredients for Plaza Azteca White Sauce
Nine ingredients bring that legendary creamy, tangy flavor to your kitchen in minutes.
| Ingredient | Amount | Notes |
|---|---|---|
| Sour Cream 🥣 | 1 cup | Full-fat for creaminess |
| Mayonnaise 🥫 | ½ cup | Use high-quality brand |
| Lime Juice 🍈 | 2 tbsp | Freshly squeezed preferred |
| Dried Onion Flakes 🧅 | 1 tsp | For subtle onion flavor |
| Garlic Powder 🧄 | 1 tsp | Not garlic salt |
| Ground Cumin 🌿 | ½ tsp | Toasted for depth |
| Salt 🧂 | ½ tsp | Adjust to taste |
| Sugar 🍚 | ¼ tsp | Balances acidity |
| Dried Oregano 🍃 | ½ tsp | Mexican oregano ideal |
| Green Chile Peppers 🌶️ | 2 oz | Canned, diced (mild) |
The sour cream is non-negotiable here. Full-fat Daisy or Breakstone’s gives that velvety texture Plaza Azteca is known for—low-fat versions just don’t deliver. For the green chiles, Old El Paso or Hatch brand (mild) are what you want. Most grocery stores carry them in the Mexican aisle. Don’t skip the cumin—it’s doing quiet but essential work in the background.
No sour cream? Full-fat Greek yogurt at a 1:1 ratio works in a pinch (it’ll be slightly tangier). Out of green chiles? A pinch of cayenne plus extra lime gets you close, but the flavor won’t be the same. For the mayo, Hellmann’s or Duke’s are the gold standard. If you’re worried about the sauce being too thick, thin it with a splash of milk or water (don’t overdo it).
This keeps beautifully. Store in an airtight container for up to 10 days in the fridge. The flavors deepen overnight, so making it ahead is ideal. Not freezer-friendly—it’ll separate. Give it a good stir before using if it’s been sitting.
Why You’ll Love This Recipe
- Five Minute Mix: I just dump all the ingredients in a bowl—sour cream, mayo, lime juice, and those dried onion flakes—and it’s done.
- Bright Zing: The lime juice cuts through the richness of the sour cream and mayo, giving it that tangy kick I crave.
- Dip or Drizzle: I use it for tacos, burritos, even as a salad dressing—honestly, it’s my go-to for anything that needs a creamy touch.
- Pantry Staples: No fancy shopping here. I always have garlic powder and dried onion flakes on hand, so this sauce is a last-minute lifesaver.
Step-by-Step Instructions for Plaza Azteca White Sauce
This authentic method delivers the creamy, tangy dip you crave with minimal effort.
Step 1: Combine the Cream Base
In a medium mixing bowl, whisk together the 1 cup Sour Cream and 0.5 cup Mayonnaise until completely smooth. I use full-fat sour cream here—it provides that signature velvety texture that lower-fat versions just can’t match.
This base should look rich and thick, with no visible streaks of either ingredient. If you see any separation, keep whisking until it’s uniform. The mayonnaise adds body and a subtle richness that balances the tang of the sour cream perfectly.
Step 2: Add the Aromatic Seasonings
Sprinkle in the 1 tsp Dried Onion Flakes, 1 tsp Garlic Powder, 0.5 tsp Ground Cumin, 0.5 tsp Salt, 0.25 tsp Sugar, and 0.5 tsp Dried Oregano. I prefer Mexican oregano for this recipe—it has a slightly citrusy, earthy note that complements the other flavors beautifully.
Gently fold these into the creamy base until just combined. Don’t overmix at this stage; you want the spices to distribute evenly without breaking down the structure of the sauce. The sugar might seem odd, but it’s crucial for balancing the acidity from the next step.
Step 3: Incorporate the Acid and Chile Peppers
Add the 2 tbsp Lime Juice and 2 oz Green Chile Peppers to the bowl. Freshly squeezed lime juice is ideal, but bottled works in a pinch. The diced green chile peppers should be mild—this isn’t meant to be a spicy sauce, just one with depth.
The lime juice will slightly thin the mixture, which is exactly what you want. Fold everything together until the green flecks from the chile peppers are evenly distributed and the sauce has a uniform, creamy consistency with visible specks of spice and chile.
Step 4: Rest and Develop the Flavors
Cover the bowl with plastic wrap and refrigerate for at least 30 minutes. I know it’s tempting to dig in right away, but this resting period allows the flavors to meld together. The dried spices will rehydrate slightly, and the acid from the lime juice will mellow.
After 30 minutes, give it a quick stir and taste. The sauce should be tangy with a subtle warmth from the cumin and chile peppers. If it needs more salt, add it sparingly—the flavors will continue to develop as it chills further.
For best results, let it rest for 2 hours before serving. This gives the dried oregano and onion flakes time to fully infuse their flavors into the creamy base, creating that authentic taste you’re after.
Pro Tips For Making Plaza Azteca White Sauce
- Chill Before Serving: After mixing, refrigerate the sauce for at least 30 minutes—this lets the dried onion flakes rehydrate and the flavors meld together properly.
- Use Full-Fat Sour Cream: I learned this the hard way—low-fat versions can make the sauce thin and watery, while full-fat gives it that rich, creamy texture Plaza Azteca is known for.
- Skip the Fresh Garlic: Garlic powder dissolves smoothly and distributes evenly, while fresh garlic can leave bitter chunks or overpower the mild tang of the lime and sour cream.
- Add Lime Last: Stir in the lime juice at the very end after everything else is combined—adding it too early can cause the mayonnaise to separate or curdle.
Essential Equipment for This Recipe
Mixing Bowls
I always reach for my 2-quart glass mixing bowl with a pouring spout—it gives me enough room to whisk without splashing. The Pyrex Smart Essentials set is my go-to. A wide, shallow bowl helps with even mixing of the thick base. 💡
Whisk Selection
A 10-inch balloon whisk is perfect for blending the sour cream and mayonnaise smoothly. I prefer the OXO Good Grips whisk—its non-slip handle makes quick work of the creamy base. Avoid small whisks; they create more splatter.
Measuring Tools
For precise seasoning, use 1 tbsp and 1 tsp measuring spoons. I keep a magnetic set from Winco in my drawer. The lime juice is easiest with a 1 tbsp measure—no need to dirty a separate cup. Accuracy matters with the small quantities here.
Storage Containers
Once mixed, transfer to an airtight container with a tight-sealing lid. I love the Rubbermaid Brilliance line—their 16 oz containers are perfect for this sauce. Glass lets you see the beautiful flecks of spice and chile.
Optional Equipment
A fine-mesh strainer helps if you want ultra-smooth sauce, though I prefer the texture with the chile flecks. For easy pouring, a small silicone spatula scrapes every last drop from the bowl. These extras aren’t essential but make the process cleaner.
Nutrition Facts
Frequently Asked Questions
Can I use Greek yogurt instead of sour cream?
Yes! Use full-fat Greek yogurt in a 1:1 ratio. It will be slightly tangier but maintains the creamy texture. Adjust lime juice to taste if needed.
Why does the sauce need to rest before serving?
Resting lets the dried spices rehydrate and flavors meld. 30 minutes is minimum, but 2 hours gives the best depth of flavor.
How can I make it spicier?
Add a pinch of cayenne or diced jalapeños. For smoky heat, include 1/4 tsp chipotle powder. Start small and adjust to preference.
Can this sauce be frozen for later?
No, freezing causes separation and texture changes. Store in an airtight container in the fridge for up to 10 days.

- BBQ Sausage Recipe Oven: Smoky Depth Without the Grill - September 28, 2026
- BBQ Chicken Bowl Recipe Rice: Smoky Sweetness Over Fluffy Grains - September 28, 2026
- Beef Cutlet Recipe Ideas: Crispy Breaded Patties With Bold Seasonings - September 28, 2026