
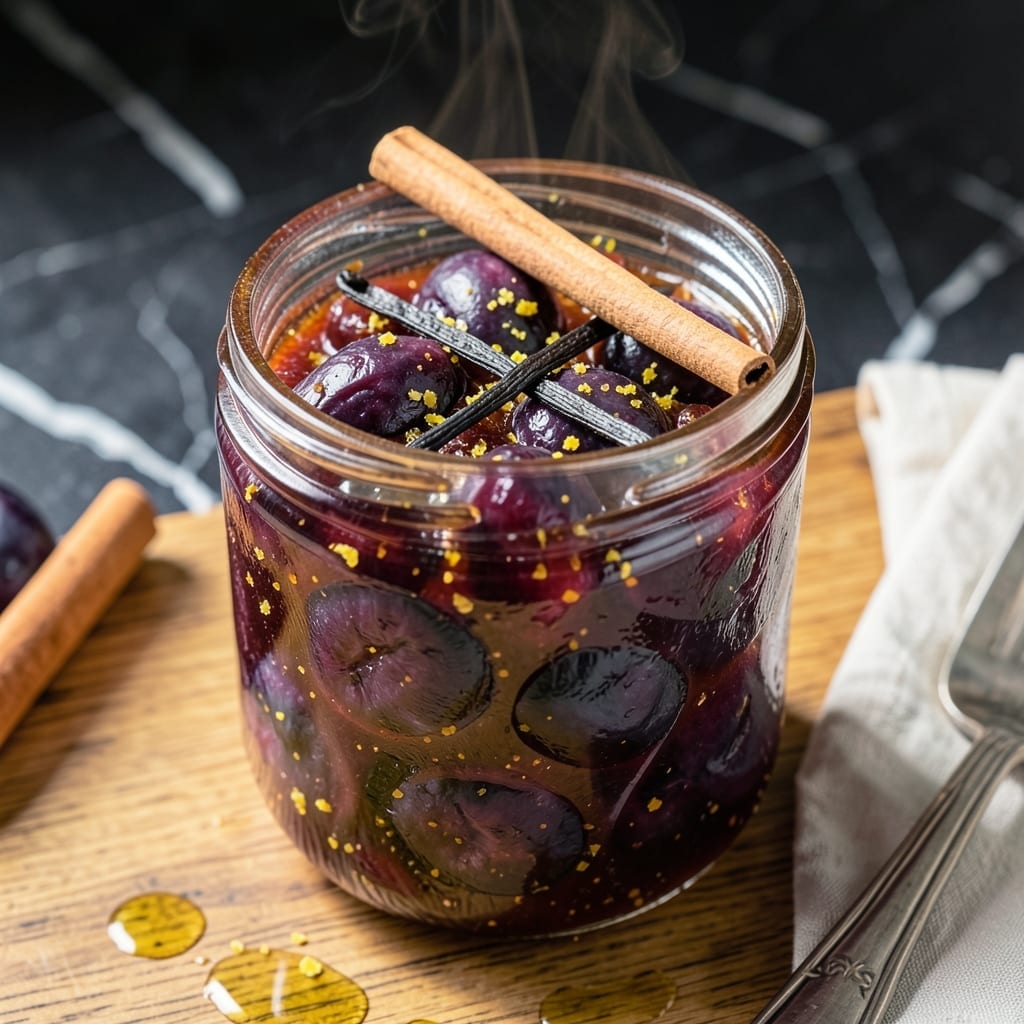
Preserving summer plums at their peak doesn’t require added sugar to capture their natural sweetness. This method relies on the fruit’s inherent sugars and a touch of lemon juice to create a spread that’s both vibrant and long-lasting.
The process is straightforward: simmer ripe plums with a bit of acid until they thicken into a glossy preserve. No pectin or refined sugar needed—just fruit and time. The result is a naturally sweet spread with a bright, tangy edge.
These preserves keep beautifully in sealed jars for months, making them perfect for gifting or stocking your pantry. The texture stays luscious, and the flavor deepens over time.
Use it on toast, swirl it into yogurt, or pair it with sharp cheeses for a simple yet elegant touch.
Ingredients for Plum Preserves Recipe No Sugar
Just plums and lemon transform into a glossy, naturally sweet preserve.
| Ingredient | Amount | Notes |
|---|---|---|
| Ripe Plums 🍑 | 4 lb | Pitted, quartered, any variety |
| Lemon Juice 🍋 | ½ cup | Freshly squeezed preferred |
| Lemon Zest 🍋 | 1 tbsp | From 1-2 lemons |
| Water 💧 | ¼ cup | Optional, for thinner consistency |
| Vanilla Bean 🌿 | 1 whole | Split and scraped, optional |
| Cinnamon Stick 🌿 | 1 whole | Optional for spiced flavor |
| Star Anise Pods ✨ | 2 pieces | Optional for depth |
The plums are everything here. Farmers market plums at peak ripeness yield the most flavor—look for fruit that gives slightly when pressed. Mix varieties for complexity: purple, red, and yellow plums create a beautiful, layered spread. Avoid underripe fruit (too tart) or overripe (mushy texture). I always buy a few extra pounds since they cook down significantly during simmering.
No lemon? Lime juice at equal amount works, though the flavor profile shifts slightly. Want more warmth? Add a pinch of ground cinnamon instead of the stick. Skip the spices entirely for a pure plum flavor. The vanilla bean is optional but adds a subtle depth that pairs beautifully with the natural fruit sugars. Vanilla extract at 1 tsp can substitute if beans aren’t available.
These preserves keep for 12-18 months in sterilized, sealed jars at room temperature. Once opened, refrigerate and use within 3 months. The flavor actually improves after a few weeks as the ingredients meld together. Perfect for holiday gifting—just add a pretty ribbon and label.
Why You’ll Love This Recipe
- Five Ingredients: I just dump plums, lemon juice, zest, water, and a vanilla bean in a pot—no measuring cups pile up.
- Bright & Zesty: The lemon zest wakes up the plums, and that vanilla bean adds a warm depth I didn’t expect.
- Breakfast to Gift: I slather it on toast, swirl it into yogurt, or jar it for neighbors. Between us, it disappears fast.
- Pantry Stable: One batch fills three jars, and they keep for months. Honestly, it’s cheaper than store-bought.
Step-by-Step Instructions for Plum Preserves No Sugar
This method extracts natural sweetness from the fruit while building depth through gentle cooking.
Step 1: Prepare the Plums and Aromatics
Pit and quarter all 4 lb ripe plums, removing any stems. I leave the skins on for texture and color, but make sure to discard any bruised or overripe pieces that might affect flavor. The fruit should be uniformly sized to ensure even cooking.
Split the vanilla bean lengthwise and scrape out the seeds. In a large, heavy-bottomed pot, combine the plums, vanilla seeds and pod, 1 tbsp lemon zest, 0.5 cup lemon juice, 1 cinnamon stick, and 2 star anise pods. These spices will infuse as everything cooks.
Step 2: Begin the Initial Cooking Process
Place the pot over medium heat and bring to a gentle simmer. Stir frequently with a wooden spoon, pressing down on the plums to help them break down and release their juices. You’ll notice the mixture start to soften after about 10 minutes.
At this stage, add the 0.25 cup water if you prefer a thinner consistency. The liquid helps prevent sticking and gives you more control over the final texture. Keep the heat steady—you want a consistent, gentle bubble, not a rolling boil that could burn the fruit.
Step 3: Reduce to Desired Thickness
Once the plums have completely broken down (after about 20-25 minutes), reduce the heat to medium-low. Continue cooking, stirring occasionally, until the mixture thickens. You’ll know it’s ready when a wooden spoon leaves a clear trail that holds its shape for a few seconds.
This reduction process concentrates the natural sugars and flavors. The preserves should coat the back of a spoon and have a glossy, jam-like appearance. If it seems too thick, add a splash of water; if too thin, cook a few minutes longer.
Step 4: Remove Spices and Test Consistency
Turn off the heat and remove the vanilla bean pod, cinnamon stick, and star anise pods. These have imparted their flavors and should be discarded now to prevent overpowering the preserves with their presence.
Give the mixture a final stir and check the consistency. The preserves will thicken slightly as they cool. If you prefer a smoother texture, use an immersion blender for a few quick pulses, but I like to leave some chunks for visual appeal.
Step 5: Jar and Cool Completely
Ladle the hot preserves into clean, sterilized jars, leaving about ½ inch of headspace. As the mixture cools, it will thicken further. Let the jars sit undisturbed at room temperature until completely cool—this usually takes 1-2 hours.
Once cooled, seal the jars and store in the refrigerator for up to 3 weeks, or process for longer shelf life according to standard canning procedures. The flavor deepens over time, making these preserves even better after a few days.
Pro Tips For Making Plum Preserves Recipe No Sugar
- Simmer Low and Slow: Keep the heat at a gentle simmer—any higher and the plums will break down too fast, leaving you with a thin, watery preserve instead of a thick, jammy texture.
- Pit and Quarter: Remove the pits and quarter the plums before cooking; this speeds up the softening process and helps the fruit release its natural pectin faster.
- Skip the Overcrowding: Don’t overload the pot with too many plums at once, or they’ll steam instead of simmer, and you’ll end up with a mushy, uneven mess.
- Add Vanilla Last: Stir in the vanilla bean only during the last 10 minutes of cooking to preserve its delicate flavor—adding it too early lets the aroma evaporate away.
Common Mistakes When Making This Dish
Overcooking the Fruit
Don’t let the plums simmer too vigorously or for too long. Once they’ve broken down, keep the heat at medium-low and stir often. Overcooking turns the preserves into a thick, dull paste instead of a glossy spread. I test the consistency every 5 minutes after the 20-minute mark. 🔥
Skipping the Stirring
Plum preserves can stick to the bottom of the pot, especially as they thicken. Stir frequently with a wooden spoon, scraping the bottom to prevent burning. David, my taste-tester, can always spot the batches where I got distracted and didn’t stir enough—they have a slightly bitter edge.
Using Underripe Plums
The natural sugars in ripe plums are what make this recipe work. Underripe fruit will give you a tart, thin preserve that never thickens properly. Press gently on the plums before buying—if they give slightly, they’re perfect. I learned this the hard way at Nana Mae’s diner.
Adding Too Much Water
A little water is fine for adjusting consistency, but too much will dilute the flavor and require excessive cooking time. Start with ¼ cup or less, and only add more if the mixture seems too thick. Remember, the preserves will thicken further as they cool.
Forgetting to Remove Spices
Leaving the vanilla bean, cinnamon stick, or star anise in the jars means their flavors will continue to intensify, potentially overpowering the delicate plum taste. Fish them out as soon as the cooking is done. I keep a small strainer handy for this step.
Improper Jar Sterilization
Even with no added sugar, proper sterilization is key for long-term storage. Wash jars in hot, soapy water, then boil them for 10 minutes before filling. This prevents mold and extends shelf life to that full 12-18 months we all want. ✨
Nutrition Facts
Frequently Asked Questions
Can I use this with savory dishes?
The natural tartness pairs wonderfully with roasted meats or cheese boards. Try it glazed over pork tenderloin or as a contrast to sharp cheddar.
Why did my preserves turn out runny?
Underripe fruit or insufficient cooking time are common culprits. Ensure plums are fully ripe and simmer until the mixture thickens to 220°F on a candy thermometer.
How can I make it smoother?
Use an immersion blender after cooking for a silky texture. For chunkier preserves, simply mash with a potato masher during the last 5 minutes of cooking.
Is pectin needed for thickness?
No! Plums contain enough natural pectin. The long simmer time concentrates this, creating a perfect spreadable consistency without additives.

- Potato Candy Recipe 1933: Vintage Peanut Butter Roll Delight - October 30, 2026
- Potato Chip Cookie Recipe With Pecans: Buttery Crunch Meets Nutty Richness - October 30, 2026
- Potato Patty Recipe No Egg: Crispy Edges Without the Binder - October 30, 2026