
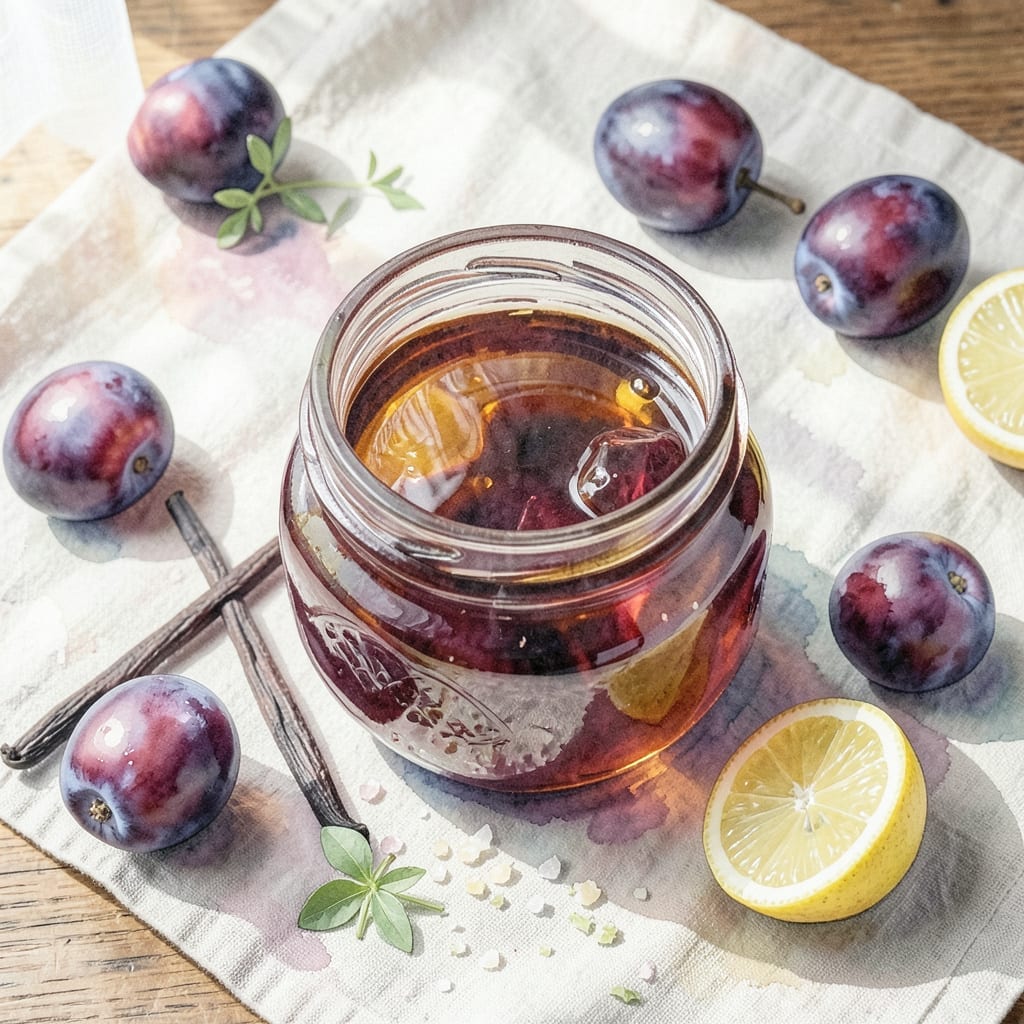
Preserving summer’s bounty in liquid form is what makes this plum syrup so special. The process transforms ripe plums into a concentrated, fruit-forward sweetness that captures their essence perfectly.
This recipe follows tested canning methods to ensure safety while delivering a versatile syrup. The balance of plums, sugar, and citrus creates a rich, vibrant flavor that works in cocktails, desserts, or drizzled over pancakes.
What you’ll get is a glossy, deep-colored syrup with the natural tartness of plums mellowed by sweetness. Each jar preserves the season’s best flavors for enjoyment all year round.
Follow the precise steps for proper sealing and storage to keep your syrup fresh and delicious for months.
Ingredients for Plum Syrup Recipe for Canning
Eight simple ingredients transform ripe plums into glossy, fruit-forward syrup ready for canning.
| Ingredient | Amount | Notes |
|---|---|---|
| Ripe Plums 🍑 | 4 lb | Pitted and quartered, any variety |
| Granulated Sugar 🍚 | 3 cups | Adjust for desired sweetness |
| Water 💧 | 2 cups | Filtered for best clarity |
| Lemon Juice 🍋 | ½ cup | Freshly squeezed preferred |
| Lemon Zest 🍋 | 2 tbsp | From 1-2 lemons, finely grated |
| Vanilla Bean 🌿 | 1 whole | Split and scraped, optional |
| Cinnamon Stick 🌿 | 1 whole | Optional for spiced variation |
| Star Anise Pods ✨ | 2 whole | Optional for depth of flavor |
Plums are the star here, so pick ripe but firm ones—underripe won’t have the sweetness, overripe will turn mushy. I grab mine from local farmers markets in late summer when they’re at peak flavor. The sugar is non-negotiable for preservation, but you can cut it back slightly if your plums are super sweet (just don’t go below 2 cups). Vanilla beans from Trader Joe’s or Costco are affordable and add that subtle floral note.
No vanilla bean? Vanilla extract at 1 tbsp works in a pinch. Swap cinnamon sticks for ground cinnamon at 1 tsp—just strain it out before canning. Star anise not your thing? A pinch of cardamom gives a different warm note. The lemon juice isn’t just for flavor—it’s critical for acidity balance and safety in canning, so don’t skip it. Bottled works fine if fresh isn’t available.
This syrup keeps its vibrant color and flavor for 12-18 months in a cool, dark place once properly canned. Unopened jars are shelf-stable, but once opened, refrigerate and use within 1 month. The flavor deepens over time—it’s even better after a few weeks. Always check your USDA canning guidelines for altitude adjustments.
Why You’ll Love This Recipe
- One Pot Wonder: I just dump pitted plums, sugar, water, and lemon zest in a pot—no fancy steps, no fuss.
- Sweet-Tart Magic: The lemon juice and zest balance the plums into this bright, syrupy perfection. Honestly, it’s the kind of flavor I crave on pancakes or in cocktails.
- Pantry Superstar: This syrup keeps beautifully in jars, so I’ve got homemade flavor ready for gifts, desserts, or sudden dessert emergencies.
- Budget Friendly Batch: Plums at their peak are cheap, and this turns a big haul into something that lasts months. Between us, it’s my sneaky way to stretch summer into winter.
Step-by-Step Instructions for Plum Syrup for Canning
Here’s the method I’ve perfected for capturing peak plum flavor in a shelf-stable syrup.
Step 1: Prepare and Cook the Plums
Pit and quarter all 4 lb Ripe Plums—any variety works, but choose fully ripe fruit for maximum sweetness. I like to work over a bowl to catch any juices that escape during prep. The skin stays on for color and texture.
Combine the plums with 2 cups Water in a large, heavy-bottomed pot. Bring to a boil over medium-high heat, then reduce to medium and simmer for 10-12 minutes, stirring occasionally, until the fruit breaks down completely. You’ll know it’s ready when the plums collapse into a thick, jammy consistency and the liquid turns a deep magenta.
Step 2: Strain the Fruit and Measure the Pulp
Set a fine-mesh strainer over a large bowl and pour the cooked fruit through it. Let it drain naturally for 10 minutes—don’t press or squeeze, or you’ll get cloudy syrup. Gently stir the pulp once or twice to encourage drainage, but resist the urge to hurry it along.
You should end up with about 4-5 cups of rich plum pulp. If you have less, add a splash of water to the strainer to help extract more juice. Discard the solids left in the strainer. This puree forms the base of your syrup, so take your time here.
Step 3: Create the Syrup Base with Sugar and Aromatics
Return the plum pulp to your pot and add the 3 cups Granulated Sugar, 0.5 cup Lemon Juice, and 2 tbsp Lemon Zest. If you’re using the optional spices, add the 1 whole Vanilla Bean (split and scraped), 1 whole Cinnamon Stick, and 2 whole Star Anise Pods now. The lemon brightens the flavor and helps balance the sweetness.
Bring the mixture to a boil over medium-high heat, stirring frequently to dissolve the sugar. Once boiling, reduce heat to medium-low and simmer for 15-20 minutes, stirring occasionally, until the syrup thickens slightly and coats the back of a spoon. Watch for a glossy, slightly viscous consistency—it will thicken more as it cools.
Step 4: Skim, Test, and Prepare for Canning
Remove the pot from heat and skim off any foam that’s risen to the surface with a clean spoon. If you used whole spices, fish out the vanilla bean, cinnamon stick, and star anise pods now. For a final check, dip a cold spoon in the syrup—if it sheets off slowly, it’s ready.
Ladle the hot syrup into sterilized canning jars, leaving ¼-inch headspace. Run a clean knife or chopstick around the inside of each jar to remove air bubbles, then wipe the rims clean with a damp cloth. This ensures a proper seal and prevents mold growth during storage.
Step 5: Process for Shelf-Stable Storage
Process the jars in a water bath canner for 10 minutes (adjust for altitude if needed). Start timing only after the water returns to a full, rolling boil. This step is non-negotiable for safety—it kills any potential bacteria and creates a vacuum seal.
Remove the jars carefully and place them on a towel-lined countertop. You’ll hear the satisfying ping of the lids sealing as they cool. Let them sit undisturbed for 12-24 hours, then check the seals. Properly sealed jars can be stored in a cool, dark place for up to 1 year.
Pro Tips For Making Plum Syrup Recipe For Canning
- Simmer, Don’t Boil: Keep the heat at a gentle simmer—I learned this the hard way after scorching my first batch. A rolling boil can caramelize the sugar too fast and make the syrup bitter.
- Pit and Chop Evenly: Cut plums into uniform pieces, about 1-inch chunks, so they soften at the same rate. Sounds tedious, but it actually changes the outcome.
- Use a Heavy Pot: Thin pots lead to hot spots and burnt syrup. A heavy-bottomed stainless steel or enameled cast iron distributes heat evenly and saves you from stirring constantly.
- Strain While Hot: Press the plums through a fine-mesh sieve right after cooking—they release more juice when warm. I was skeptical until I tried it, and now my syrup is always richer.
Essential Equipment for This Recipe
Water Bath Canner
A water bath canner is non-negotiable for safe canning. I use the Granite Ware 21.5-Quart model—it fits 7-8 pint jars at once and has a sturdy wire rack to prevent jars from touching the bottom. Avoid pressure canners here; they’re overkill for high-acid foods like this syrup. 🔥
Canning Jars and Lids
Use pint or half-pint mason jars with new, two-piece lids (flat disc + screw band). I prefer Ball or Kerr brands for consistency. Check each jar for nicks or cracks before starting—even a tiny flaw can prevent sealing. The screw bands can be reused, but always use new lids for each batch.
Jar Lifter and Canning Funnel
A jar lifter is essential for safely moving hot jars in and out of boiling water. I love the Ball Utensil Set—it includes a lifter, funnel, and bubble remover. The funnel helps pour syrup cleanly without spills, and the magnetic lid lifter saves your fingers from burns when fishing lids from hot water.
Fine-Mesh Strainer
For the smoothest syrup, strain your cooked plum mixture through a fine-mesh strainer. I use the OXO Good Grips 5-Quart strainer—it’s sturdy, fits over large bowls, and the fine mesh catches all the pulp. Avoid cheesecloth; it can impart a papery taste and is harder to clean.
Heavy-Bottomed Pot
Cook your plums in a large, heavy-bottomed pot to prevent scorching. My go-to is a 7-quart enameled cast iron Dutch oven—it distributes heat evenly and has plenty of room for the fruit to break down. Avoid thin aluminum pots; they can cause hot spots that burn the syrup.
Kitchen Scale
While not mandatory, a kitchen scale ensures precise measurements, especially for the sugar. I use the Escali Primo—it’s accurate to 1 gram and has a pull-out display for easy reading. Weighing your plums guarantees consistent results batch after batch. ✨
Nutrition Facts
Frequently Asked Questions
Can I reduce the sugar in this syrup?
Sugar is critical for preservation, but you can reduce it to 2 cups if using very sweet plums. Never go below this amount, as it affects safety and shelf life.
How do I know when the syrup is thick enough?
Test by dipping a cold spoon in the mixture. If it sheets off slowly and feels slightly viscous, it’s ready. It will thicken more as it cools.
What’s the best way to store opened jars?
Once opened, refrigerate in an airtight container and use within 1 month. For longer storage, freeze for up to 3 months.
Why did my syrup turn out cloudy?
Cloudiness usually means pulp was pressed through the strainer. Always let it drain naturally for 10 minutes without squeezing.

- BBQ Sausage Recipe Oven: Smoky Depth Without the Grill - September 28, 2026
- BBQ Chicken Bowl Recipe Rice: Smoky Sweetness Over Fluffy Grains - September 28, 2026
- Beef Cutlet Recipe Ideas: Crispy Breaded Patties With Bold Seasonings - September 28, 2026