
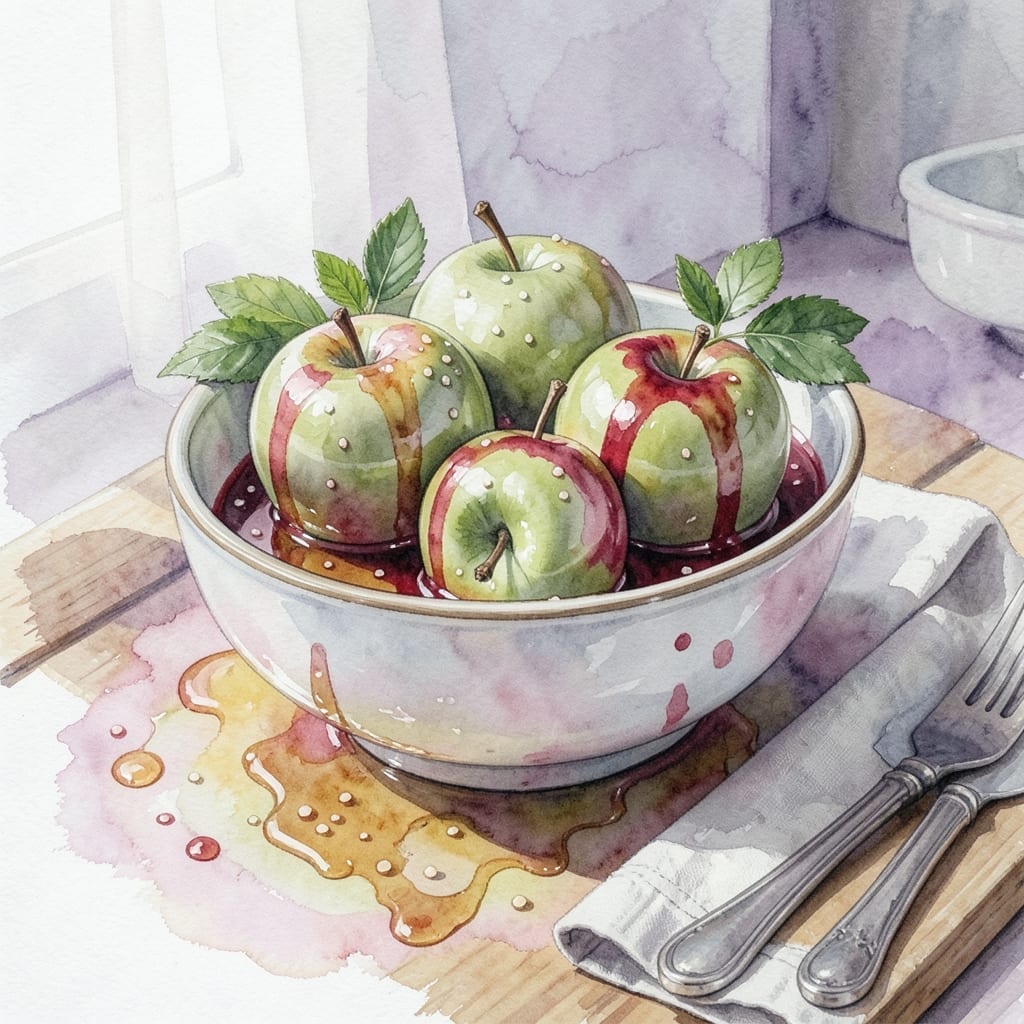
This Halloween, transform ordinary apples into sinisterly sweet treats that will delight trick-or-treaters of all ages. The secret lies in a glossy red coating that gives these apples their signature “poisoned” look while delivering a satisfying crunch with every bite.
I’ve perfected a method using simple ingredients that creates a glossy, candy-like shell. The process takes less than 30 minutes and requires no special equipment, making it ideal for last-minute party preparations or a fun family activity.
Each bite reveals the perfect balance between the tart apple and the sweet, hard candy coating. The result is as visually striking as it is delicious, creating a centerpiece that’s sure to impress at any Halloween gathering.
Customize with different colors or add edible glitter for extra flair. Here’s how to make these spooky delights.
Ingredients for Poison Apple Recipe Halloween
Transform apples into sinisterly sweet Halloween treats with these pantry staples and simple additions.
| Ingredient | Amount | Notes |
|---|---|---|
| Granny Smith Apples 🍏 | 4 whole | Medium-sized, washed and dried |
| Granulated Sugar 🍚 | 2 cups | Fine white sugar preferred |
| Light Corn Syrup 💧 | ½ cup | For candy shell consistency |
| Water 💧 | ¼ cup | Filtered for clarity |
| Red Food Coloring 🎨 | 1 tbsp | Gel works best for vibrancy |
| White Vinegar 🍶 | 1 tsp | For shine in coating |
| Vanilla Extract 🌿 | 1 tsp | Pure extract for flavor depth |
| Lemon Juice 🍋 | 1 tbsp | Freshly squeezed preferred |
| Wooden Skewers 🪵 | 4 pieces | For handling apples |
| Parchment Paper 📜 | 1 sheet | For drying candied apples |
| Edible Glitter ✨ | 1 tsp | Optional for spooky effect |
The apples are critical—Granny Smith provides the perfect tart contrast to the sweet coating. Look for firm, unblemished fruit at Whole Foods or your local grocer. The food coloring should be gel-based for that deep, glossy red hue (liquid can water down the candy). Karo light corn syrup is the standard for this application, but generic brands work equally well.
No red gel food coloring? Liquid food coloring in double the amount will work, though the color won’t be as vibrant. For a different look, swap red for black or purple food coloring. If corn syrup is unavailable, honey or agave nectar can substitute, though the texture will be slightly softer. The vinegar is non-negotiable—it’s what gives the coating its signature shine.
Store finished apples in a cool, dry place for up to 2 days. The coating hardens fully after 1 hour, so resist the urge to sample immediately. Leftovers (if any exist) keep well in the fridge for 3 days, though they’re best enjoyed fresh.
Why You’ll Love This Recipe
- 5 Ingredient Magic: I love that this only needs apples, sugar, corn syrup, water, and food coloring—no fancy shopping required.
- Tart Meets Sweet: The crisp Granny Smiths balance the syrup perfectly. Honestly, it’s the contrast that makes them irresistible.
- Party Ready: These look stunning on a Halloween spread and disappear faster than any other treat I’ve made.
- Budget Spooky: A bag of apples and pantry staples make dozens. Here’s what sold me—it’s cheap to feed a crowd.
Step-by-Step Instructions for Poison Apple Halloween Treats
These methods ensure a glossy, crackly candy shell that delivers both visual impact and perfect texture.
Step 1: Prepare and Skewer the Apples
Begin by thoroughly washing and drying the 4 whole Granny Smith Apples. Any moisture will prevent the candy coating from adhering properly, so I pat them completely dry with a clean kitchen towel. Remove stems and insert the 4 pieces Wooden Skewers firmly into the core of each apple, leaving about 2 inches exposed for handling.
Place the skewered apples on the 1 sheet Parchment Paper to catch any drips during the coating process. This preparation step ensures a clean workspace and prevents the candy shell from sticking to your counter. The tartness of Granny Smith apples provides the ideal contrast to the sweet candy shell.
Step 2: Create the Candy Coating Mixture
In a medium saucepan, combine the 2 cups Granulated Sugar, 0.5 cup Light Corn Syrup, and 0.25 cup Water. Stir just enough to blend the ingredients—over-stirring can cause sugar crystals to form on the sides of the pan, leading to grainy candy.
Add the 1 tbsp Red Food Coloring, 1 tsp White Vinegar, 1 tsp Vanilla Extract, and 1 tbsp Lemon Juice to the saucepan. The vinegar and lemon juice not only enhance flavor but also help create that signature glossy finish. Bring the mixture to a boil over medium-high heat without stirring.
Step 3: Cook to Hard Crack Stage
Once boiling, reduce heat to medium and continue cooking until the mixture reaches 300-310°F on a candy thermometer. This is the hard crack stage, where the syrup will form brittle threads when dropped into cold water. I maintain a watchful eye during this phase, as the temperature can rise quickly.
Avoid stirring during cooking, but gently swirl the pan occasionally for even heating. The mixture should turn a deep, vibrant red and thicken slightly. This process takes approximately 10-15 minutes, depending on your stove. The sugar syrup will be extremely hot, so handle the pan with care.
Step 4: Dip and Coat the Apples
Working quickly, dip each apple into the hot candy mixture, tilting the pan as needed to fully submerge the fruit. Rotate the apple on the skewer to ensure complete coverage. Allow excess syrup to drip off for 10-15 seconds before placing on the parchment paper.
For an extra spooky effect, immediately sprinkle the 1 tsp Edible Glitter over the wet candy coating while it’s still tacky. The glitter will adhere to the surface, creating a shimmering, magical appearance that catches the light beautifully. Space the apples at least 2 inches apart to prevent them from sticking together.
Step 5: Cool and Set the Candy Shell
Let the coated apples cool completely at room temperature for 30-45 minutes. The candy shell will harden and develop its characteristic glossy finish. Resist the temptation to touch or move them during this time, as the coating remains fragile until fully set.
The finished apples should have a smooth, crackly shell that makes an audible snap when bitten into. Store in a cool, dry place until ready to serve. These keep well for 2-3 days when stored properly, making them perfect for Halloween celebrations.
Pro Tips For Making Poison Apple Recipe Halloween
- Dry the Apples: Pat the Granny Smiths completely dry after washing—I learned this the hard way when my syrup slid right off the slick skins.
- Simmer, Don’t Boil: Keep the sugar-corn syrup mixture at a gentle simmer, around 220°F, or the candy coating will turn grainy instead of glossy.
- Skip the Stem: Remove the stems before dipping, otherwise the coating pools weirdly at the top and looks messy when set.
- Use Gel Coloring: Swap liquid red food coloring for gel—it gives a deeper, more vibrant poisoned look without thinning the syrup.
Troubleshooting poison apple recipe halloween
Coating Won’t Set
If your candy shell remains sticky after cooling, the mixture likely didn’t reach 300-310°F. Use a reliable candy thermometer—I trust Taylor Precision—and ensure the syrup forms hard, brittle threads when dropped in cold water before dipping. Humidity can also prevent setting, so avoid making these on rainy days. 🔥
Candy Crystallizes
Grainy coating usually means sugar crystals formed on the pan sides. To fix, brush down the pan with a wet pastry brush before cooking. Also, avoid stirring once boiling begins. If crystallization happens, add 1-2 tbsp water and gently swirl until dissolved, then continue cooking to temperature.
Color Too Pale
For deeper red hues, use gel food coloring instead of liquid. I recommend Wilton Red-Red for vibrant results. If your coating looks dull, the mixture may have cooked too long—remove from heat immediately when reaching hard crack stage. Add coloring at the start for even distribution.
Apples Float in Mixture
This happens when apples aren’t fully submerged. Use a deeper saucepan or tilt your pan to create a pool of syrup. Hold the skewer at an angle while dipping. Alternatively, make a smaller batch of coating so the apples can be fully immersed more easily.
Shell Cracks Prematurely
Thin candy shells are prone to cracking. To prevent this, ensure your syrup reaches the full 300-310°F range. Also, let coated apples cool undisturbed for the full 45 minutes. If cracks appear while cooling, it’s usually from temperature fluctuations—keep them in a draft-free area. ✨
Sticking to Parchment
If apples stick when cooling, the coating was likely too thick when applied. Let excess drip for 20-30 seconds before placing on parchment. Lightly grease the parchment with non-stick spray before starting. Once set, use a thin spatula to gently lift them if needed.
Nutrition Facts
Frequently Asked Questions
Can I use a different type of apple?
Granny Smith works best for their tartness, but Honeycrisp or Fuji can substitute. Just ensure they’re firm and fresh for the best texture.
Why does my coating turn out cloudy?
Cloudiness usually means the sugar crystallized. Prevent this by avoiding stirring once boiling begins and using a clean pan.
How long do these treats last?
Store in a cool, dry place for up to 2 days or refrigerate for 3 days. The coating stays crunchy when kept properly.
Can I make these without corn syrup?
Yes, honey or agave nectar work, but the texture will be slightly softer. The flavor will still be delicious!

- BBQ Sausage Recipe Oven: Smoky Depth Without the Grill - September 28, 2026
- BBQ Chicken Bowl Recipe Rice: Smoky Sweetness Over Fluffy Grains - September 28, 2026
- Beef Cutlet Recipe Ideas: Crispy Breaded Patties With Bold Seasonings - September 28, 2026