
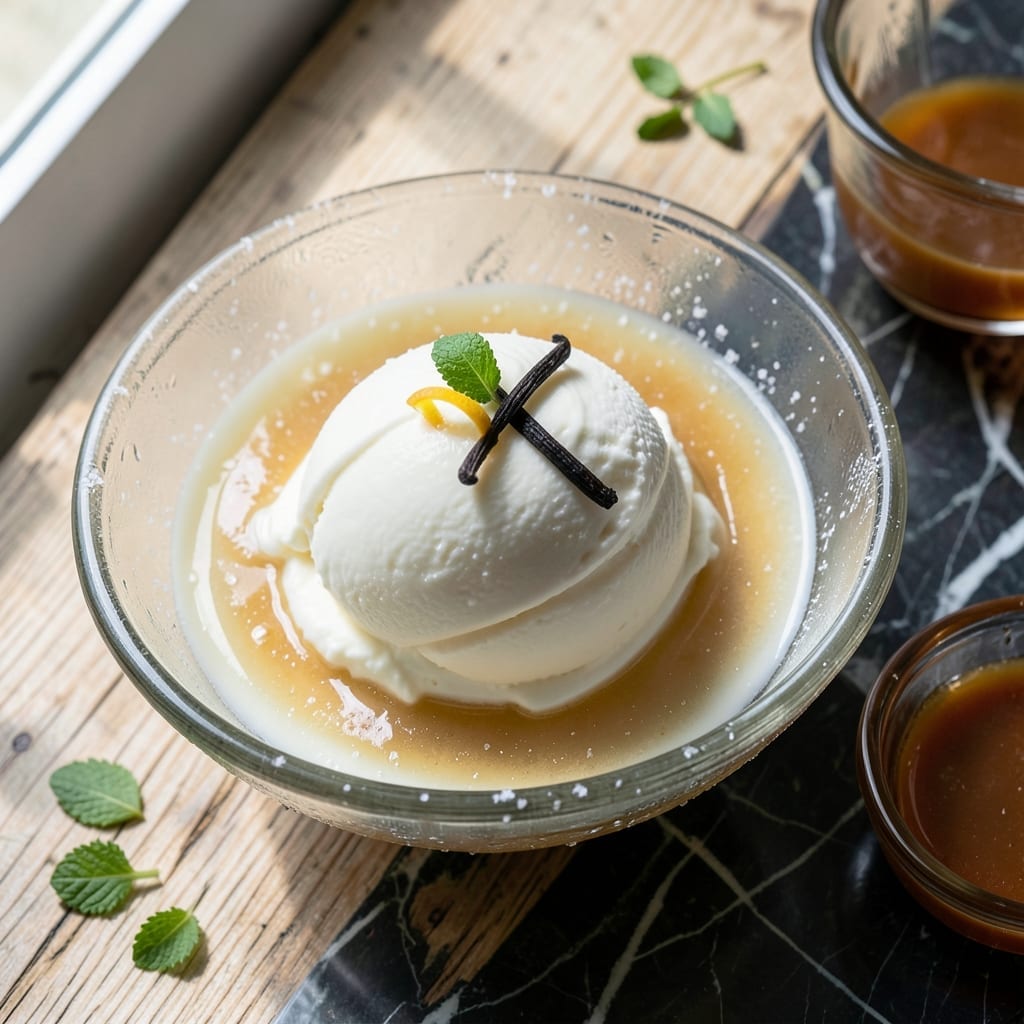
This old-fashioned treat proves you don’t need fancy ingredients to make something extraordinary. I’ve been making this version for years, and it never fails to deliver that creamy, dreamy texture we all crave.
The secret lies in using evaporated milk, which gives the ice cream a rich, velvety consistency without the need for heavy cream. It’s a simple method that comes together with just a few pantry staples.
What you’ll end up with is a smooth, sweet dessert that tastes like childhood in a bowl. The process is straightforward, but the results are anything but ordinary.
Perfect for hot summer days or whenever you need a taste of nostalgia. Here’s how to make it.
Ingredients for Poor Man’s Ice Cream Recipe Evaporated Milk
Simple pantry staples transform into something extraordinary with this nostalgic treat.
| Ingredient | Amount | Notes |
|---|---|---|
| Evaporated Milk 🥛 | 2 cups | Full-fat for creaminess |
| Granulated Sugar 🍚 | 1 ½ cups | Fine white sugar preferred |
| Large Eggs 🥚 | 2 whole | Room temperature recommended |
| Vanilla Extract 🌿 | 2 tsp | Pure extract for best flavor |
| Whole Milk 🥛 | 1 cup | For adjusting consistency |
| Salt 🧂 | ¼ tsp | Balances sweetness |
| Unsalted Butter 🧈 | 2 tbsp | Melted for richness |
| Pure Cane Sugar 🍚 | ½ cup | Optional for extra sweetness |
The evaporated milk is the magic here—Pet or Carnation brands both work great. Grab the full-fat version (not 2%) for that ultra-creamy texture. Most grocery stores stock it near the baking aisle. I pick mine up at Walmart or Kroger whenever it’s on sale. The eggs? Just regular large eggs, nothing fancy. Room temp helps them incorporate better into the mix.
Out of evaporated milk? Heavy cream with a splash of milk works in a pinch (though it’s pricier). No vanilla extract? Vanilla bean paste at half the amount gives even better flavor. The sugar can be swapped for light brown sugar if you want a caramel note. If you’re avoiding eggs, try cornstarch as a thickener—it’s not the same, but it’ll work.
The base keeps in the fridge for 2-3 days before churning. Once made, store ice cream in an airtight container for up to 1 week. Freeze extra in portions (trust me on this).
Why You’ll Love This Recipe
- No Fuss Mixing: I just whisk the evaporated milk, sugar, eggs, and vanilla together—no fancy equipment or techniques.
- Rich Vanilla Creaminess: The combo of whole milk and evaporated milk gives it that ultra-smooth, deep vanilla flavor I crave.
- Feeds Unexpected Guests: Between us, I always keep a batch stashed in the freezer for when the kids bring friends over last minute.
- Budget-Friendly Treat: Honestly, it costs pennies per serving compared to store-bought pints, and tastes just as good.
Step-by-Step Instructions for Poor Man’s Ice Cream
This simple method delivers creamy, dreamy ice cream with minimal effort and maximum nostalgia.
Step 1: Whisk Wet Ingredients Until Smooth
In a large mixing bowl, combine the 2 cups Evaporated Milk, 1.5 cups Granulated Sugar, and 0.25 tsp Salt. I use a wire whisk for this—it helps dissolve the sugar completely and prevents any graininess in the final product.
Whisk vigorously for 2-3 minutes until the sugar is fully dissolved and the mixture looks slightly frothy. You’ll know it’s ready when the liquid appears smooth and you can’t feel any sugar crystals between your fingers when you rub a bit of the mixture.
Here’s the thing—taking the time to properly dissolve the sugar at this stage ensures your ice cream will have that perfect, velvety texture without any icy bits.
Step 2: Temper and Combine the Eggs
In a separate bowl, beat the 2 whole Large Eggs with the 2 tsp Vanilla Extract until well combined and slightly pale. I always use room temperature eggs for this—they incorporate more smoothly into the mixture.
Slowly pour about ½ cup of the warm evaporated milk mixture into the eggs while whisking constantly. This tempering step is crucial—it prevents the eggs from scrambling when you combine them with the warm liquid. Then pour the tempered egg mixture back into the large bowl with the remaining evaporated milk.
Stir in the 2 tbsp Unsalted Butter until it’s fully melted and incorporated. The butter adds that rich, creamy mouthfeel that makes this taste like a premium treat.
Step 3: Add Whole Milk and Optional Sweetness
Pour in the 1 cup Whole Milk and stir until fully combined. The whole milk helps adjust the consistency and makes the mixture easier to churn. If you prefer a sweeter ice cream, now’s the time to add the 0.5 cup Pure Cane Sugar.
Taste the mixture and adjust the sweetness if needed. Remember that the cold will slightly mute the sweetness, so it should taste just a bit sweeter than you’d normally prefer. The mixture should be smooth, creamy, and slightly frothy at this point.
Step 4: Churn Until Thick and Creamy
Pour the mixture into your ice cream maker and churn according to the manufacturer’s instructions, typically for 20-25 minutes. You’ll know it’s ready when the mixture thickens to the consistency of soft-serve ice cream and holds its shape when scooped.
If you don’t have an ice cream maker, pour the mixture into a shallow freezer-safe container and freeze. Every 30 minutes for the first 2 hours, vigorously stir the mixture with a fork to break up any ice crystals. This manual method takes a bit more effort but works surprisingly well.
Step 5: Freeze to Firm Perfection
Transfer the churned ice cream to a lidded container and freeze for at least 4 hours, or until firm. I like to press a piece of parchment paper directly onto the surface of the ice cream before sealing the container—this prevents ice crystals from forming on top.
The finished ice cream should be creamy and smooth with a beautiful, pale color. It scoops easily and melts just enough on the tongue to release all those nostalgic flavors. Serve in bowls or cones and enjoy the simple pleasure of homemade ice cream.
Pro Tips For Making Poor Man’S Ice Cream Recipe Evaporated Milk
- Chill the Evaporated Milk: I learned this the hard way—warm evaporated milk makes the custard take forever to thicken. Pop it in the fridge overnight or at least 2 hours before starting.
- Temper the Eggs: After ruining a batch with scrambled eggs, I now drizzle the hot milk mixture into the eggs very slowly while whisking constantly—about 1/4 cup at a time.
- Skip the Boil: Resist the urge to crank the heat. A gentle simmer (just barely bubbling) is all you need to cook the custard without curdling the eggs.
- Use Real Vanilla: I was skeptical until I tried it, but that extra $2 for pure vanilla extract instead of imitation actually changes the flavor—especially in a simple recipe like this.
Troubleshooting This Dish
Grainy Texture Fix
If your ice cream turns out grainy, the sugar likely didn’t fully dissolve. Warm the mixture gently on the stove over low heat for 2-3 minutes while stirring constantly until smooth. 💡
Ice Crystals Prevention
Press parchment paper directly onto the surface before freezing. This creates a barrier against air, which is the main culprit for those pesky crystals forming on top.
Too Hard to Scoop
Let it sit at room temperature for 5-10 minutes before serving. If still too hard, you may have over-churned or used too much sugar, which lowers the freezing point.
Egg Scrambling Issue
If you see bits of cooked egg, you added hot liquid too quickly. Always temper eggs by slowly adding ½ cup of warm mixture while whisking constantly.
Flat or Runny Results
This usually means not enough churning time or insufficient fat. Add 1 tbsp butter to the mixture before rechurning. Ensure your ice cream maker bowl is fully frozen.
If doing the manual method, stir more frequently during the first 2 hours of freezing. 🔥
Nutrition Facts
Frequently Asked Questions
Can I use sweetened condensed milk instead?
No, the textures are very different. Sweetened condensed milk is thicker and much sweeter, which would throw off the balance of this recipe. Stick with evaporated milk for the right consistency.
Why do I need to temper the eggs?
Tempering prevents the eggs from scrambling when mixed with warm liquid. Slowly adding ½ cup of the warm mixture while whisking keeps the eggs smooth and silky.
How long can I store the finished ice cream?
In an airtight container, it keeps well for up to 1 week. For best texture, press parchment paper on the surface before sealing to prevent ice crystals.
Can I make this without an ice cream maker?
Yes! Freeze in a shallow container and stir vigorously every 30 minutes for the first 2 hours. This breaks up ice crystals for a creamy result.

- Potato Chip Cookie Recipe With Pecans: Buttery Crunch Meets Nutty Richness - October 30, 2026
- Potato Patty Recipe No Egg: Crispy Edges Without the Binder - October 30, 2026
- Paula Deen’s Potato Chip Cookies Recipe: Salty-Sweet Crunch in Every Bite - October 30, 2026