
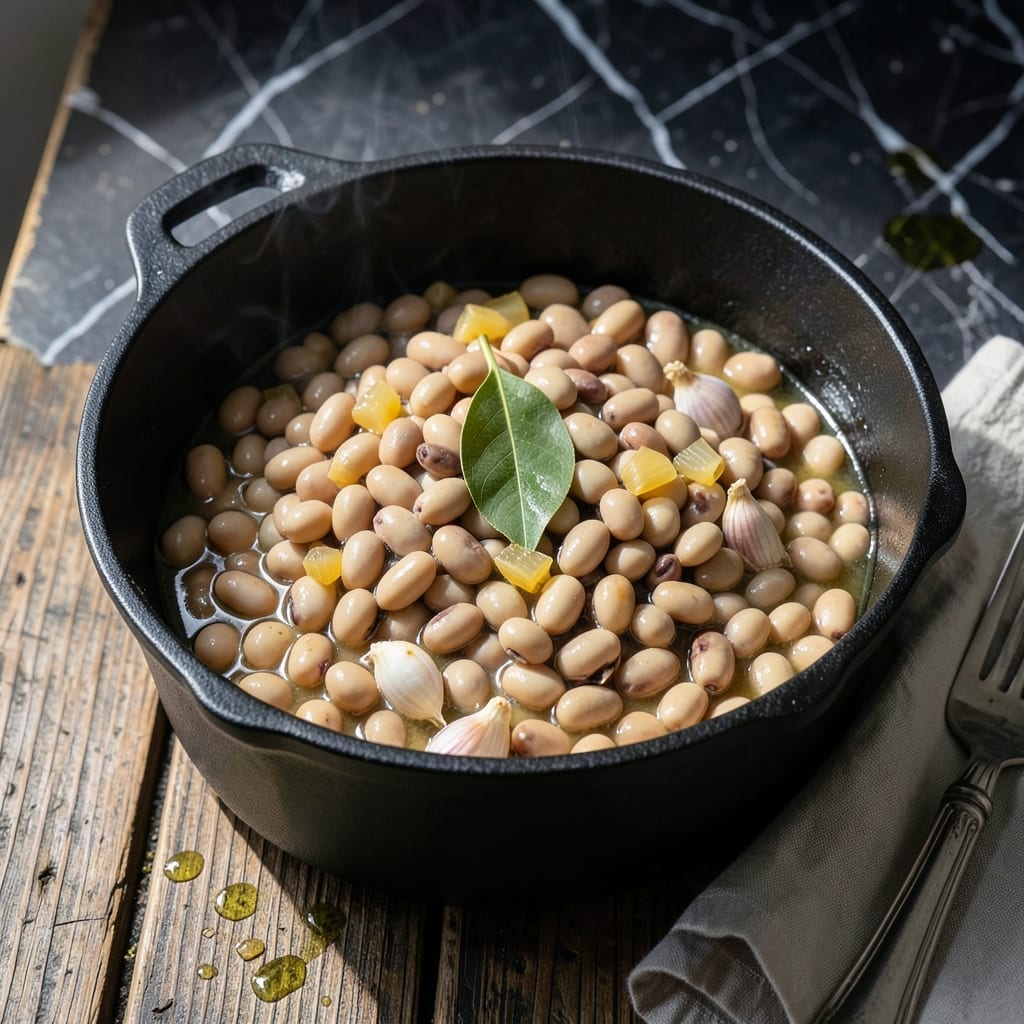
Forget the overnight soak—this pressure cooker method delivers perfectly tender beans in a fraction of the time. I’ve tested countless variations to refine the ideal liquid ratio and cook time for consistent results every time.
The key is using the right bean-to-water ratio and precise pressure cooking time. This approach eliminates the guesswork while maintaining the integrity of the beans, ensuring they’re never mushy or undercooked.
What you’ll get are beans with the right bite—tender yet firm, ready for soups, salads, or standalone sides. The pressure cooker locks in flavor and texture without the long prep of traditional methods.
Safety and simplicity make this technique a game-changer for home cooks. Here’s how to do it right.
Ingredients for Pressure Cooker Beans Recipe No Soak
Pantry staples plus fresh aromatics create this foolproof dish with minimal prep.
| Ingredient | Amount | Notes |
|---|---|---|
| Dried Navy Beans 🫘 | 1 lb | Rinsed and picked over |
| Water 💧 | 6 cups | Filtered preferred |
| Vegetable Broth 🍲 | 2 cups | Low-sodium recommended |
| Yellow Onion 🧅 | 1 whole | Medium, diced |
| Garlic Cloves 🧄 | 4 cloves | Minced for depth |
| Bay Leaves 🍃 | 2 whole | Dried, for aroma |
| Dried Thyme 🌿 | 1 tsp | Rubbed between fingers |
| Smoked Paprika 🌶️ | 1 tsp | For subtle smokiness |
| Kosher Salt 🧂 | 1 ½ tsp | Diamond Crystal preferred |
| Black Pepper 🌶️ | ½ tsp | Freshly cracked |
| Olive Oil 🫒 | 2 tbsp | Extra-virgin for sautéing |
| Fresh Parsley 🌿 | ¼ cup | Chopped, for garnish |
The beans are the foundation—dried navy beans are ideal for their creamy texture and quick cooking time. Whole Foods or Trader Joe’s carry excellent organic options. Look for beans that are uniform in size and color, with no signs of moisture or insect damage. The vegetable broth adds depth; Imagine or Pacific Foods offer reliable low-sodium versions that won’t overpower the natural bean flavor.
No navy beans? Great Northern or cannellini work equally well (adjust cook time by 2-3 minutes if needed). Swap smoked paprika for regular if you prefer a milder profile. The onion and garlic are essential for flavor development, but shallots can substitute in a pinch. For a smokier result, add a dash of liquid smoke—just a few drops go a long way.
Uncooked beans keep indefinitely in a cool, dark place. Once pressure-cooked, they’ll hold in the fridge for 4-5 days or freeze beautifully for up to 3 months. Portion before freezing for easy use in future meals (the liquid thickens slightly upon freezing, which is normal).
Why You’ll Love This Recipe
- No Soak Needed: I toss in dried navy beans straight from the bag—no overnight planning required.
- Garlic-Infused Richness: The onion and garlic simmering in broth create a deep, savory flavor that’s way better than canned.
- Meal Prep Hero: I make a big batch on Sunday and use them in soups, tacos, or salads all week.
- Pocketbook Friendly: A pound of dried beans costs pennies and yields way more than a few cans ever could.
Step-by-Step Instructions for Pressure Cooker Beans
This method delivers perfectly tender beans without pre-soaking while maintaining rich, developed flavor.
Step 1: Sauté Aromatics to Build Flavor Base
Set your pressure cooker to the sauté function and add the 2 tbsp olive oil. When the oil shimmers, add the diced yellow onion and cook for 4-5 minutes until translucent and just beginning to caramelize around the edges.
Add the minced 4 cloves garlic cloves and cook for 30 seconds until fragrant but not browned. Stir in the 1 tsp dried thyme and 1 tsp smoked paprika, toasting them briefly to release their essential oils. This aromatic foundation infuses the beans with depth as they cook under pressure.
Step 2: Combine All Ingredients and Deglaze
Add the 1 lb dried navy beans to the pot, followed by the 6 cups water and 2 cups vegetable broth. Stir well to combine, then add the 2 whole bay leaves, 1.5 tsp kosher salt, and 0.5 tsp black pepper.
Use a wooden spoon to scrape up any browned bits from the bottom of the pot—this deglazing step prevents burning during pressure cooking and incorporates maximum flavor into the liquid. The liquid should cover the beans by about 1 inch; if not, add a bit more water.
Step 3: Pressure Cook to Perfect Tenderness
Secure the lid on your pressure cooker and set it to high pressure for 25 minutes. It will take approximately 10-15 minutes to come to pressure before the cooking time begins. This no-soak method works because the high pressure breaks down the beans’ starches rapidly.
Once the cooking time completes, allow the pressure to release naturally for 15 minutes. This gradual release prevents the beans from breaking apart from sudden pressure changes. After 15 minutes, if there’s still pressure, carefully quick-release the remaining pressure according to your cooker’s instructions.
Step 4: Verify Tenderness and Finish
Open the lid and test a bean—it should be completely tender with no chalky center. If the beans aren’t quite done, replace the lid and cook under high pressure for an additional 3-5 minutes, then release pressure naturally again.
Once perfectly tender, discard the bay leaves. Stir the beans gently, taste, and adjust seasoning if needed. The beans should be creamy yet hold their shape, suspended in a lightly thickened, flavorful broth.
Step 5: Rest and Garnish for Serving
Let the beans rest off heat for 5 minutes to allow the broth to thicken slightly. The starches released during cooking will continue to absorb liquid as they cool, creating a perfect consistency.
Ladle into bowls and garnish with the 0.25 cup fresh parsley. The bright, fresh herb cuts through the richness and adds a vibrant pop of color. Serve immediately while hot for the best texture and flavor.
Pro Tips For Making Pressure Cooker Beans Recipe No Soak
- Use a 1:4 Ratio: Navy beans to liquid should be 1:4—1 cup beans to 4 cups water or broth. I learned this the hard way after ending up with undercooked beans in a dry pot more than once.
- Sauté the Aromatics: Cook the onion and garlic in the pressure cooker first for 2-3 minutes until soft. Sounds simple, but it adds depth the beans absorb while cooking.
- Don’t Overfill: Never exceed the half-way mark in your pressure cooker—beans expand and foam. My first batch overflowed and made a mess I won’t forget.
- Add Salt After: Skip the salt until the beans are tender, about 25 minutes in. Adding it early can toughen the skins, no matter how long you cook them.
Pro Cooking Tips for pressure cooker beans recipe no soak
Liquid Ratio Precision
For perfectly tender beans, maintain a 1:8 bean-to-liquid ratio—1 lb beans to 8 cups total liquid. This accounts for absorption during cooking. I’ve found 6 cups water plus 2 cups vegetable broth delivers the best flavor balance without diluting the taste. 💡
Pressure Cooker Selection
I use my Instant Pot Duo 6-quart for consistent results, but any electric pressure cooker works. For stovetop models like Fagor, monitor heat closely to prevent scorching. The cook time remains 25 minutes regardless of brand.
Natural Release Importance
Never skip the 15-minute natural release—this prevents beans from breaking apart. Sudden pressure drops can turn your beans to mush. I set a timer to avoid the temptation to quick-release early.
Seasoning Timing
Add salt and acidic ingredients like tomatoes after pressure cooking if using them. Salt can toughen bean skins during cooking, while acids may prevent proper softening. I stir in 1.5 tsp kosher salt before cooking for even distribution.
Altitude Adjustments
At higher elevations, increase cook time by 5% per 1,000 feet above sea level. Here in Denver, I add 5 minutes to the 25-minute cook time for perfect results. Lower pressure at altitude requires more time.
Bean Freshness Matters
Older beans may require 5-10 extra minutes of pressure cooking. I check the harvest date on the package—beans stored over 1 year lose moisture and cook slower. Store your dried beans in airtight containers away from light. 🌟
Nutrition Facts
Frequently Asked Questions
What if my beans still seem undercooked?
If beans aren’t tender after 25 minutes, cook for an additional 3-5 minutes under high pressure. Older beans often need extra time. Always use natural release to prevent breaking.
Can I use this method for other bean varieties?
Yes! For larger beans like kidney or pinto, increase cook time to 30-35 minutes. Smaller beans like lentils only need 8-10 minutes. Keep the same liquid ratio.
Why do my beans sometimes turn out mushy?
Mushy beans usually result from quick-releasing pressure too soon. Always allow the full 15-minute natural release to let them finish cooking gently. Stirring vigorously can also break them.

- Protein Pudding Recipe With Sugar Free Pudding: High-Protein Creamy Indulgence - November 3, 2026
- Progresso Recipe Starters Creamy Parmesan Basil Cooking Sauce: Rich Herb-Infused Base for Pasta and More - November 3, 2026
- Pudding Recipe With Egg Yolks: Silky Smooth Custard in Minutes - November 3, 2026