
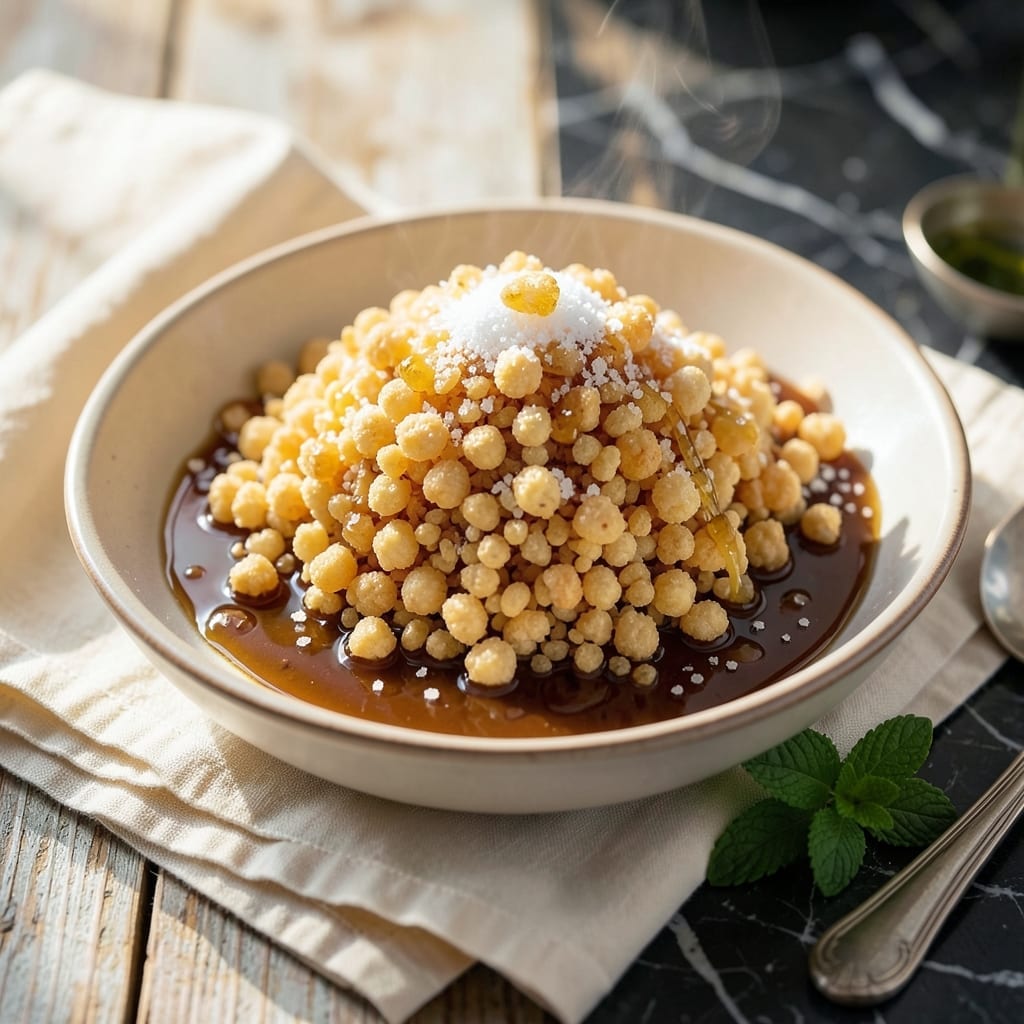
There’s a simple way to create light and crunchy puffed rice at home without special equipment. This method transforms plain rice into a delicate, airy snack that’s perfect for any occasion.
The process relies on precise heat and timing to achieve the ideal texture. With just a few basic ingredients, you can master this technique in your own kitchen. The result is a satisfying, crisp bite that’s far superior to store-bought versions.
What makes this approach special is its consistency. Each batch delivers uniform puffs with a satisfying snap, making it a reliable choice for snacking or adding to recipes. The key lies in controlling the cooking environment.
Ready in minutes, this method proves that homemade puffed rice can be both easy and rewarding. Let’s begin with the essential steps to perfect this treat.
Ingredients for Puffed Rice Recipe at Home
Transform plain rice into airy, crisp puffs with these basic kitchen staples.
| Ingredient | Amount | Notes |
|---|---|---|
| Long-Grain White Rice 🌾 | 1 cup | Uncooked, rinsed thoroughly |
| Water 💧 | 2 cups | For cooking rice |
| Salt 🧂 | ½ tsp | Optional, for flavor |
| Vegetable Oil 🫒 | 2 tbsp | For high-heat frying |
| Sugar 🍚 | 1 tsp | Optional, for caramelization |
| Vanilla Extract 🌿 | ½ tsp | Optional, for sweet version |
| Cinnamon 🌶️ | ¼ tsp | Optional, for spiced rice |
| Maple Syrup 🍁 | 1 tbsp | Optional, for sweet coating |
| Sea Salt 🧂 | ¼ tsp | For finishing sweet version |
| Paprika 🌶️ | ¼ tsp | Optional, for savory version |
The rice quality matters most here. Long-grain white rice (jasmine or basmati) puffs best—avoid sticky short-grain varieties. Whole Foods or Trader Joe’s have good bulk options. Rinse well to remove excess starch; this prevents clumping during puffing. For oil, avocado or peanut oil handles high heat better than olive oil, but any neutral oil works.
No white rice? Brown rice can work but requires longer cooking and may not puff as dramatically. Skip the sugar for savory puffs—just add half the amount of paprika or garlic powder after puffing. For sweet versions, agave or date syrup can replace maple. The vanilla is optional but adds depth—use pure extract, not imitation.
Store uncooked rice in an airtight container in a cool, dark place for up to 1 year. Puffed rice keeps at room temperature for 1 week in a sealed container. For longer storage, freeze for up to 1 month—revive in a dry pan to crisp up.
Why You’ll Love This Recipe
- Under 30 Minutes: I start with just rice, water, and oil, and in no time, it transforms into crispy puffed goodness.
- Sweet-Salty Crunch: The hint of sugar and salt makes every bite ridiculously addictive—honestly, I can’t stop snacking.
- Snack or Topping: I toss it on yogurt, mix it into trail mix, or just eat it by the handful.
- Pantry Staples Only: Between us, it’s the cheapest snack I make, and I always have the ingredients on hand.
Step-by-Step Instructions for Puffed Rice
This method delivers light, crispy results with minimal equipment and maximum flavor control.
Step 1: Cook and Prepare the Rice Base
Rinse the 1 cup long-grain white rice thoroughly under cold water until the water runs clear. This removes excess starch that could prevent proper puffing. Drain completely in a fine-mesh sieve.
Combine the rinsed rice with 2 cups water and 0.5 tsp salt in a saucepan. Bring to a boil, then reduce heat to low, cover, and simmer for 15-18 minutes until the water is absorbed and rice is fully cooked. Spread the cooked rice on a baking sheet to cool completely and dry out for 30 minutes.
Step 2: Heat the Oil for Puffing
Pour 2 tbsp vegetable oil into a large, deep skillet or wok and heat over medium-high heat until shimmering but not smoking. The oil is ready when a drop of water flicked into it sizzles vigorously. Maintain this temperature throughout the process—too cool and the rice won’t puff, too hot and it will burn.
Add about 1/4 cup of the cooled, dried rice to the hot oil. The rice should sizzle immediately upon contact. Work in batches to avoid overcrowding the pan, which would lower the oil temperature and prevent proper puffing.
Step 3: Puff the Rice to Golden Perfection
Stir the rice constantly with a slotted spoon or spider skimmer. Within 30-60 seconds, the grains should begin to expand and turn golden brown. Watch closely—the transformation happens quickly. The puffed rice will float to the top when it’s done.
Remove the puffed rice immediately with the slotted spoon and transfer to a paper towel-lined plate to drain excess oil. The rice should be light, crisp, and golden brown throughout. Repeat with the remaining rice in batches, allowing the oil to return to temperature between each addition.
Step 4: Season According to Preference
While still warm, toss the puffed rice with your choice of seasonings. For a sweet version, sprinkle with 1 tsp sugar, 0.5 tsp vanilla extract, and 0.25 tsp cinnamon, then drizzle with 1 tbsp maple syrup and finish with 0.25 tsp sea salt.
For a savory version, toss with 0.25 tsp paprika and additional salt to taste. The seasoning should coat the rice evenly. Let the puffed rice cool completely before storing in an airtight container for up to 1 week.
Pro Tips For Making Puffed Rice Recipe At Home
- Use Aged Rice: I learned this the hard way—fresh rice holds too much moisture and won’t puff properly. Use long-grain white rice that’s been sitting in your pantry for at least a few months.
- Heat the Oil First: Get the vegetable oil screaming hot before adding the rice, about 375°F. If it’s not shimmering, the rice will absorb oil and turn greasy instead of crisp.
- Skip the Overcrowding: Resist the urge to dump in too much rice at once. A single layer in the oil puffs evenly, while a crowded pan steams the rice into sad, flat grains.
- Drain Well, Then Dry: After cooking, spread the rice on paper towels to drain for 5 minutes, then pat dry. Any leftover moisture turns your puffed rice chewy instead of light and airy.
Best Sauces and Condiments for This puffed rice recipe at home
Sweet Glazes
For a sweet treat, drizzle warm puffed rice with 1 tbsp maple syrup mixed with ½ tsp vanilla extract. This creates a light, sticky coating that enhances the natural sweetness. Add a pinch of sea salt to balance the flavors. 💛
Spiced Coatings
Toss your puffed rice with ¼ tsp cinnamon and 1 tsp sugar for a warm, aromatic flavor. This combination works especially well for breakfast or dessert applications. The spices cling perfectly to the crispy texture.
Savory Dustings
For a savory twist, sprinkle with ¼ tsp paprika and a touch of salt. This simple seasoning brings out the nutty notes of the puffed rice. I love this version on salads or as a garnish for soups.
Chocolate Drizzle
Melt 2 tbsp dark chocolate with 1 tsp coconut oil for a rich, smooth drizzle. Drizzle over the puffed rice and let it set for 5 minutes. This creates a luxurious treat that kids and adults both adore.
Honey Butter
Mix 1 tbsp melted butter with 1 tbsp honey for a classic sweet coating. Toss the puffed rice in this mixture while warm. The butter adds richness while the honey provides natural sweetness.
Yogurt Dip
Serve puffed rice with a side of Greek yogurt mixed with a touch of honey and cinnamon. This creates a delightful contrast of textures and flavors. The cool yogurt complements the crispy rice beautifully. ✨
Nutrition Facts
Frequently Asked Questions
Can I use leftover cooked rice?
Yes, but it must be completely dry and cooled. Spread it on a baking sheet for 1-2 hours before puffing to remove moisture. Freshly cooked rice works better for consistent results.
Why isn’t my rice puffing?
Oil temperature is likely too low. Heat oil to medium-high heat until shimmering. Also ensure rice is fully dry and not overcrowded in the pan.
How do I store puffed rice?
Keep in an airtight container at room temperature for up to 1 week. For longer storage, freeze for 1 month and revive in a dry pan.

- Pudding Recipe With Egg Yolks: Silky Smooth Custard in Minutes - November 3, 2026
- Pudding Pops Recipe Cook and Serve: Silky Frozen Treats Without the Machine - November 3, 2026
- Protein Ice Cream Recipe Blender Xanthan Gum: Ultra Creamy Texture Without the Guilt - November 3, 2026