
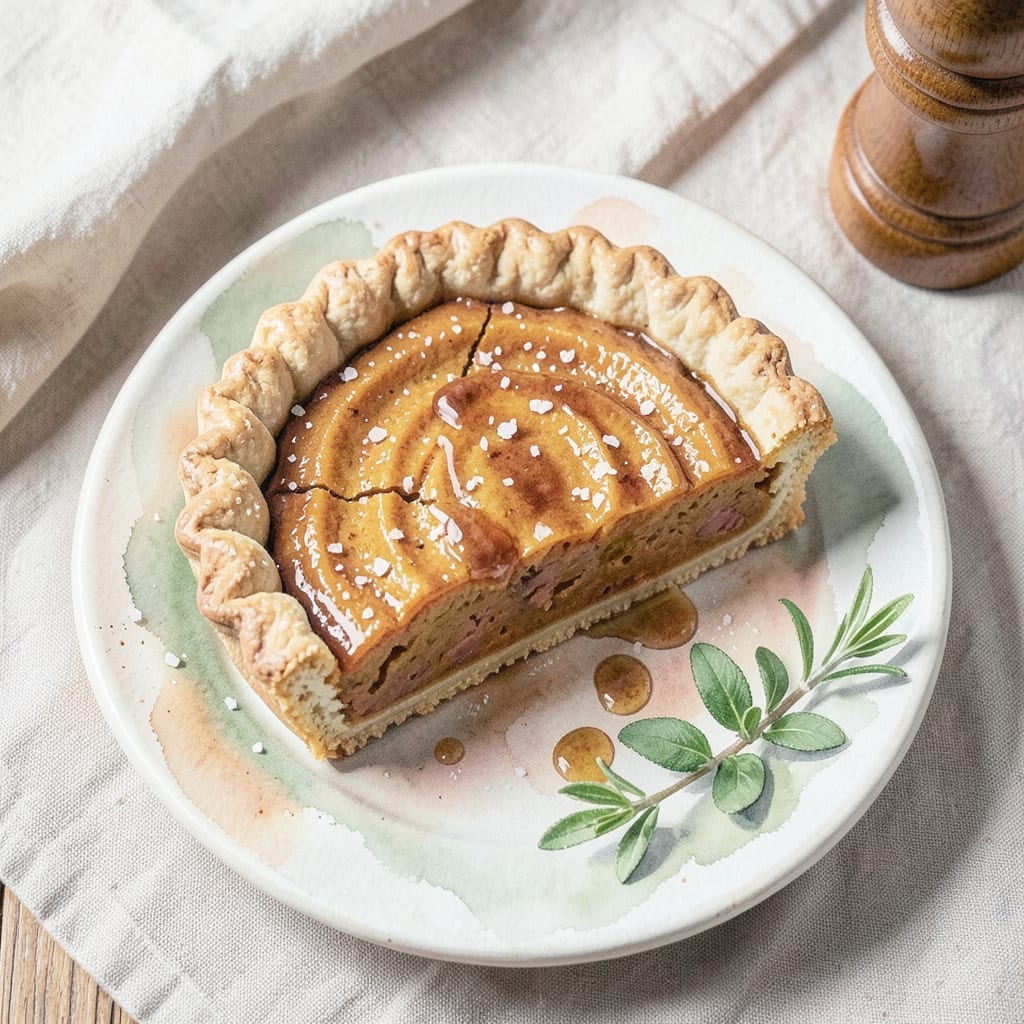
This holiday pie delivers all the classic pumpkin flavor without the sugar overload. The natural sweetness of pumpkin shines through, enhanced by warm spices and a touch of maple syrup.
You’ll get a smooth, creamy filling in a flaky crust, with just enough sweetness to satisfy. It’s the perfect dessert for those watching their sugar intake without sacrificing tradition.
Ingredients for Pumpkin Pie Recipe Less Sugar
Warm spices and natural sweetness make this holiday pie unforgettable without sugar overload.
| Ingredient | Amount | Notes |
|---|---|---|
| Pumpkin Puree 🎃 | 2 cups | Canned or fresh roasted |
| Pure Maple Syrup 🍁 | ½ cup | Grade A or B preferred |
| Eggs 🥚 | 2 whole | Large, room temperature |
| Heavy Cream 🥛 | ¾ cup | Full-fat for creaminess |
| Ground Cinnamon 🌿 | 1 ½ tsp | Freshly ground preferred |
| Ground Ginger 🌿 | ½ tsp | Warm and pungent |
| Ground Nutmeg 🌿 | ¼ tsp | Freshly grated for best flavor |
| Ground Cloves 🌶️ | 0.125 tsp | Sparingly, for depth |
| Salt 🧂 | ½ tsp | Fine sea salt preferred |
| Unsalted Butter 🧈 | ¼ cup | Cold, cubed for crust |
| All-Purpose Flour 🌾 | 1 ¼ cups | Spoon and level method |
| Ice Water 💧 | 3 tbsp | For flaky pie crust |
| Vanilla Extract 🌿 | 1 tsp | Pure, not imitation |
The pumpkin puree is the soul of this dish. Libby’s canned pumpkin is my go-to—consistent texture, no watery surprises. For fresh, sugar pumpkins (those small, dense ones) roast up sweeter than jack-o’-lantern varieties. Maples syrup from Vermont adds that deep caramel note—avoid pancake syrup (it’s corn syrup with coloring). Look for Grade A Dark for more robust flavor if you want to lean into the warm spice vibe.
No maple syrup? Light brown sugar at half the amount works, though it’s not as cleanly sweet. Heavy cream can be swapped for full-fat coconut milk (the canned kind, not carton) for a dairy-free version. Out of nutmeg? Allspice at half the amount gets you close. The crust is forgiving—use whole wheat pastry flour for a nuttier base, or even a graham cracker crumb crust (just press and bake).
The filling sets up best after a full 4-hour chill, so make this the night before. Keeps 3-4 days in the fridge, but honestly? It’s gone faster. Freeze slices wrapped tight for up to 2 months—thaw on the counter for an hour before serving.
Why You’ll Love This Recipe
- One Bowl Wonder: I just mix the pumpkin puree, maple syrup, eggs, and cream right in the pie crust—no extra bowls, no fuss.
- Warm Spice Magic: The cinnamon with the natural sweetness of maple syrup hits that cozy fall flavor without being cloying.
- Holiday or Tuesday: Honestly, I’ve served this at Thanksgiving and also just because it’s Wednesday and we needed dessert.
- Leftovers? Yes Please: A slice tastes even better the next day, and it keeps beautifully for up to four days in the fridge.
Step-by-Step Instructions for Pumpkin Pie
Here’s the method. Straightforward, tested, works every time.
Step 1: Prepare the Pie Crust
In a large bowl, combine the 1.25 cups All-Purpose Flour with the 0.5 tsp Salt. Cut in the 0.25 cup Unsalted Butter using a pastry cutter or your fingers until the mixture resembles coarse crumbs.
Gradually add the 3 tbsp Ice Water, one tablespoon at a time, mixing just until the dough comes together. I find using cold butter and ice water prevents the crust from becoming tough. Form the dough into a disk, wrap it in plastic wrap, and refrigerate for 30 minutes.
On a lightly floured surface, roll out the chilled dough to fit a 9-inch pie dish. Transfer the dough to the dish, pressing it into the bottom and up the sides. Trim and crimp the edges, then prick the bottom with a fork. Chill the prepared crust while you make the filling.
Step 2: Mix the Pumpkin Filling
In a large bowl, whisk together the 2 cups Pumpkin Puree, 0.5 cup Pure Maple Syrup, 2 whole Eggs, and 0.75 cup Heavy Cream until smooth. This ensures all the wet ingredients are well incorporated before adding the spices.
Add the 1.5 tsp Ground Cinnamon, 0.5 tsp Ground Ginger, 0.25 tsp Ground Nutmeg, 0.125 tsp Ground Cloves, and 1 tsp Vanilla Extract. Whisk until the spices are evenly distributed and the mixture is silky smooth. The maple syrup adds natural sweetness without overpowering the pumpkin flavor.
Step 3: Bake the Pie
Preheat your oven to 375°F. Pour the pumpkin filling into the prepared pie crust. Smooth the top with a spatula, and if you like, create a decorative edge with the remaining dough.
Bake for 45-50 minutes until the filling is set and the crust is golden brown. To prevent over-browning, I cover the crust edges with aluminum foil for the first 30 minutes of baking. The pie is done when a knife inserted near the center comes out clean.
Step 4: Cool and Serve
Transfer the pie to a wire rack and let it cool completely for at least 2 hours. This allows the filling to set properly and makes slicing easier. I know the aroma will tempt you, but resist the urge to cut into it too soon.
Once cooled, serve with a dollop of whipped cream or a sprinkle of extra cinnamon on top. The flavors deepen as it sits, so this pie tastes even better the next day. Store any leftovers in the refrigerator for up to 3 days.
Pro Tips For Making Pumpkin Pie Recipe Less Sugar
- Pre-cook the Pumpkin: Simmer the pumpkin puree for 5-10 minutes to evaporate excess moisture—this concentrates the flavor so you can use less maple syrup without sacrificing richness.
- Warm the Cream: Take the heavy cream out of the fridge 30 minutes early or microwave it for 20 seconds; cold cream can make the filling separate when mixed with eggs.
- Skip Overmixing: After adding eggs, stir just until combined—I learned this the hard way when my pie turned out dense and rubbery from overworking the batter.
- Check at 45 Minutes: Start testing doneness at 45 minutes; the center should jiggle slightly but not be liquid, and overbaking will make it crack from the reduced sugar content.
Storing and Reheating Leftovers
Refrigerator Storage
Let the pie cool completely before refrigerating—I typically wait 2 hours to preserve texture. Store tightly wrapped in plastic wrap or in a pie keeper at 40°F or below. It stays fresh for 3-4 days. ❄️
Freezer Storage
Slice before freezing for easy portions. Wrap each slice tightly in plastic wrap, then again in aluminum foil. Freeze for up to 2 months. I always label mine with the date to keep track.
Thawing Methods
For best results, thaw overnight in the refrigerator. If in a hurry, leave at room temperature for 2-3 hours. Avoid microwaving directly from frozen as it can make the crust soggy.
Reheating Tips
Warm individual slices in the oven at 300°F for 10-15 minutes to restore that fresh-baked feel. I cover with foil to prevent over-browning. The filling will be creamy and the crust flaky again.
Room Temperature Serving
This pie actually tastes great served at room temperature. The flavors meld beautifully after chilling. I often set it out 30 minutes before serving to take the chill off. 💡
Nutrition Facts
Frequently Asked Questions
Can I use honey instead of maple syrup?
Yes, you can substitute honey in a 1:1 ratio. Honey has a slightly different flavor profile but works well. Reduce other liquids by 1-2 tablespoons to account for honey’s higher moisture content.
Why does my filling crack on top?
This happens when the pie cools too quickly. Let it cool at room temperature for 2 hours before refrigerating. Overmixing the filling can also cause cracking, so whisk just until smooth.
Can I make this ahead of time?
The pie actually tastes better the next day. Prepare and bake it up to 1 day in advance. Store covered in the fridge until serving.

- BBQ Sausage Recipe Oven: Smoky Depth Without the Grill - September 28, 2026
- BBQ Chicken Bowl Recipe Rice: Smoky Sweetness Over Fluffy Grains - September 28, 2026
- Beef Cutlet Recipe Ideas: Crispy Breaded Patties With Bold Seasonings - September 28, 2026