
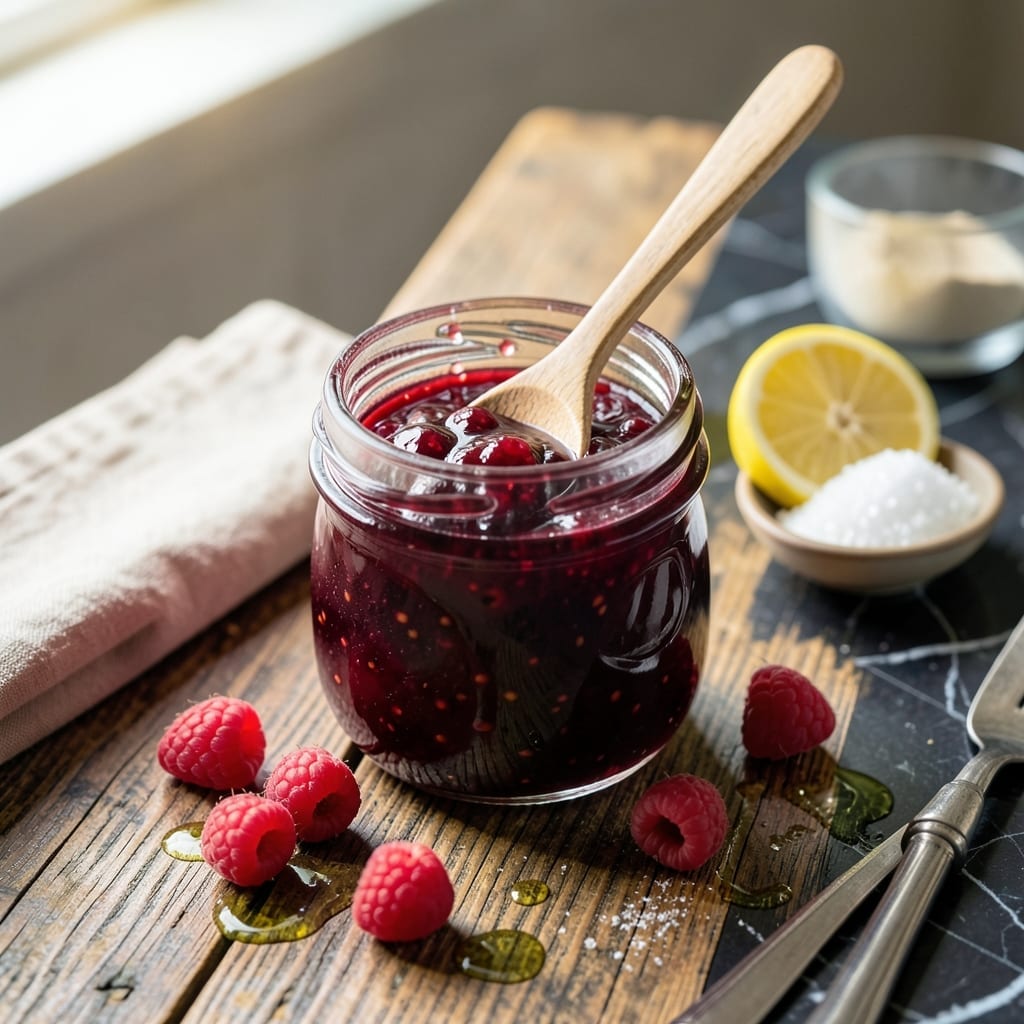
There’s something deeply satisfying about making your own jam at home, and this version captures the bright, tangy essence of raspberries perfectly. The addition of pectin ensures a beautiful set and long shelf life.
With just a few simple ingredients and straightforward steps, you’ll have a vibrant, glossy spread that’s far superior to store-bought. The process preserves the fruit’s natural flavor while creating a smooth, spreadable consistency.
Ingredients for Raspberry Jam Recipe with Pectin
Six simple ingredients transform into glossy, vibrant jam with perfect consistency.
| Ingredient | Amount | Notes |
|---|---|---|
| Fresh Raspberries 🍇 | 4 cups | Fully ripe, unwashed |
| Granulated Sugar 🍚 | 3 cups | Fine white for even dissolving |
| Powdered Pectin 🧂 | 1 ¾ oz | 1 box standard size |
| Lemon Juice 🍋 | ¼ cup | Freshly squeezed preferred |
| Water 💧 | ½ cup | For activating pectin |
| Vegan Butter 🧈 | 1 tsp | Optional for foam reduction |
Raspberries are everything here. Farmers market berries have more intensity than grocery store ones, but either works if they’re ripe and fragrant (avoid the mushy ones). The pectin is the magic—Ball or Sure-Jell are the most reliable brands. I always keep a few boxes in the pantry since it lasts forever. For sugar, basic white granulated is what you want—organic if that’s your thing, but regular works perfectly fine.
No pectin? You can use half the amount of liquid pectin, but powdered is easier for beginners. Short on raspberries? Blackberries or strawberries work in a 1:1 swap. If you’re cutting the sugar, know that pectin needs it to activate properly—this isn’t a low-sugar recipe. The lemon juice isn’t negotiable though—it balances the sweetness and helps the jam set (bottled works if you’re out of fresh).
Unopened pectin keeps for years in a cool, dry place. Once mixed, the jam can sit at room temperature for 1 week (if properly canned) or 3 weeks in the fridge. For longer storage, process in a water bath or freeze for up to 6 months.
Why You’ll Love This Recipe
- One Pot Wonder: I love that I can make this in a single saucepan—just raspberries, sugar, pectin, and a splash of lemon juice, then let it thicken while I clean up.
- Bright & Tangy: The lemon juice cuts through the sweetness, and the fresh raspberries give it that real berry punch you just can’t get from store-bought.
- Gift-Worthy Spread: I jar this up in cute little mason jars for teacher gifts or brunch hosts—it’s always a hit.
- Budget-Friendly Batch: A flat of raspberries on sale turns into six jars of jam that last for months, and honestly, it costs less than half what fancy jams do at the market.
Step-by-Step Instructions for Raspberry Jam With Pectin
Here’s the method. Straightforward, tested, works every time.
Step 1: Prepare the Fruit and Pectin Mixture
Place the 4 cups Fresh Raspberries in a large, heavy-bottomed pot. Using a potato masher or fork, crush them to release their juices. You want a chunky texture, not a puree, so leave some raspberry pieces intact.
In a small bowl, whisk together the 1.75 oz Powdered Pectin and 0.25 cup Lemon Juice until fully combined with no lumps. This ensures the pectin is evenly distributed before it hits the hot fruit mixture.
Step 2: Combine Ingredients and Bring to a Boil
Add the pectin-lemon juice mixture to the crushed raspberries in the pot. Stir in the 0.5 cup Water and mix well. Place the pot over medium-high heat and bring to a full, rolling boil that cannot be stirred down, stirring constantly.
Once boiling, add all the 3 cups Granulated Sugar at once. Stir vigorously to dissolve the sugar completely. The mixture will foam up significantly—this is normal. Continue stirring constantly to prevent scorching at the bottom of the pot.
Step 3: Cook to the Setting Point
Return the mixture to a full, rolling boil. Once it reaches this stage, start your timer and boil for exactly 1 minute, stirring constantly. The jam will thicken noticeably as it cooks.
After 1 minute, remove the pot from heat. If using, stir in the 1 tsp Vegan Butter to reduce foam. Skim off any remaining foam with a metal spoon. The jam should look glossy and coat the back of a spoon when it’s ready.
To test for doneness, place a small amount on a chilled plate. If it wrinkles when pushed with a finger, it’s ready. If not, return to heat for another 30-60 seconds and test again.
Step 4: Jar and Seal
Ladle the hot jam into sterilized jars, leaving ¼ inch headspace at the top. Wipe the rims clean with a damp cloth to ensure a proper seal. Place the lids on the jars and screw on the rings until fingertip-tight.
Process the jars in a water bath canner for 10 minutes to create a vacuum seal for long-term storage. Alternatively, let the jars cool to room temperature, then refrigerate for up to 3 weeks or freeze for up to 6 months.
Pro Tips For Making Raspberry Jam Recipe With Pectin
- Test for Ripeness: Gently press a few raspberries between your fingers—if they crush easily and release juice, they’re perfect. Underripe berries need extra sugar and pectin to set properly.
- Mix Pectin First: Whisk the powdered pectin into the lemon juice and water before adding it to the berries. This prevents clumping and guarantees even distribution in the jam.
- Boil Hard, Not Long: Once the sugar is added, bring the mixture to a full rolling boil that can’t be stirred down, then time exactly 1 minute—any longer and the jam turns too thick.
- Skim Early, Skim Often: Use a metal spoon to skim off foam as it rises to the surface during cooking. Waiting until the end leaves a cloudy finish and wasted fruit.
Make-Ahead Tips for This Dish
Prep Ahead for Efficiency
Measure all your ingredients the night before—I use small bowls for the 1.75 oz Powdered Pectin, 3 cups Granulated Sugar, and 0.25 cup Lemon Juice. This streamlines the cooking process when you’re ready to start. 💡
Raspberry Prep
Wash and dry your 4 cups Fresh Raspberries up to 2 days in advance. Store them unwashed in a single layer on a paper towel-lined container in the fridge. This keeps them fresh without getting soggy.
Sterilize Jars Early
Run your jars and lids through the dishwasher on the sanitize cycle the morning of jam-making. Keep them hot until ready to fill. For water bath canning, I use my Ball canning kit—it’s reliable and affordable.
Batch Cooking
Double the recipe if you have a large pot. The process remains the same, just ensure you have enough headspace in your pot to prevent boil-overs. I often make 2 batches at once to gift to friends.
Fridge vs. Freezer
For short-term storage, let jars cool completely before refrigerating—they’ll last 3 weeks. For longer storage, freeze in 8 oz mason jars for up to 6 months. Leave ½ inch headspace for expansion.
Label Everything
Use masking tape and a marker to label jars with the date. Trust me, you’ll forget when you made it. I keep a roll of washi tape and a Sharpie in my pantry for this exact purpose. ✨
Frequently Asked Questions
Can I use frozen raspberries instead of fresh?
Yes, but thaw and drain them first to remove excess liquid. Frozen berries release more water, which can affect the jam’s set. Adjust cooking time slightly as needed.
Why did my jam turn out runny?
This usually means the pectin wasn’t activated properly. Ensure you boiled it for the full 1 minute after adding sugar. Also, measure ingredients precisely—too little pectin or sugar can prevent setting.
How can I reduce foam while cooking?
Add 1 tsp of vegan butter at the end of cooking to break down foam. Skim any remaining foam with a metal spoon before jarring. Stirring constantly also helps prevent excessive foaming.
Nutrition Facts

- BBQ Sausage Recipe Oven: Smoky Depth Without the Grill - September 28, 2026
- BBQ Chicken Bowl Recipe Rice: Smoky Sweetness Over Fluffy Grains - September 28, 2026
- Beef Cutlet Recipe Ideas: Crispy Breaded Patties With Bold Seasonings - September 28, 2026