
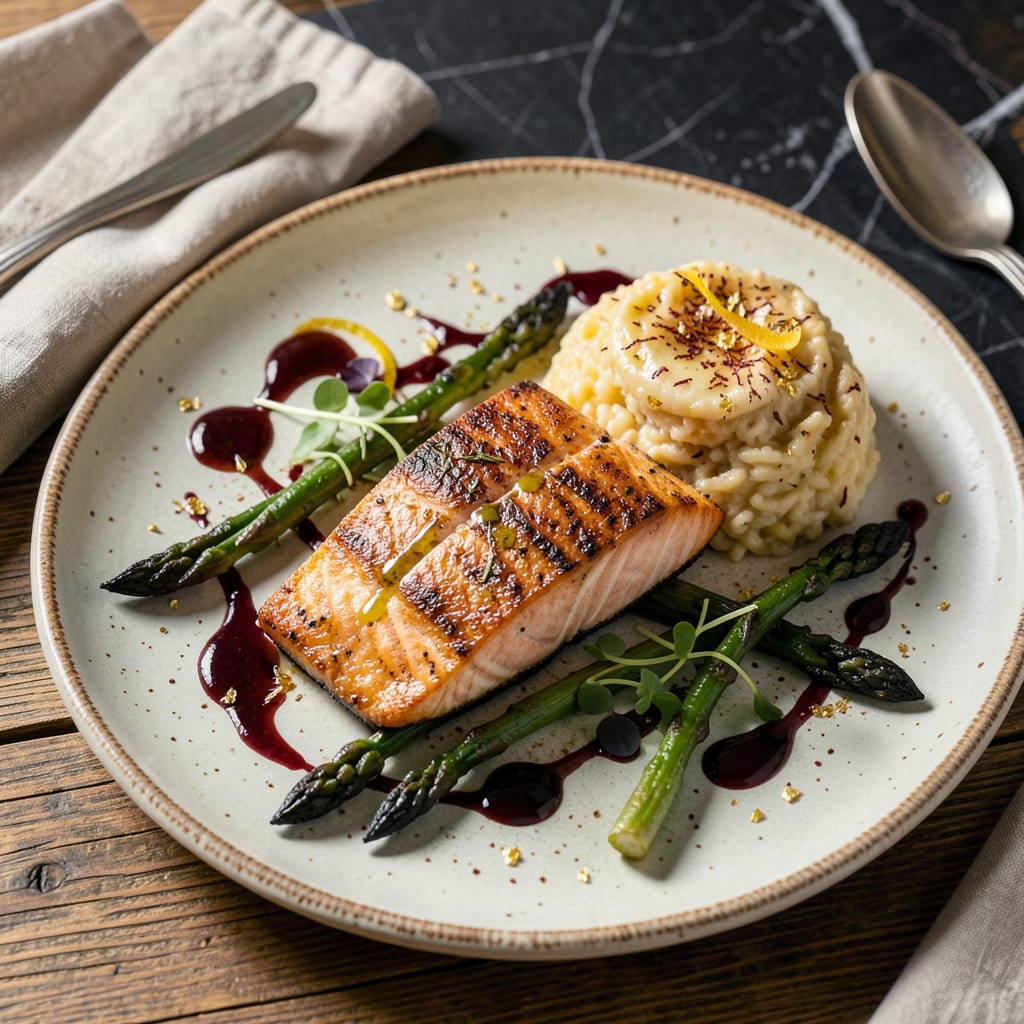
A recipe border is an edible garnish that frames your dish for professional plating. Use purees, sauces, coulis, or finely chopped herbs arranged in clean lines, dots, or geometric patterns around the plate’s edge.
This technique transforms ordinary dishes into restaurant-quality presentations by creating visual boundaries that guide the eye. 💫 I’ve found that the contrast between the border and the main dish enhances perceived flavor before the first bite—think vibrant beet puree against seared scallops or citrus zest framing a chocolate dessert. The key lies in precision: tools like offset spatulas or fine-tip squeeze bottles help achieve sharp edges, while temperature control ensures sauces maintain their shape without bleeding into the plate. ✨
💡 In This Article
- Techniques for Designing Professional Recipe Borders
- Best Ingredients for Edible Recipe Borders by Dish Type
Techniques for Designing Professional Recipe Borders
Creating clean, professional borders starts with controlling your sauce viscosity. For precise lines, aim for a consistency similar to heavy cream—thick enough to hold shape but fluid enough to flow smoothly. I use a simple test: lift your spoon and watch how the sauce drizzles.
If it breaks into droplets too quickly, thin with water or stock. For dot patterns, you’ll want something slightly thicker, like Greek yogurt consistency, which holds its form when piped. 🔥
Tools make all the difference in execution. A #2 or #3 piping tip gives you control for intricate designs, while squeeze bottles work best for freehand swirls and zigzags. For perfect circles, use ring molds (2-4 inches in diameter) as stencils—press lightly into mashed potatoes or purees, then remove to reveal a clean edge.
Temperature matters too: chilled sauces hold patterns better than room-temperature ones, which can spread unpredictably on warm plates. ❄️
The secret to visual impact lies in color contrast and layering. Pair deep red beet puree with bright green herb oil, or golden turmeric sauce against black sesame paste. I always apply the lightest color first as a base layer, then add darker elements on top.
For texture, alternate smooth components (like velouté sauce) with coarse elements (toasted breadcrumbs or chopped nuts). Remember the rule of thirds: place your most vibrant border element where the plate’s imaginary grid lines intersect. ✨
Advanced techniques involve creating dimensional borders. Try the “floating island” effect by piping a thick puree (sweet potato works well) in a continuous spiral, then using a toothpick to drag patterns from the center outward.
For savory dishes, build height with stacked elements—think microgreens atop a quinoa border, or edible flowers nestled in a citrus zest ring. The height should never exceed 1/2 inch to maintain balance with the main dish. 🌟
Timing is everything when plating. Apply borders last, just before serving, to prevent wilting or color bleeding. For hot dishes, use room-temperature components to avoid melting delicate elements like butter-based sauces or chocolate decorations.
I keep a small paintbrush handy to touch up any smudges with matching colored sauce—this restaurant trick makes all the difference in final presentation. ⚡
Common mistakes to avoid include overcrowding the plate (leave at least 1 inch of negative space around your border) and using ingredients that clash in flavor. Always taste your border components with the main dish—a spicy harissa border might overpower delicate fish, while a vanilla bean coulis could conflict with savory meat dishes.
The border should complement, not compete with, your star ingredient. 💫
For perfect symmetry, use the “clock method”: imagine your plate as a clock face and place border elements at consistent intervals (every 2 hours for 6 elements, every 3 hours for 4). This creates visual rhythm that guides the diner’s eye naturally around the plate.
Practice on parchment paper first to refine your technique before committing to the final presentation. 🎨

- BBQ Sausage Recipe Oven: Smoky Depth Without the Grill - September 28, 2026
- BBQ Chicken Bowl Recipe Rice: Smoky Sweetness Over Fluffy Grains - September 28, 2026
- Beef Cutlet Recipe Ideas: Crispy Breaded Patties With Bold Seasonings - September 28, 2026