
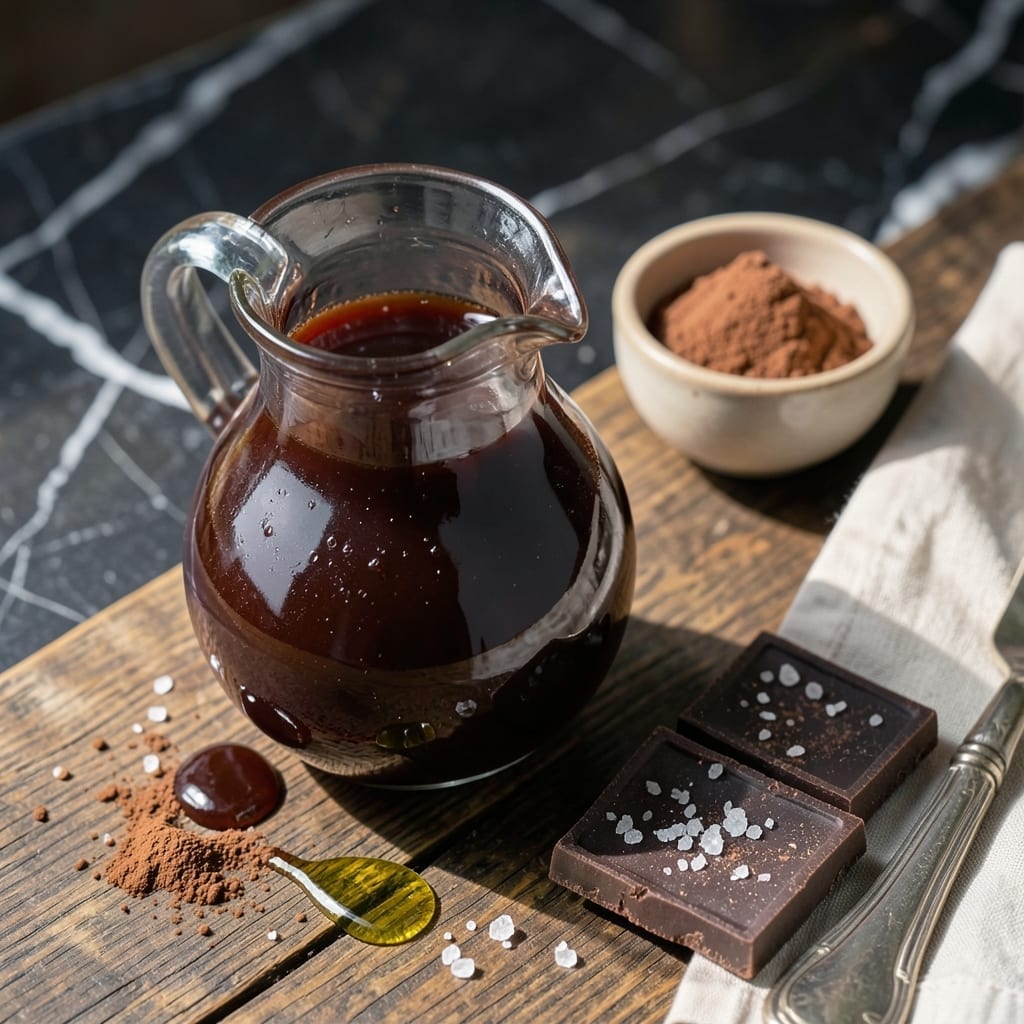
This chocolate syrup transforms ordinary desserts and drinks into something extraordinary with its deep, velvety richness. I developed this recipe after years of experimenting with different cocoa ratios and sweetness levels to achieve the perfect balance.
The secret lies in using a combination of cocoa powder and real chocolate for complex flavor. A touch of vanilla extract and pinch of salt elevate the taste beyond basic store-bought versions. The result is a glossy, smooth syrup that pours beautifully.
This creation is incredibly versatile—drizzle over ice cream, swirl into milk, or use as a cake topping. It keeps well in the fridge for up to two weeks, making it a pantry staple worth having on hand.
With just a few simple ingredients and 10 minutes of your time, you’ll have a restaurant-quality syrup that outshines anything commercial.
Ingredients for Recipe Chocolate Syrup
Eight ingredients. Ten minutes. Syrup that outshines any store-bought version every time.
| Ingredient | Amount | Notes |
|---|---|---|
| Unsweetened Cocoa Powder 🍫 | ½ cup | Dutch-processed for smoother flavor |
| Semi-Sweet Chocolate 🍫 | 4 oz | High-quality bar, finely chopped |
| Granulated Sugar 🍚 | 1 cup | Fine white granulated preferred |
| Water 💧 | 1 cup | Filtered for best results |
| Pure Vanilla Extract 🌿 | 1 tsp | Real vanilla, not imitation |
| Salt 🧂 | ¼ tsp | Fine sea salt preferred |
| Unsalted Butter 🧈 | 2 tbsp | Optional for glossy finish |
| Light Corn Syrup 🧃 | ¼ cup | Prevents crystallization, optional |
The chocolate matters here. Ghirardelli or Guittard semi-sweet bars melt beautifully—skip the chips (they’ve got stabilizers that make the syrup grainy). Cocoa powder should be Dutch-processed for that deep, smooth flavor. Hershey’s Special Dark is my go-to grocery store option. The sugar is just the sweetener, so any fine granulated works, but organic dissolves a hair faster.
No semi-sweet chocolate? Bittersweet works too—just add a tablespoon more sugar to balance. Skipping the corn syrup? Honey or agave at half the amount keeps it smooth. Want it richer? Swap half the water for whole milk. Vanilla is non-negotiable though—it’s what takes this from good to “where’d you get this?” good. Butter is optional but adds that restaurant-quality sheen.
This keeps for 2 weeks in the fridge, maybe longer (but it’ll be gone by then). Store in a glass jar—mason jars work great. Stir before using since it thickens as it cools. Doubles easily if you’re batching for gifts (which, trust me, you’ll want to).
Why You’ll Love This Recipe
- Five-Minute Magic: I can stir this together between commercial breaks—just melt, whisk, and done.
- Rich Cocoa Rush: The semi-sweet chocolate plus cocoa powder gives that deep, velvety flavor without being cloying.
- Drizzle on Everything: Honestly, I’ve put it on ice cream, pancakes, even my morning oatmeal.
- Pantry Staple: One batch costs pennies and keeps for weeks, so I always have chocolate syrup ready.
Step-by-Step Instructions for Chocolate Syrup
Simple process, rich results—this chocolate syrup comes together with minimal effort and maximum flavor.
Step 1: Combine Dry Ingredients and Water
In a medium saucepan, whisk together the 0.5 cup Unsweetened Cocoa Powder, 1 cup Granulated Sugar, and 0.25 tsp Salt. This ensures the dry ingredients are evenly distributed and prevents clumping when the liquid is added.
Gradually pour in the 1 cup Water while whisking continuously. The mixture will start thin but thicken as it heats. Use a saucepan with a heavy bottom to prevent hot spots that can cause scorching.
Step 2: Heat and Dissolve the Mixture
Place the saucepan over medium heat and stir constantly with a silicone spatula. You’ll see the sugar begin to dissolve after 2-3 minutes. Keep scraping the bottom and sides of the pan to prevent sticking.
The mixture should come to a gentle simmer. Watch for small bubbles forming at the edges—this signals it’s ready for the next step. Don’t let it boil vigorously, as this can cause the cocoa to separate or burn.
Step 3: Add Chocolate and Corn Syrup
Once simmering, reduce heat to low and add the 4 oz Semi-Sweet Chocolate and 0.25 cup Light Corn Syrup. The chopped chocolate will melt faster and more evenly than chocolate chips. Stir until the chocolate is completely melted and the mixture is smooth.
The corn syrup adds body and prevents the syrup from crystallizing, giving it that perfect glossy finish. If you notice any lumps, keep stirring—they’ll dissolve as the mixture warms through.
Step 4: Incorporate Butter and Vanilla
Remove the saucepan from heat and stir in the 2 tbsp Unsalted Butter and 1 tsp Pure Vanilla Extract. The butter adds richness and a silky texture, while the vanilla deepens the chocolate flavor with its warm, aromatic notes.
Let the syrup sit for 1-2 minutes to thicken slightly. It will continue to thicken as it cools. If it seems too thin, return it to low heat for another 1-2 minutes, but don’t overcook or it may become too thick.
Step 5: Cool and Store
Transfer the chocolate syrup to a heatproof jar or bottle. Let it cool to room temperature, which takes about 30-45 minutes. As it cools, it will thicken to the perfect pourable consistency.
Store in an airtight container in the refrigerator for up to 2 weeks. If it thickens too much in the fridge, warm it gently in the microwave or a saucepan with a splash of water to restore its smooth, drizzling texture. Stir before each use to redistribute any separated ingredients.
Pro Tips For Making Recipe Chocolate Syrup
- Low and Slow: Keep the heat at medium-low—any higher and the sugar can scorch before the cocoa fully dissolves. I learned this the hard way after ruining a batch with burnt bitterness.
- Chop the Chocolate: Finely chop the semi-sweet chocolate before melting so it incorporates smoothly instead of clumping. Sounds tedious, but it saves stirring time and prevents graininess.
- Skip the Boil: Resist the urge to let it bubble vigorously—simmering gently is enough to thicken the syrup without making it grainy or too thick.
- Add Vanilla Last: Stir in the vanilla extract only after removing from heat, or the alcohol can evaporate and mute the flavor. My grandmother swore by this, and she was right.
Make-Ahead Tips for This Recipe
Batch Prep Basics
This syrup doubles or triples beautifully for gifting or bulk storage. I use 16 oz mason jars for single batches—32 oz jars work for doubles. Just scale all ingredients proportionally and use a larger saucepan to prevent overflow. The flavor stays consistent regardless of batch size.
Fridge Storage
Once cooled, transfer to an airtight container and refrigerate. It stays fresh for up to 2 weeks—though mine never lasts that long. The cold thickens it significantly, so I always let it sit at room temperature for 10-15 minutes before using. 💡
Freezer Option
For long-term storage, freeze in ice cube trays first, then transfer cubes to a freezer bag. Each cube is about 2 tbsp—perfect for single servings. Thaw in the fridge overnight or microwave in 10-second bursts until pourable.
Reheating Tips
Gently warm in a saucepan over low heat with 1-2 tsp water to restore consistency. Avoid boiling. For microwave, use 50% power in 15-second intervals, stirring between each. The butter in the recipe helps it reheat smoothly without separating.
Gift Presentation
Pour into sterilized swing-top bottles for a professional look. Add a ribbon and custom label—Avery 22807 fits perfectly. Include a note with usage ideas: “Drizzle over ice cream, stir into coffee, or dip fruit!” ❄️
Flavor Refresh
If the syrup thickens too much after storage, a quick stir usually fixes it. For stubborn separation, warm and whisk vigorously. The vanilla and salt flavors intensify over time, so taste before adding more seasoning.
Nutrition Facts
Frequently Asked Questions
Can I use milk instead of water?
Yes! Whole milk adds creaminess and richness. Reduce water to 1/2 cup and use 1/2 cup milk for balance. Avoid skim milk as it may curdle when heated.
Why did my syrup turn grainy?
Graininess usually means the sugar didn’t fully dissolve. Heat it gently while stirring constantly until smooth. Next time, ensure the mixture reaches a simmer before adding chocolate.
Can I make this vegan?
Easily! Use dairy-free chocolate and replace butter with 2 tbsp coconut oil. The flavor and texture remain excellent.
How can I make it thicker?
Simmer for an extra 2-3 minutes or add 1 tbsp cornstarch mixed with water. Stir constantly to prevent burning.

- BBQ Sausage Recipe Oven: Smoky Depth Without the Grill - September 28, 2026
- BBQ Chicken Bowl Recipe Rice: Smoky Sweetness Over Fluffy Grains - September 28, 2026
- Beef Cutlet Recipe Ideas: Crispy Breaded Patties With Bold Seasonings - September 28, 2026