
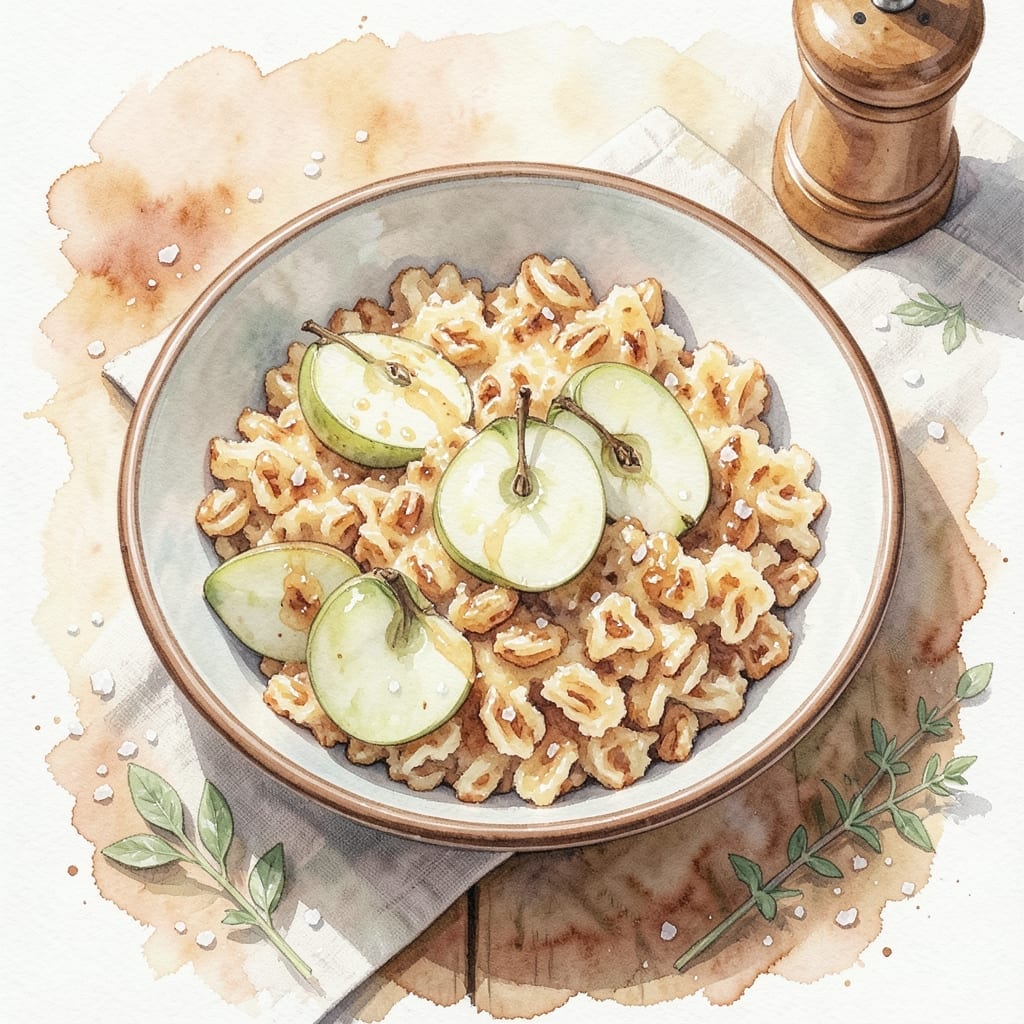
When you need a warm, comforting dessert in minutes, this microwave apple crisp delivers. I developed this single-serve version for those cravings that can’t wait for the oven to preheat.
The beauty lies in its simplicity: fresh apples tossed with cinnamon and sugar, topped with a buttery oat crumble. Five minutes in the microwave transforms these humble ingredients into a bubbling, fragrant treat.
What emerges is a personal-sized crisp with tender apples and a golden oat topping. The texture contrasts perfectly—soft fruit beneath a slightly crispy layer.
Perfect for one, though you may want to make two. The aroma alone is worth the effort.
Ingredients for Recipe for Apple Crisp Made in Microwave
Everything you need for a warm, single-serve dessert in minutes.
| Ingredient | Amount | Notes |
|---|---|---|
| Granny Smith Apples 🍏 | 2 whole | Peeled, cored, and diced |
| Light Brown Sugar 🧈 | 2 tbsp | Packed, for filling |
| Ground Cinnamon 🌿 | ½ tsp | Freshly ground preferred |
| Old-Fashioned Rolled Oats 🌾 | ¼ cup | Uncooked, for topping |
| All-Purpose Flour 🌾 | 2 tbsp | For crumble texture |
| Light Brown Sugar 🧈 | 2 tbsp | Packed, for topping |
| Ground Cinnamon 🌿 | ¼ tsp | Freshly ground preferred |
| Unsalted Butter 🧈 | 2 tbsp | Cold, cubed for topping |
| Vanilla Extract 🌿 | ½ tsp | Pure for best flavor |
| Salt 🧂 | 0.125 tsp | Pinch for balance |
| Lemon Juice 🍋 | ½ tsp | Freshly squeezed, optional |
The apples are the star here. Granny Smith holds up best to microwaving—crisp and tart, balancing the sweetness. Grab them from Whole Foods or your local market, and look for firm, unblemished fruit. The rolled oats need to be old-fashioned, not instant (those get mushy). If you’re out of brown sugar, white sugar with a splash of molasses works in a pinch.
No Granny Smith? Honeycrisp or Fuji are great too, though slightly sweeter. Swap the butter for coconut oil if you want it dairy-free. The brown sugar can be maple syrup (reduce slightly to avoid a soggy topping). Skip the lemon juice if you don’t have it, but it brightens the apples nicely.
Assemble right before microwaving—oats soften if left too long. Keeps 2 days in the fridge (reheat briefly), but it’s best fresh. Double the recipe if you want leftovers (you will).
Why You’ll Love This Recipe
- Ready in Minutes: I can have this apple crisp ready before the oven even preheats—just toss the Granny Smiths with brown sugar and cinnamon, then microwave.
- Warm Spiced Comfort: The tart apples soften into this cozy, cinnamon-kissed filling while the oat topping gets perfectly crispy.
- Great for One or Two: Honestly, it’s my go-to when I want a single serving of dessert without leftovers lingering for days.
- Budget-Friendly Fix: Between us, a couple of Granny Smiths and pantry staples like oats and flour make this treat cost less than takeout.
Step-by-Step Instructions for Apple Crisp Made in Microwave
Here’s the method I use to create a perfectly warm, spiced treat in just minutes.
Step 1: Prepare the Apples for Filling
Peel, core, and dice the 2 whole Granny Smith Apples into small, even pieces—about ½-inch cubes. This size ensures they soften quickly and evenly in the microwave. I like to work over a bowl to catch any juices that escape during prep.
Immediately toss the diced apples with 0.5 tsp Lemon Juice to prevent browning. Then add 2 tbsp Light Brown Sugar (packed) and 0.5 tsp Ground Cinnamon, stirring to coat every piece evenly. The apples should glisten with the sugar mixture, and you’ll smell that warm cinnamon aroma right away.
Step 2: Mix the Crisp Topping
In a separate bowl, combine 0.25 cup Old-Fashioned Rolled Oats, 2 tbsp All-Purpose Flour, 2 tbsp Light Brown Sugar (packed), and 0.25 tsp Ground Cinnamon. Stir these dry ingredients together until no flour streaks remain visible.
Cut in 2 tbsp Unsalted Butter (cold and cubed) using a fork or your fingers, working until the mixture resembles coarse crumbs with some pea-sized clumps. Add 0.5 tsp Vanilla Extract and 0.125 tsp Salt, then mix again. The topping should hold together slightly when pressed but still feel crumbly.
Step 3: Assemble and Microwave
Transfer the apple mixture to a microwave-safe dish (I use a 4-cup capacity bowl for this serving size). Spread the apples in an even layer, then sprinkle the crisp topping uniformly over the top. Press down gently on the topping to help it adhere to the apples below.
Microwave on high power for 4 minutes. After this time, you’ll see the topping starting to bubble at the edges and the apples releasing their juices. Give the dish a 180-degree turn and microwave for another 2-3 minutes until the topping is golden brown and the apples are tender when pierced with a fork.
Step 4: Rest and Serve Warm
Let the apple crisp rest for 2 minutes after microwaving. This brief pause allows the juices to thicken slightly and the topping to set. You’ll notice the topping becomes crispier as it cools, while the apples remain perfectly tender.
Serve immediately while warm. The topping should be golden and slightly crisp, with the apples beneath soft and swimming in a light, spiced syrup. If you find the topping isn’t crisp enough, return it to the microwave for 30-second increments until it reaches your desired texture.
Pro Tips For Making Recipe For Apple Crisp Made In Microwave
- Slice Thin and Even: Cut those Granny Smiths into ¼-inch slices—any thicker and they won’t soften in the microwave. I learned this the hard way after chewing through a bowl of half-raw apples.
- Mix the Topping Well: Press the oats, flour, brown sugar, and cinnamon together with your fingers until it’s crumbly. Sounds weird, but it works: this keeps the topping from turning into a sad, soggy lump.
- Vent the Microwave: Cover the dish with a paper towel, but leave a small gap for steam to escape. After burning three batches, I finally figured out that trapped steam makes the topping gummy.
- Use a Wide Dish: Spread the apples in a wide, shallow microwave-safe dish so they cook evenly. Skip the deep bowls—your crisp will steam instead of, well, crisp.
Common Mistakes When Making Perfect Results
Uneven Apple Sizes
Cutting apples into inconsistent pieces leads to some bits turning mushy while others stay hard. I always dice my Granny Smith apples into uniform ½-inch cubes so they cook evenly in the microwave. This size softens perfectly in 6-7 minutes total. 💡
Overpacking the Dish
Using a dish that’s too small causes the topping to steam rather than crisp. I recommend a 4-cup capacity microwave-safe bowl for this serving size. This gives the heat room to circulate and the topping space to brown properly.
Skipping the Turn
Microwaves have hot spots that can lead to uneven cooking. After the initial 4 minutes, I always give the dish a 180-degree turn to ensure the topping browns and the apples cook consistently on all sides.
Wet Topping Mix
If your butter isn’t cold enough, the topping will turn pasty instead of crumbly. I cut my 2 tbsp unsalted butter into small cubes straight from the fridge. Work it in quickly with your fingers to maintain those essential crumbly clumps.
No Resting Time
Serving immediately can result in a soggy topping. I let mine rest for 2 minutes after microwaving. This brief pause allows the juices to thicken and the topping to set, creating that perfect crisp texture we all love. 🔥
Overcooking
Going beyond 7 minutes total often makes the apples too soft. Watch for the topping turning golden brown and apples that are tender but not falling apart. If needed, add time in 30-second increments only.
Nutrition Facts
Frequently Asked Questions
Can I use different apples?
Yes! Honeycrisp or Fuji work well, though they’re sweeter. Stick to firm varieties that hold shape during cooking. Avoid soft types like Red Delicious.
How do I make it vegan?
Swap the butter for coconut oil or vegan butter. Use the same amount and keep it cold for best texture. The flavor remains delicious with this simple change.
Why is my topping soggy?
This usually happens if the dish is too small or you skip the 2-minute rest. Use a 4-cup bowl and let it sit after microwaving to crisp up.
Can I make this ahead?
Best served fresh, but you can prep the filling and topping separately. Assemble and microwave just before serving for the best texture.

- BBQ Sausage Recipe Oven: Smoky Depth Without the Grill - September 28, 2026
- BBQ Chicken Bowl Recipe Rice: Smoky Sweetness Over Fluffy Grains - September 28, 2026
- Beef Cutlet Recipe Ideas: Crispy Breaded Patties With Bold Seasonings - September 28, 2026