
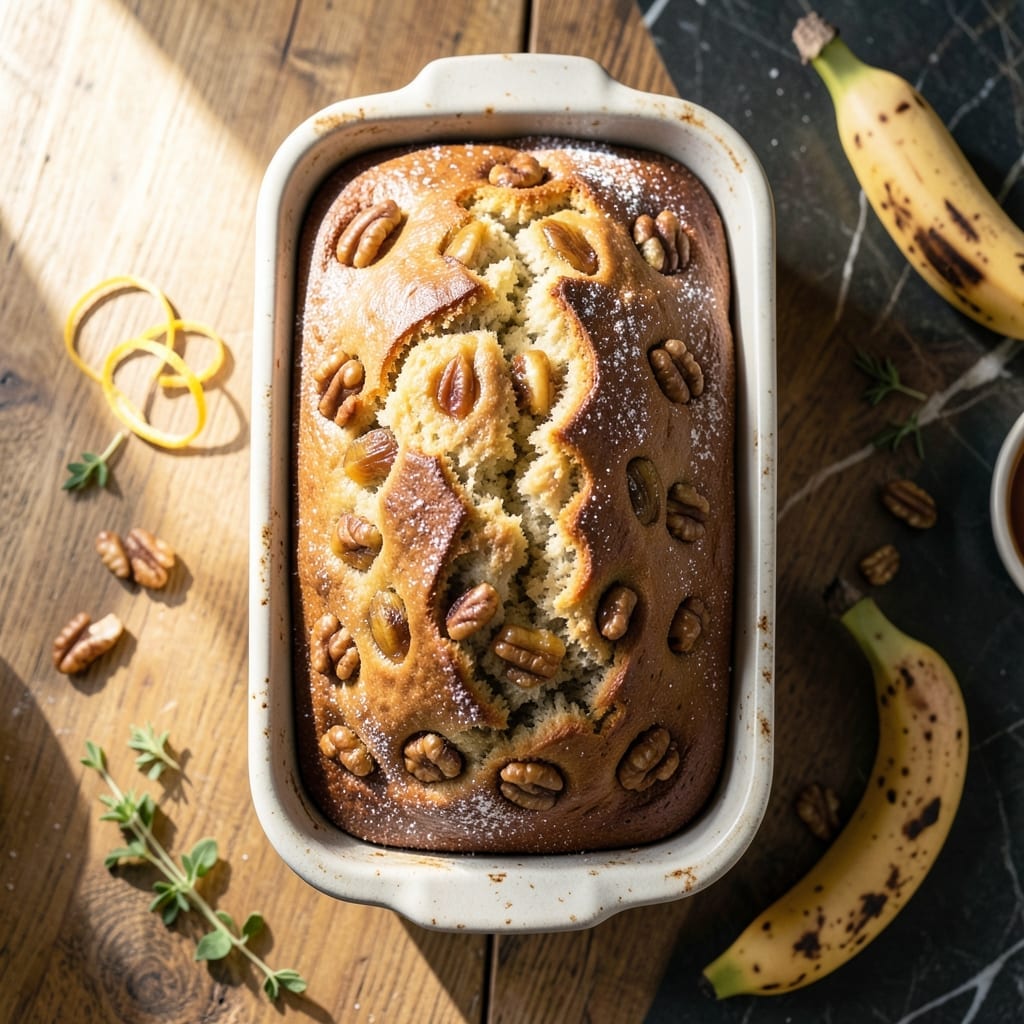
This banana nut bread delivers a moist crumb with perfect texture, thanks to the convenience of self-rising flour.
The walnuts add satisfying crunch while overripe bananas ensure deep, natural sweetness. It is a foolproof recipe for a classic comfort bake.
Ingredients for Recipe for Banana Nut Bread Made with Self Rising Flour
Nine simple ingredients transform into a classic moist loaf everyone will love.
| Ingredient | Amount | Notes |
|---|---|---|
| Overripe Bananas 🍌 | 3 whole | Very ripe, heavily spotted |
| Self-Rising Flour 🌾 | 2 cups | All-purpose substitute not ideal |
| Granulated Sugar 🧂 | ¾ cup | White or light brown |
| Large Eggs 🥚 | 2 whole | Room temperature preferred |
| Vegetable Oil 🫒 | ½ cup | Or melted butter |
| Vanilla Extract 🌿 | 1 tsp | Pure vanilla for best flavor |
| Walnuts 🌰 | ¾ cup | Chopped, lightly toasted |
| Ground Cinnamon 🌶️ | ½ tsp | Optional but recommended |
| Salt 🧂 | ¼ tsp | Fine grain, balances sweetness |
| Baking Soda 🧪 | ¼ tsp | Omits need for extra leavening |
The bananas are critical here—use the darkest, most spotted ones you can find (the blacker, the better). Self-rising flour saves time, but White Lily is my go-to brand for consistent results. For the walnuts, Diamond of California offers pre-chopped options that save prep work. The oil can be any neutral variety, though coconut oil adds a subtle depth if you’re feeling adventurous.
Need to swap an ingredient? Applesauce at a 1:1 ratio replaces the oil for a lighter texture. No walnuts? Pecans or almonds work beautifully (toast them first). Out of self-rising flour? Mix 2 cups all-purpose + 1 tbsp baking powder + 1 tsp salt. The cinnamon is optional but highly recommended—it amplifies the banana flavor without overpowering.
Store the loaf wrapped in foil at room temperature for 2-3 days, or slice and freeze for up to 3 months. Bananas freeze perfectly for future baking—just peel and stash in a bag. Always bring eggs to room temperature for even mixing (30 minutes on the counter does the trick).
Why You’ll Love This Recipe
- One Bowl Wonder: I just dump everything in—no sifting, no extra bowls. Self-rising flour does all the work for me.
- Sweet Nostalgic Bite: That caramelized banana flavor with a hint of crunch from the nuts? Tastes like my grandma’s kitchen.
- Breakfast or Dessert: I slice it thick for morning toast or warm it up with ice cream after dinner. Honestly, it works anytime.
- Zero Waste Win: Those sad, spotty bananas on my counter? This recipe turns them into something crave-worthy in under an hour.
Step-by-Step Instructions for Banana Nut Bread Made With Self-Rising Flour
Here is the method. Straightforward, tested, works every time.
Step 1: Mash Bananas and Combine Wet Ingredients
In a large bowl, mash the 3 whole overripe bananas with a fork until mostly smooth with a few small lumps for texture. The bananas should be heavily spotted and very soft—this ensures maximum sweetness and moisture in your loaf.
Add the 0.75 cup granulated sugar, 2 whole large eggs, 0.5 cup vegetable oil, and 1 tsp vanilla extract. Whisk vigorously until the mixture is fully emulsified and pale in color. This step incorporates air, which helps create a tender crumb.
I always use room temperature eggs here—they blend more evenly into the batter. If your eggs are cold, place them in a bowl of warm water for 5 minutes before starting.
Step 2: Sift Dry Ingredients and Create the Batter
In a separate bowl, sift together the 2 cups self-rising flour, 0.25 tsp salt, 0.5 tsp ground cinnamon, and 0.25 tsp baking soda. Sifting removes any lumps and aerates the flour for a lighter texture.
Gradually add the dry ingredients to the wet mixture, folding gently with a spatula until just combined. Overmixing develops gluten, which would make the bread dense rather than tender. The batter will be thick but still pourable.
Step 3: Fold in Walnuts and Prepare the Pan
Gently fold in the 0.75 cup walnuts until evenly distributed throughout the batter. For best texture, I recommend using chopped, lightly toasted walnuts—the toasting enhances their natural oils and adds depth of flavor.
Grease a standard 9×5-inch loaf pan thoroughly with butter or nonstick spray. Line the bottom with parchment paper for easy removal. Pour the batter into the pan and smooth the top with a spatula.
Step 4: Bake to Moist, Golden Perfection
Preheat your oven to 350°F. Bake the bread for 50-60 minutes, or until a toothpick inserted into the center comes out with just a few moist crumbs attached. The top should be deep golden brown and domed slightly.
If the top begins to darken too quickly, tent the pan loosely with aluminum foil. This prevents over-browning while allowing the center to finish baking. Oven temperatures vary, so start checking at the 50-minute mark.
Step 5: Cool Completely Before Slicing
Remove the pan from the oven and let the bread cool in the pan for 10 minutes. Then transfer it to a wire rack to cool completely. This cooling period allows the structure to set—slicing too soon will result in a crumbly loaf.
The bread is ready to serve once it reaches room temperature. The texture should be moist and tender with a tight crumb, and the walnuts should provide a satisfying crunch in every bite. For best flavor, let it rest for at least 1 hour before slicing.
Pro Tips For Making Recipe For Banana Nut Bread Made With Self Rising Flour
- Check Banana Ripeness: Use bananas with black-spotted peels—they’re sweeter and mash easier, so you won’t need extra sugar to compensate.
- Fold in Nuts Last: Stir nuts into the batter at the very end to keep them from sinking to the bottom during baking.
- Skip Overmixing: Mix just until the flour disappears; overworking the batter makes the bread dense instead of tender.
- Test with a Toothpick: Pull the loaf at 50 minutes and check the center—if it comes out clean, it’s done, even if the top looks pale.
Make-Ahead Tips for recipe for banana nut bread made with self rising flour
Prep the Night Before
Mix your wet ingredients the night before—I combine mashed bananas, sugar, eggs, oil, and vanilla in a bowl, cover with plastic wrap, and refrigerate. The flavors meld beautifully overnight. Just bring to room temperature before adding dry ingredients. 💡
Freeze for Later
This batter freezes well for up to 1 month. Pour into a freezer-safe container, leaving 1 inch headspace. When ready, thaw in the fridge overnight, then add dry ingredients and bake as usual.
Bake in Advance
Bake the loaf 1-2 days ahead and store it wrapped in foil at room temperature. The texture actually improves as it sits. For longer storage, slice before freezing to grab individual portions easily.
Toasting Walnuts
Toast your walnuts up to 3 days ahead and store in an airtight container. Spread on a baking sheet at 350°F for 8-10 minutes, then cool completely. This saves time on baking day.
Room Temperature Eggs
Place cold eggs in warm water for 5 minutes to bring to room temperature quickly. This ensures even mixing. I keep a bowl of warm water ready while prepping other ingredients.
Parchment Paper Trick
Cut your parchment paper to fit the loaf pan before starting. This small prep step makes pan preparation faster and ensures easy removal of the baked loaf. 💛
Frequently Asked Questions
Can I use all-purpose flour instead?
Yes, but you’ll need to add 1 tbsp baking powder and 1 tsp salt per 2 cups of all-purpose flour to mimic self-rising flour. The texture may be slightly denser.
How ripe should the bananas be?
The blacker and spottier, the better! Use bananas that are very soft with heavily darkened peels. This ensures maximum sweetness and moisture in your loaf.
Can I omit the nuts?
For a nut-free version, simply leave them out or replace with 0.5 cup chocolate chips or dried fruit. The bread will still be delicious and moist.
Why did my bread sink in the middle?
This usually happens from underbaking or opening the oven too early. Ensure the toothpick test comes out clean and avoid opening the oven door during the first 40 minutes.
Nutrition Facts

- BBQ Sausage Recipe Oven: Smoky Depth Without the Grill - September 28, 2026
- BBQ Chicken Bowl Recipe Rice: Smoky Sweetness Over Fluffy Grains - September 28, 2026
- Beef Cutlet Recipe Ideas: Crispy Breaded Patties With Bold Seasonings - September 28, 2026