
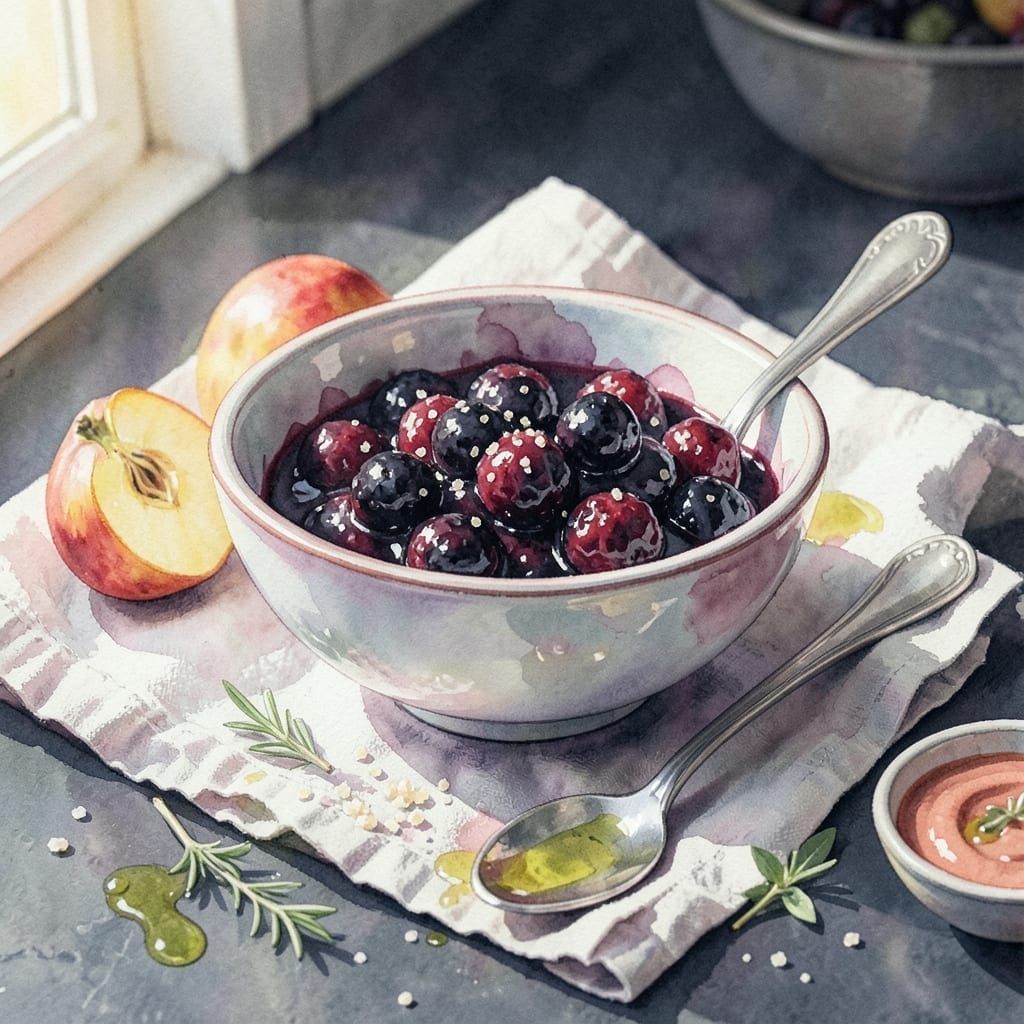
There’s something deeply satisfying about crafting a homemade jam that captures the essence of summer fruit. This no-pectin method lets the natural flavors shine without artificial thickeners.
The combination of tart blackberries and sweet apples creates a perfectly balanced spread. A touch of lemon juice enhances the brightness and helps the jam set naturally.
With just a few simple ingredients and minimal effort, you’ll have a vibrant, fruit-forward jam ready to enjoy on toast, yogurt, or cheese boards. The process is straightforward and rewarding.
Store in sterilized jars for lasting freshness and savor the taste of homemade goodness all year. This recipe proves that preserving fruit at home is both easy and delicious.
Ingredients for Recipe for Blackberry and Apple Jam
Seven simple ingredients transform into a vibrant, fruit-forward spread with natural pectin.
| Ingredient | Amount | Notes |
|---|---|---|
| Fresh Blackberries 🫐 | 4 cups | Ripe, washed, stems removed |
| Granny Smith Apples 🍏 | 2 whole | Peeled, cored, finely diced |
| Granulated Sugar 🍚 | 3 cups | Organic cane sugar preferred |
| Fresh Lemon Juice 🍋 | ¼ cup | Freshly squeezed for brightness |
| Lemon Zest 🍋 | 1 tbsp | Finely grated from organic lemons |
| Pure Vanilla Extract 🌿 | 1 tsp | Optional for depth of flavor |
| Water 💧 | ¼ cup | For initial cooking phase |
The blackberries are the soul of this jam—choose plump, deep-purple berries with minimal tartness (the Granny Smiths will handle that). Local farmers markets often have the best selection mid-summer. For the apples, Granny Smiths provide the perfect tart counterpoint. Avoid pre-sliced apples (they oxidize too quickly). Organic cane sugar gives a cleaner taste, but regular granulated works too.
No Granny Smiths? Honeycrisp or Braeburn work in a pinch—just add an extra splash of lemon to compensate. Need to reduce sugar? Up to one-third can be replaced with maple syrup, but texture may soften. The lemon zest is non-negotiable for brightness. For a smoother jam, mash the blackberries slightly before cooking (or don’t, if you love those whole berry bursts).
Jam keeps 1 year unopened in sterilized jars, 3 months once opened in the fridge. For gift-giving, use cute 4-oz jars and add a ribbon. The flavor deepens after resting 24 hours—if you can wait that long.
Why You’ll Love This Recipe
- One Pot Wonder: I love that it all comes together in a single saucepan—no fancy equipment, just blackberries, apples, and a little lemon zest.
- Tart Meets Sweet: The Granny Smith apples cut through the blackberries’ richness, and that lemon juice brightens every bite.
- Gift-Worthy Spread: Between us, I always double the batch to jar extras for friends—it feels fancy but costs pennies.
- Stays Fresh for Weeks: Honestly, it keeps in the fridge for ages, so I spoon it over yogurt, toast, or even ice cream whenever I want.
Step-by-Step Instructions for Blackberry and Apple Jam
This no-pectin method relies on precise cooking times and natural fruit pectin for the perfect set.
Step 1: Prepare the Fruit Base
In a heavy-bottomed pot, combine the 4 cups Fresh Blackberries and 2 whole Granny Smith Apples (peeled, cored, and finely diced). Add the 0.25 cup Water and 0.25 cup Fresh Lemon Juice to the mixture.
Cook over medium heat for 8-10 minutes until the blackberries begin to break down and release their juices. Stir frequently with a wooden spoon to prevent sticking. The apples will soften but retain some texture, which adds pleasant bite to the finished jam.
Step 2: Incorporate Sugar and Aromatics
Add the 3 cups Granulated Sugar, 1 tbsp Lemon Zest, and 1 tsp Pure Vanilla Extract to the pot. Stir thoroughly until the sugar fully dissolves—this prevents graininess in your final product.
Increase heat to medium-high and bring the mixture to a full rolling boil. This is when the liquid bubbles vigorously and cannot be stirred down. Maintain this boil for the next phase of cooking, stirring constantly to prevent scorching.
Step 3: Achieve the Proper Set
Continue boiling for 20-25 minutes until the jam thickens. To test for doneness, place a small spoonful on a chilled plate and return it to the freezer for 1 minute. The jam should wrinkle when pushed with your finger and hold its shape at the edges.
Watch for visual cues: the mixture should reduce by about one-third, and your spoon should leave a clear trail at the bottom of the pot as you stir. The color will deepen to a rich, glossy ruby hue as the natural pectin in the fruit activates.
Step 4: Finalize and Store
Once the jam reaches the desired consistency, remove it from heat immediately. Skim off any foam that has risen to the surface with a metal spoon—this ensures a clear, professional appearance.
Ladle the hot jam into sterilized jars, leaving ¼-inch headspace at the top. Seal with lids and let cool completely at room temperature. The jam will thicken further as it cools. Store in the refrigerator for up to 3 weeks, or process in a water bath for longer shelf life.
Pro Tips For Making Recipe For Blackberry And Apple Jam
- Test for Set: Drop a small spoonful on a chilled plate after 20 minutes of simmering—if it wrinkles when pushed, it’s done. I learned this the hard way after pulling a batch too early and ending up with syrup.
- Mash the Berries: Lightly crush the blackberries with a potato masher before cooking to release pectin and thicken the jam faster. Sounds weird, but it works.
- Peel the Apples: Skip the peeler—leave the skin on Granny Smith apples for texture and natural pectin, but dice them small so they soften evenly. My grandmother swore by this, and she was right.
- Zest First: Add lemon zest at the start of cooking to infuse flavor, but hold the juice until the end to preserve its brightness. After burning three batches, I finally figured out the timing matters.
Storing and Reheating recipe for blackberry and apple jam
Refrigerator Storage
Let your jam cool completely before transferring to airtight containers. I use 8-oz mason jars for easy portioning. Store in the fridge for up to 3 weeks—the flavors actually deepen over time. ❄️
Freezer Storage
For longer storage, freeze in small glass jars or plastic containers with 1-inch headspace. It keeps beautifully for up to 6 months. Thaw overnight in the fridge before using.
Shelf-Stable Option
For pantry storage, process filled jars in a boiling water bath for 10 minutes. This creates a vacuum seal, extending shelf life to 1 year unopened. Always check the lid pop before storage.
Revival Tip
If your jam thickens too much in storage, simply warm it gently with 1-2 tsp water over low heat. Stir until it reaches your desired consistency—usually takes 2-3 minutes. 🔥
Jar Preparation
Sterilize jars by boiling for 10 minutes before filling. Keep them hot until ready to use. This prevents mold growth and ensures your jam stays fresh longer.
Serving Temperature
This spread tastes best at room temperature. Remove from storage 30 minutes before serving to let the flavors fully express themselves.
Nutrition Facts
Frequently Asked Questions
Can I use frozen blackberries instead of fresh?
Yes, frozen blackberries work perfectly! Thaw and drain them first to remove excess liquid. This prevents a watery jam and helps achieve the ideal consistency.
Why did my jam turn out too runny?
This usually means it didn’t cook long enough. Return it to the pot and boil for an additional 5-10 minutes, testing frequently. Natural pectin needs time to activate.
How can I make this jam less sweet?
Reduce sugar by up to 1/3, but add 1 tsp lemon juice to compensate for preservation. The texture may be softer without full sugar content.
Can I substitute other apples?
Tart varieties like Honeycrisp or Braeburn work well. Avoid overly sweet apples as they won’t balance the blackberries’ natural tartness.

- BBQ Sausage Recipe Oven: Smoky Depth Without the Grill - September 28, 2026
- BBQ Chicken Bowl Recipe Rice: Smoky Sweetness Over Fluffy Grains - September 28, 2026
- Beef Cutlet Recipe Ideas: Crispy Breaded Patties With Bold Seasonings - September 28, 2026