Recipe for Bone-In Chicken Breast: Herb-Infused Juiciness with Skin So Crispy

Recipe for Bone-In Chicken Breast: Herb-Infused Juiciness with Skin So Crispy

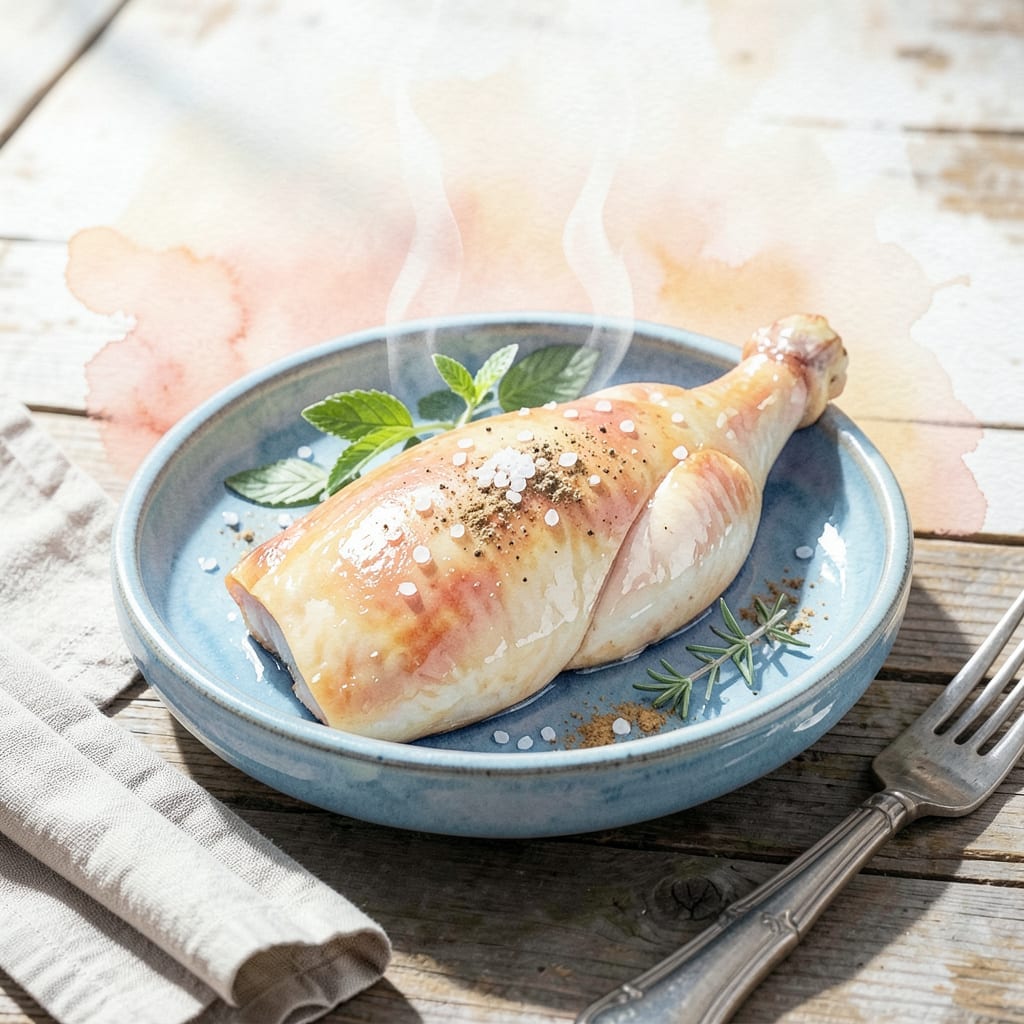
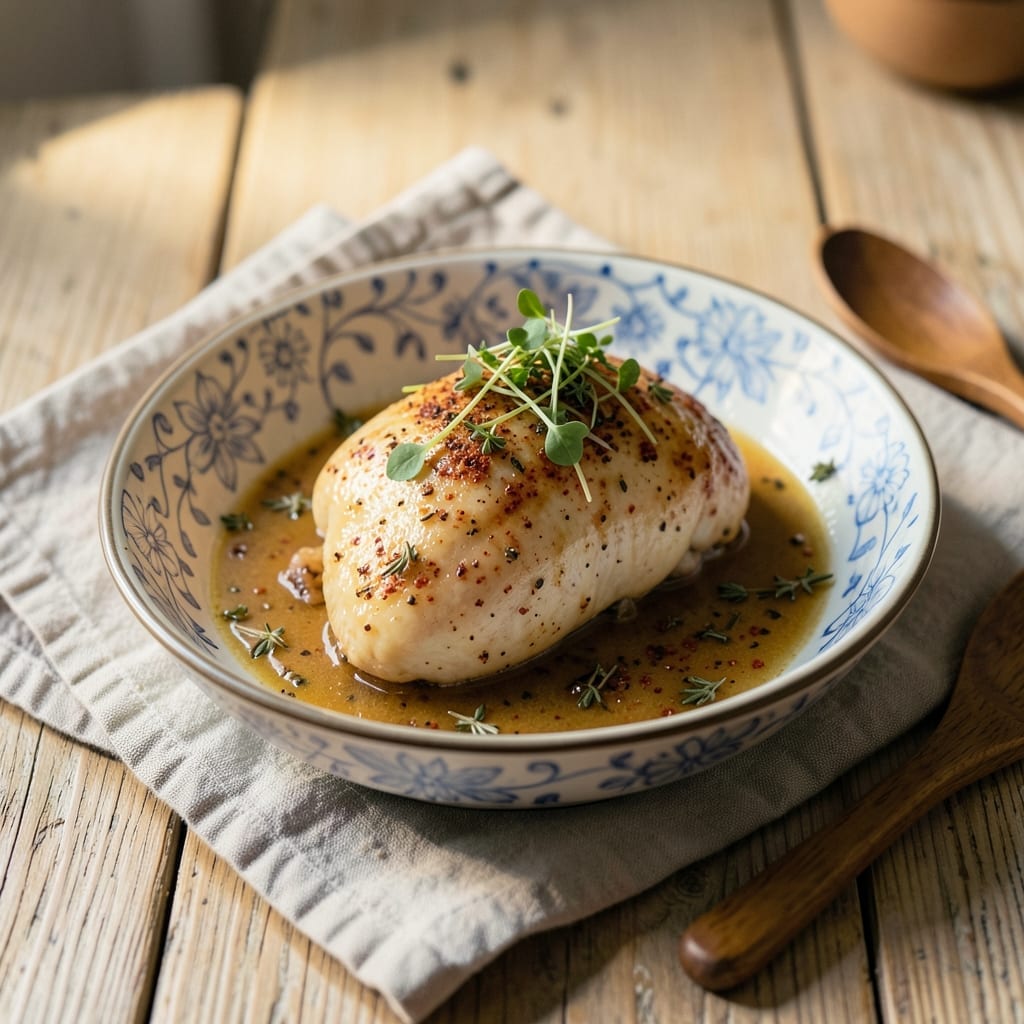
Mastering crispy skin on bone-in chicken breast requires precision and patience. This method delivers tender meat under a perfectly browned exterior.

I’ve refined this technique over years of cooking for crowds at The Smoky Pig. The key is high heat and careful timing to achieve that coveted texture.

👨‍🍳
Difficulty
Medium
🍗
Diet
Poultry
⏱️
Total Time
30 min
🔥
Calories
Med Cal

Ingredients for Recipe for Bone in Chicken Breast

Bone-in chicken breast plus a handful of aromatics. Simple ingredients, restaurant-quality results.

Ingredient Amount Notes
Bone-In Chicken Breast 🍗 4 whole Skin-on, about 8 oz each
Kosher Salt 🧂 2 tsp Diamond Crystal preferred
Black Pepper 🌶️ 1 tsp Freshly ground
Garlic Powder 🧄 1 tsp Not garlic salt
Onion Powder 🧅 1 tsp Freshly ground if possible
Dried Thyme 🌿 1 tsp Crushed between fingers
Dried Rosemary 🍃 1 tsp Crushed between fingers
Smoked Paprika 🌶️ ½ tsp For depth of flavor
Olive Oil 🫒 2 tbsp Extra-virgin for richness
Unsalted Butter 🧈 2 tbsp Melted for basting
Fresh Lemon 🍋 1 whole Zest and juice
Fresh Parsley 🌿 ¼ cup Chopped for garnish

The chicken must be bone-in and skin-on—this is non-negotiable for crispy skin and juicy meat. Look for evenly sized breasts (about 8 oz each) at Whole Foods or your local butcher. Avoid pre-brined birds as they can throw off your seasoning. At The Smoky Pig, we use Diamond Crystal kosher salt for its clean flavor and even distribution. The herbs should be fresh if possible, but dried works in a pinch (just reduce the quantity by half).

No smoked paprika? Regular paprika plus a pinch of cayenne works. Fresh herbs can replace dried—use triple the amount and add them at the end. If you don’t have poultry shears, a sharp chef’s knife works for trimming excess fat. The butter is essential for basting—don’t substitute oil here. For extra crispiness, pat the skin dry with paper towels before seasoning (worth the extra minute).

The chicken is best served immediately, but leftovers keep well. Store in an airtight container for up to 4 days in the fridge. Reheat in a 350°F oven to maintain crispiness. For meal prep, cook the chicken and store it separately from any sauces or sides to avoid sogginess.

❤️

Why You’ll Love This Recipe

  • One Pan Wonder: I just season, toss it in the oven, and let the bone-in chicken do the rest—no babysitting required.
  • Ridiculously Good: Honestly, the garlic and onion powder turn the skin so crispy and flavorful it’s hard to stop at one piece.
  • Weeknight Hero: Between us, this works for rushed Tuesdays or lazy Sundays, and leftovers make killer sandwiches.
  • Budget Friendly: Bone-in breasts cost less than boneless, and I stretch one batch into multiple meals without sacrificing taste.

Step-by-Step Instructions for Bone-In Chicken Breast

This method ensures crispy skin and juicy meat with minimal effort.

Step 1: Season and Rest the Chicken

Pat the 4 whole Bone-In Chicken Breast completely dry with paper towels—this is crucial for crispy skin. I press firmly to remove all moisture from the surface and cavity.

In a small bowl, combine the 2 tsp Kosher Salt, 1 tsp Black Pepper, 1 tsp Garlic Powder, 1 tsp Onion Powder, 1 tsp Dried Thyme, 1 tsp Dried Rosemary, and 0.5 tsp Smoked Paprika. Rub this mixture evenly over all surfaces of the chicken, including under the skin. Let it rest at room temperature for 30 minutes to allow the seasoning to penetrate.

Step 2: Sear Skin-Side Down for Maximum Crisp

Heat the 2 tbsp Olive Oil in a large oven-safe skillet over medium-high heat until shimmering. Place the chicken skin-side down in the pan, being careful not to crowd it. You should hear a satisfying sizzle when it hits the oil.

Cook undisturbed for 6-8 minutes until the skin turns deep golden brown and crispy. The skin should release easily from the pan when it’s ready to flip. Don’t be tempted to move it around—this is how you achieve that perfect crispy texture.

Step 3: Finish Cooking with Butter and Lemon

Flip the chicken and add the 2 tbsp Unsalted Butter to the pan. As it melts, tilt the pan slightly and baste the chicken with the foaming butter for 1-2 minutes. This adds richness and promotes even browning.

Add the zest of the 1 whole Fresh Lemon to the pan and continue cooking for another 5-7 minutes, basting occasionally, until the chicken reaches an internal temperature of 165°F in the thickest part. The juices should run clear when pierced with a knife.

Step 4: Rest and Garnish

Transfer the chicken to a cutting board and let it rest for 5-10 minutes. This allows the juices to redistribute, ensuring moist meat. Tent loosely with foil to keep warm if needed.

While the chicken rests, squeeze the juice from the 1 whole Fresh Lemon into the pan drippings and stir to combine. Pour this over the chicken before serving. Garnish with the 0.25 cup Fresh Parsley, chopped, and serve immediately while the skin is still crispy.

👨‍🍳

Pro Tips For Making Recipe For Bone In Chicken Breast

  • Start Skin-Side Down: I learned this the hard way—always sear the bone-in chicken breast skin-side down first in a hot pan for 5-6 minutes. This guarantees crispy skin and prevents it from curling.
  • Pat It Dry: Sounds like a small thing, but drying the chicken thoroughly with paper towels before seasoning makes the spices stick better and helps the skin brown.
  • Don’t Overcrowd: After burning a few batches, I realized giving each piece space in the pan is non-negotiable—crowding steams the chicken instead of browning it.
  • Rest Before Serving: I was skeptical until I tried it, but letting the chicken rest 5-10 minutes under foil keeps the juices inside where they belong.

Serving Suggestions for This recipe for bone in chicken breast

Family-Style Plating

Arrange the chicken on a large wooden board or platter for a rustic presentation. I love using my vintage Lodge cast iron skillet as a serving dish straight from the stove. The sizzling sound always draws a crowd at my Atlanta dinner parties. 💛

Elegant Individual Servings

For a refined touch, place one breast on each warm dinner plate. Drizzle with the lemon-butter pan sauce and sprinkle with chopped parsley. The bright green against golden skin looks stunning.

Southern Comfort Sides

Serve with creamy mashed potatoes to soak up the juices and buttered green beans for color. This combo reminds me of Sunday suppers in Georgia growing up.

Light and Fresh Pairings

A crisp arugula salad with lemon vinaigrette cuts through the richness. Or try roasted asparagus with a sprinkle of Parmesan for a springtime twist.

Sauce Accompaniments

Offer homemade gravy or herbed aioli on the side. I like to serve them in small mason jars for a charming Southern touch. The gravy pairs especially well with the crispy skin.

Bread for Sauce Soaking

Include a basket of warm crusty bread or cornbread muffins. My Charleston mentor Chef Chen taught me that great bread turns good meals into memorable ones. 🍞

Nutrition Facts

Servings 4
Amount Per Serving
Calories 480kcal
% Daily Value
Total Fat 32g41%
Saturated Fat 9g45%
Cholesterol 140mg47%
Sodium 850mg37%
Total Carbohydrate 2g1%
Dietary Fiber 1g4%
Sugars 0g
Protein 45g90%
Percent Daily Values are based on a 2,000 calorie diet. Your daily values may be higher or lower depending on your calorie needs.

Frequently Asked Questions

1

Why use bone-in chicken breast?

The bone helps retain moisture during cooking, resulting in juicier meat. It also adds flavor to the dish. Plus, the skin crisps up beautifully when cooked properly.

2

Can I substitute boneless chicken?

You can, but the cooking time will be shorter—about 4-5 minutes per side. The result won’t be as flavorful or juicy, though. Stick to bone-in for best results.

3

How do I know when it’s done?

Use a meat thermometer to check the internal temperature. It should read 165°F in the thickest part. The juices should also run clear when pierced.

4

Can I make this ahead of time?

For best texture, serve immediately. However, you can store leftovers in an airtight container for up to 4 days. Reheat in the oven to maintain crispiness.

★★★★★4.5(13 reviews)
Allison Carter

Recipe for Bone-In Chicken Breast: Herb-Infused Juiciness with Skin So Crispy

Recipe for Bone-In Chicken Breast: Herb-Infused Juiciness with Skin So Crispy

Mastering crispy skin on bone-in chicken breast requires precision and patience. This method delivers tender meat under a perfectly browned exterior.

I’ve refined this technique over years of cooking for crowds at The Smoky Pig. The key is high heat and careful timing to achieve that coveted texture.

👨‍🍳
Difficulty
Medium
🍗
Diet
Poultry
⏱️
Total Time
30 min
🔥
Calories
Med Cal

Ingredients for Recipe for Bone in Chicken Breast

Bone-in chicken breast plus a handful of aromatics. Simple ingredients, restaurant-quality results.

Ingredient Amount Notes
Bone-In Chicken Breast 🍗 4 whole Skin-on, about 8 oz each
Kosher Salt 🧂 2 tsp Diamond Crystal preferred
Black Pepper 🌶️ 1 tsp Freshly ground
Garlic Powder 🧄 1 tsp Not garlic salt
Onion Powder 🧅 1 tsp Freshly ground if possible
Dried Thyme 🌿 1 tsp Crushed between fingers
Dried Rosemary 🍃 1 tsp Crushed between fingers
Smoked Paprika 🌶️ ½ tsp For depth of flavor
Olive Oil 🫒 2 tbsp Extra-virgin for richness
Unsalted Butter 🧈 2 tbsp Melted for basting
Fresh Lemon 🍋 1 whole Zest and juice
Fresh Parsley 🌿 ¼ cup Chopped for garnish

The chicken must be bone-in and skin-on—this is non-negotiable for crispy skin and juicy meat. Look for evenly sized breasts (about 8 oz each) at Whole Foods or your local butcher. Avoid pre-brined birds as they can throw off your seasoning. At The Smoky Pig, we use Diamond Crystal kosher salt for its clean flavor and even distribution. The herbs should be fresh if possible, but dried works in a pinch (just reduce the quantity by half).

No smoked paprika? Regular paprika plus a pinch of cayenne works. Fresh herbs can replace dried—use triple the amount and add them at the end. If you don’t have poultry shears, a sharp chef’s knife works for trimming excess fat. The butter is essential for basting—don’t substitute oil here. For extra crispiness, pat the skin dry with paper towels before seasoning (worth the extra minute).

The chicken is best served immediately, but leftovers keep well. Store in an airtight container for up to 4 days in the fridge. Reheat in a 350°F oven to maintain crispiness. For meal prep, cook the chicken and store it separately from any sauces or sides to avoid sogginess.

❤️

Why You’ll Love This Recipe

  • One Pan Wonder: I just season, toss it in the oven, and let the bone-in chicken do the rest—no babysitting required.
  • Ridiculously Good: Honestly, the garlic and onion powder turn the skin so crispy and flavorful it’s hard to stop at one piece.
  • Weeknight Hero: Between us, this works for rushed Tuesdays or lazy Sundays, and leftovers make killer sandwiches.
  • Budget Friendly: Bone-in breasts cost less than boneless, and I stretch one batch into multiple meals without sacrificing taste.

Step-by-Step Instructions for Bone-In Chicken Breast

This method ensures crispy skin and juicy meat with minimal effort.

Step 1: Season and Rest the Chicken

Pat the 4 whole Bone-In Chicken Breast completely dry with paper towels—this is crucial for crispy skin. I press firmly to remove all moisture from the surface and cavity.

In a small bowl, combine the 2 tsp Kosher Salt, 1 tsp Black Pepper, 1 tsp Garlic Powder, 1 tsp Onion Powder, 1 tsp Dried Thyme, 1 tsp Dried Rosemary, and 0.5 tsp Smoked Paprika. Rub this mixture evenly over all surfaces of the chicken, including under the skin. Let it rest at room temperature for 30 minutes to allow the seasoning to penetrate.

Step 2: Sear Skin-Side Down for Maximum Crisp

Heat the 2 tbsp Olive Oil in a large oven-safe skillet over medium-high heat until shimmering. Place the chicken skin-side down in the pan, being careful not to crowd it. You should hear a satisfying sizzle when it hits the oil.

Cook undisturbed for 6-8 minutes until the skin turns deep golden brown and crispy. The skin should release easily from the pan when it’s ready to flip. Don’t be tempted to move it around—this is how you achieve that perfect crispy texture.

Step 3: Finish Cooking with Butter and Lemon

Flip the chicken and add the 2 tbsp Unsalted Butter to the pan. As it melts, tilt the pan slightly and baste the chicken with the foaming butter for 1-2 minutes. This adds richness and promotes even browning.

Add the zest of the 1 whole Fresh Lemon to the pan and continue cooking for another 5-7 minutes, basting occasionally, until the chicken reaches an internal temperature of 165°F in the thickest part. The juices should run clear when pierced with a knife.

Step 4: Rest and Garnish

Transfer the chicken to a cutting board and let it rest for 5-10 minutes. This allows the juices to redistribute, ensuring moist meat. Tent loosely with foil to keep warm if needed.

While the chicken rests, squeeze the juice from the 1 whole Fresh Lemon into the pan drippings and stir to combine. Pour this over the chicken before serving. Garnish with the 0.25 cup Fresh Parsley, chopped, and serve immediately while the skin is still crispy.

👨‍🍳

Pro Tips For Making Recipe For Bone In Chicken Breast

  • Start Skin-Side Down: I learned this the hard way—always sear the bone-in chicken breast skin-side down first in a hot pan for 5-6 minutes. This guarantees crispy skin and prevents it from curling.
  • Pat It Dry: Sounds like a small thing, but drying the chicken thoroughly with paper towels before seasoning makes the spices stick better and helps the skin brown.
  • Don’t Overcrowd: After burning a few batches, I realized giving each piece space in the pan is non-negotiable—crowding steams the chicken instead of browning it.
  • Rest Before Serving: I was skeptical until I tried it, but letting the chicken rest 5-10 minutes under foil keeps the juices inside where they belong.

Serving Suggestions for This recipe for bone in chicken breast

Family-Style Plating

Arrange the chicken on a large wooden board or platter for a rustic presentation. I love using my vintage Lodge cast iron skillet as a serving dish straight from the stove. The sizzling sound always draws a crowd at my Atlanta dinner parties. 💛

Elegant Individual Servings

For a refined touch, place one breast on each warm dinner plate. Drizzle with the lemon-butter pan sauce and sprinkle with chopped parsley. The bright green against golden skin looks stunning.

Southern Comfort Sides

Serve with creamy mashed potatoes to soak up the juices and buttered green beans for color. This combo reminds me of Sunday suppers in Georgia growing up.

Light and Fresh Pairings

A crisp arugula salad with lemon vinaigrette cuts through the richness. Or try roasted asparagus with a sprinkle of Parmesan for a springtime twist.

Sauce Accompaniments

Offer homemade gravy or herbed aioli on the side. I like to serve them in small mason jars for a charming Southern touch. The gravy pairs especially well with the crispy skin.

Bread for Sauce Soaking

Include a basket of warm crusty bread or cornbread muffins. My Charleston mentor Chef Chen taught me that great bread turns good meals into memorable ones. 🍞

Nutrition Facts

Servings 4
Amount Per Serving
Calories 480kcal
% Daily Value
Total Fat 32g41%
Saturated Fat 9g45%
Cholesterol 140mg47%
Sodium 850mg37%
Total Carbohydrate 2g1%
Dietary Fiber 1g4%
Sugars 0g
Protein 45g90%
Percent Daily Values are based on a 2,000 calorie diet. Your daily values may be higher or lower depending on your calorie needs.

Frequently Asked Questions

1

Why use bone-in chicken breast?

The bone helps retain moisture during cooking, resulting in juicier meat. It also adds flavor to the dish. Plus, the skin crisps up beautifully when cooked properly.

2

Can I substitute boneless chicken?

You can, but the cooking time will be shorter—about 4-5 minutes per side. The result won’t be as flavorful or juicy, though. Stick to bone-in for best results.

3

How do I know when it’s done?

Use a meat thermometer to check the internal temperature. It should read 165°F in the thickest part. The juices should also run clear when pierced.

4

Can I make this ahead of time?

For best texture, serve immediately. However, you can store leftovers in an airtight container for up to 4 days. Reheat in the oven to maintain crispiness.

★★★★★4.5(13 reviews)
Allison Carter