
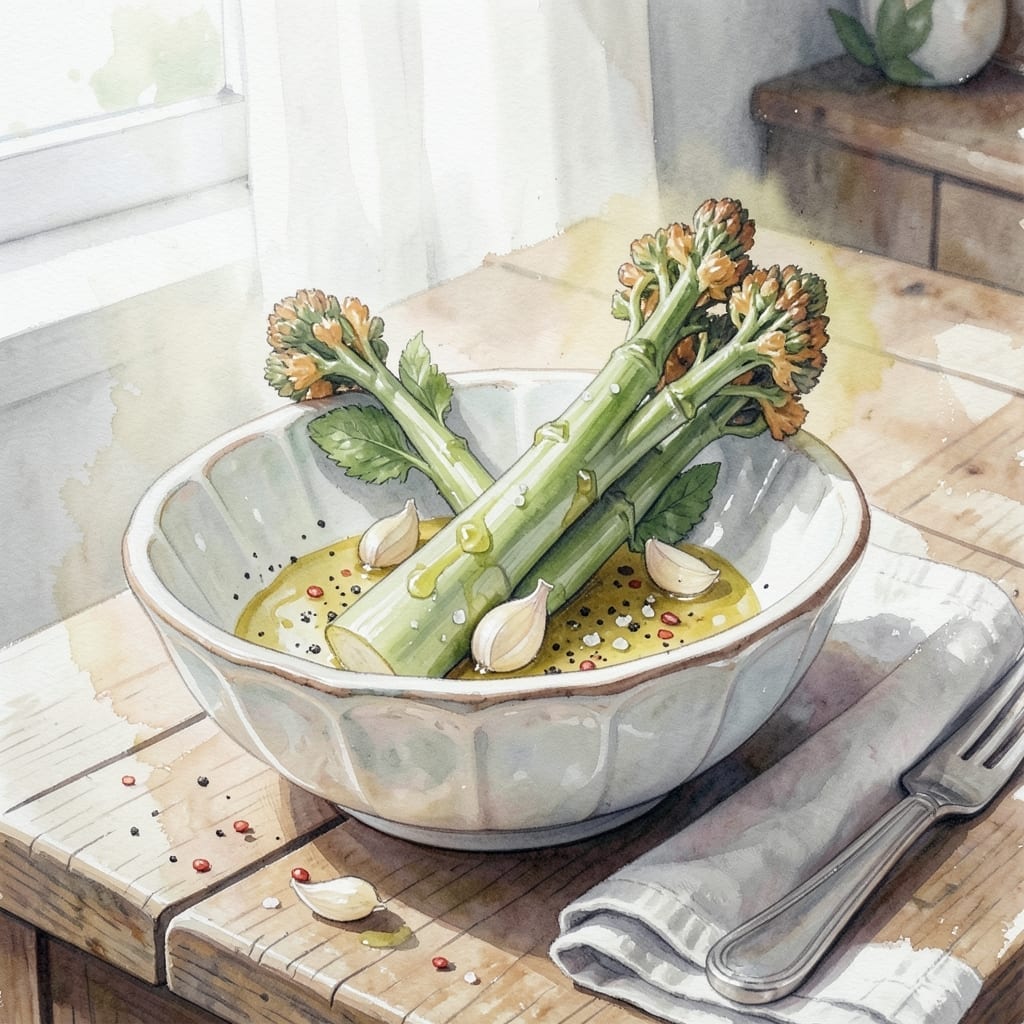
I’ve perfected a method for oven-roasted broccolini that delivers tender stalks with crisp edges every time. The high heat transforms this elegant vegetable into something extraordinary with minimal effort.
The secret lies in a hot oven and proper spacing on the baking sheet. Tossing the broccolini with olive oil, salt, and minced garlic before roasting ensures each piece gets caramelized and infused with flavor.
This dish emergence with a deep green color, slightly charred tips, and a tender bite that still maintains structure. The garlic becomes fragrant and golden, adding depth without overpowering the natural sweetness.
Serve this alongside grilled proteins or as part of a vegetable medley. The simplicity of the preparation lets the broccolini shine.
Ingredients for Recipe for Broccolini in Oven
Fresh broccolini, garlic, and a few pantry staples create this vibrant oven-roasted dish effortlessly.
| Ingredient | Amount | Notes |
|---|---|---|
| Broccolini 🥦 | 1 ½ lb | Trimmed, tough ends removed |
| Extra-Virgin Olive Oil 🫒 | 3 tbsp | Divided for tossing and finishing |
| Garlic Cloves 🧄 | 4 cloves | Minced finely for even distribution |
| Sea Salt 🧂 | ¾ tsp | Fine grain for even coating |
| Black Pepper 🌶️ | ½ tsp | Freshly cracked for best flavor |
| Red Pepper Flakes 🌶️ | ¼ tsp | Optional for subtle heat |
| Lemon Zest 🍋 | 1 tsp | Finely grated for brightness |
| Fresh Lemon Juice 🍋 | 1 tbsp | Squeezed just before serving |
| Nutritional Yeast 🧀 | 2 tbsp | For umami depth (optional) |
| Smoked Paprika 🌶️ | ¼ tsp | Adds subtle smokiness |
Broccolini quality is key here. Look for bright green stalks with tight florets—avoid anything yellowing or wilted. Most Whole Foods or Trader Joe’s locations carry it year-round, but farmers markets have the best in spring. The garlic should be firm and fragrant; old cloves turn bitter. For olive oil, California Olive Ranch or any cold-pressed extra-virgin works beautifully.
No broccolini? Regular broccoli cut into long spears works in a pinch (roast 5 minutes longer). Out of fresh garlic? Garlic powder at one-quarter the amount substitutes, but fresh is ideal. For extra richness, a drizzle of toasted sesame oil after roasting adds depth. Skip the nutritional yeast if unavailable—it’s a nice touch but not essential.
Roasted broccolini keeps 3-4 days in the fridge, though it’s best served fresh. Store in a sealed container with a paper towel to absorb moisture. Reheat briefly in a hot oven to revive crispness. Doubles easily for meal prep—just use two pans for even browning.
Why You’ll Love This Recipe
- One Pan Wonder: I toss the broccolini with olive oil, garlic, salt, and pepper, then let the oven do the rest—no babysitting required.
- Garlicky Perfection: The roasted garlic cloves turn sweet and mellow, while the crispy edges of the broccolini soak up every bit of flavor.
- Weeknight MVP: Here’s what sold me—it pairs just as well with steak as it does with pasta or a simple grain bowl.
- Budget-Friendly Side: A bunch of broccolini stretches further than you’d think, and honestly, it’s cheaper than most takeout sides.
Step-by-Step Instructions for Roasted Broccolini in Oven
This method ensures perfectly crisp-tender results with minimal effort and maximum flavor.
Step 1: Prep and Season the Broccolini
Preheat your oven to 425°F and line a large baking sheet with parchment paper. Trim the tough ends from the 1.5 lb Broccolini and cut any thick stems lengthwise so all pieces are roughly the same size for even cooking.
In a large bowl, toss the broccolini with 2 tbsp Extra-Virgin Olive Oil, 0.75 tsp Sea Salt, 0.5 tsp Black Pepper, 0.25 tsp Red Pepper Flakes, and 0.25 tsp Smoked Paprika until every piece is evenly coated. The oil should glisten on the surface, not pool at the bottom.
Step 2: Roast Until Crisp-Tender
Arrange the seasoned broccolini in a single layer on the prepared baking sheet, leaving space between pieces for proper browning. Roast on the middle rack for 12-15 minutes, then flip each piece and return to the oven for another 8-10 minutes.
You’ll know it’s ready when the stems are tender when pierced with a fork and the florets are golden brown with slightly crispy edges. Watch closely during the final minutes to prevent over-browning.
Step 3: Add Garlic and Lemon Zest
While the broccolini roasts, mince the 4 cloves Garlic Cloves and finely grate 1 tsp Lemon Zest. After flipping the broccolini, sprinkle the minced garlic and lemon zest evenly over the top. This timing ensures the garlic doesn’t burn.
The garlic will toast slightly during the remaining cooking time, infusing the dish with aromatic depth. The zest will release its bright, citrusy oils, balancing the smoky and spicy notes from the seasoning.
Step 4: Finish with Fresh Lemon and Nutritional Yeast
Remove the broccolini from the oven and transfer to a serving platter. Immediately drizzle with the remaining 1 tbsp Extra-Virgin Olive Oil and 1 tbsp Fresh Lemon Juice. Toss gently to distribute the flavors evenly.
Sprinkle with 2 tbsp Nutritional Yeast for a final umami boost. The nutritional yeast will adhere to the oiled surface, creating a light, cheesy coating. Serve immediately while hot—the crisp-tender texture is best fresh from the oven.
Pro Tips For Making Recipe For Broccolini In Oven
- Crank the Heat: Set your oven to 425°F minimum. I learned this the hard way—lower temps leave broccolini limp instead of caramelized with those crispy edges everyone loves.
- Trim the Ends: Slice off the very bottom of each stalk (about 1/4 inch). Sounds tedious but it prevents bitter, woody bites and guarantees even cooking.
- Skip the Crowding: Spread the broccolini in a single layer with space between pieces. After one sad, steamed batch, I finally figured out that crowding turns it soggy instead of roasted.
- Add Garlic Later: Toss the garlic cloves in with the broccolini only for the last 5-7 minutes. This keeps it from burning while still infusing that mellow, sweet flavor into the oil.
Storing and Reheating recipe for broccolini in oven
Refrigerator Storage
Let your broccolini cool completely before transferring to an airtight container. I use glass containers with snap-tight lids to maintain freshness. Store in the fridge at 40°F or below for up to 4 days. The flavors actually deepen overnight as the garlic and lemon meld. ❄️
Freezer Storage
For longer storage, freeze in a single layer on a baking sheet first to prevent clumping. Once frozen solid, transfer to a freezer bag, removing as much air as possible. It keeps well for up to 3 months. I label mine with the date to track freshness.
Oven Reheating
To revive the crispness, spread leftovers on a baking sheet and reheat at 400°F for 5-7 minutes. This method brings back the caramelized edges better than any other. Drizzle with a little olive oil before reheating for extra flavor. 🔥
Microwave Reheating
For quick meals, microwave in 30-second intervals on 70% power, stirring between each. Add a splash of water and cover with a damp paper towel to prevent drying out. It won’t be as crisp but still delicious.
Make-Ahead Tips
You can prep the broccolini a day ahead—trim, season, and store in the fridge before roasting. When ready, add 5 minutes to the cooking time since it will start cold. This is perfect for entertaining without last-minute stress.
Nutrition Facts
Frequently Asked Questions
What temperature should I use?
425°F works perfectly for achieving crisp-tender results. This high heat ensures the florets caramelize while the stems stay tender.
Can I use frozen broccolini?
Fresh is best, but frozen works if thawed and patted dry first. Add 5 minutes to the cooking time to compensate for the moisture.
How do I prevent soggy results?
Space pieces evenly on the baking sheet and avoid overcrowding. This allows hot air to circulate for proper browning.
What can I use instead of nutritional yeast?
Grated Parmesan or a sprinkle of toasted breadcrumbs adds a similar savory note. Both work beautifully for non-vegan versions.

- BBQ Sausage Recipe Oven: Smoky Depth Without the Grill - September 28, 2026
- BBQ Chicken Bowl Recipe Rice: Smoky Sweetness Over Fluffy Grains - September 28, 2026
- Beef Cutlet Recipe Ideas: Crispy Breaded Patties With Bold Seasonings - September 28, 2026