
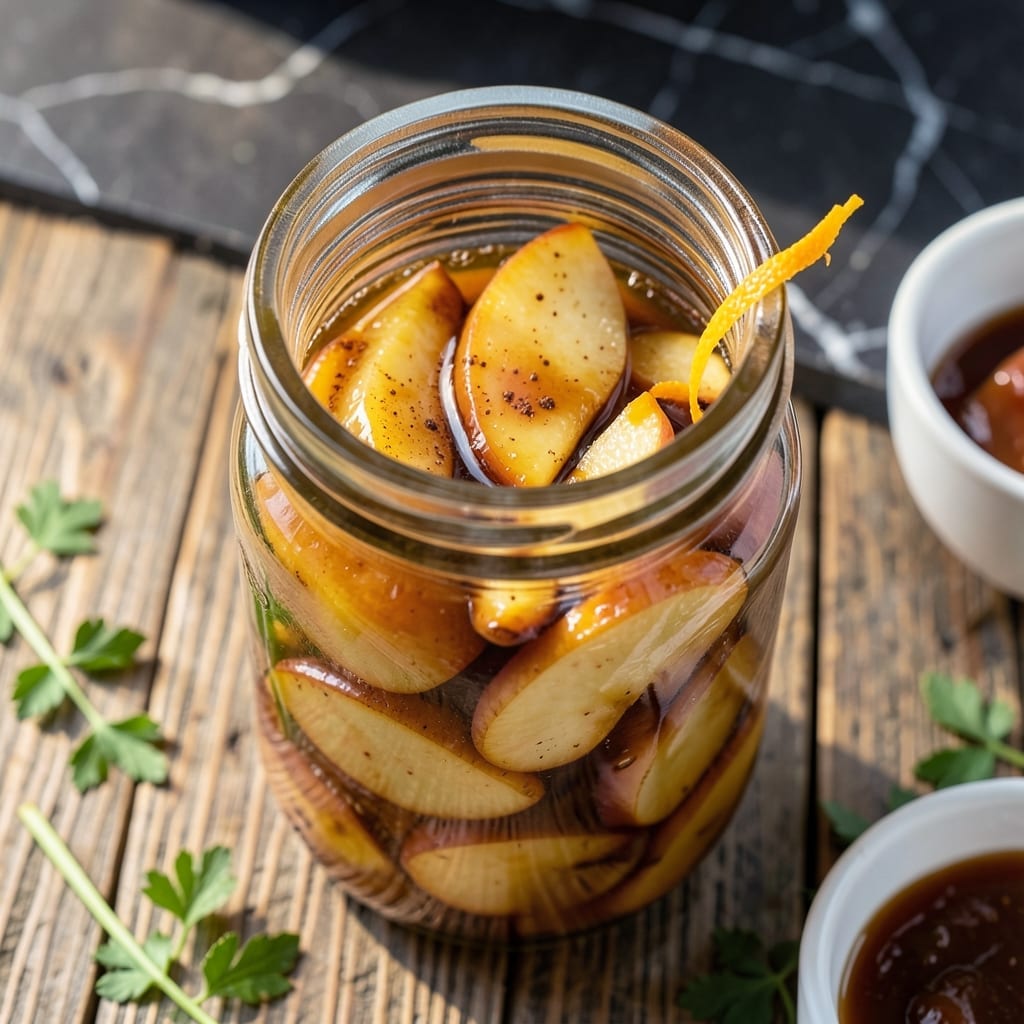
Preserving apples at home creates a pantry staple that captures peak flavor and sweetness. This method transforms fresh fruit into tender, spiced preserves perfect for desserts or snacks.
The process ensures long shelf life while maintaining natural apple taste. With simple preparation and proper canning, you’ll have ready-to-use apples for pies, oatmeal, or enjoying straight from the jar.
Ingredients for Recipe for Canned Apples
Transform fresh apples into tender, spiced preserves with these pantry-friendly ingredients.
| Ingredient | Amount | Notes |
|---|---|---|
| Fresh Apples 🍎 | 8 lb | Firm, crisp variety preferred |
| Granulated Sugar 🍚 | 3 cups | Adjust to taste or sweetness |
| Water 💧 | 4 cups | Filtered or distilled preferred |
| Apple Cider Vinegar 🍏 | ½ cup | Preserves color and flavor |
| Ground Cinnamon 🌿 | 1 tbsp | Ceylon or cassia variety |
| Ground Nutmeg 🌰 | ½ tsp | Freshly grated preferred |
| Ground Cloves 🌼 | ¼ tsp | Use sparingly for depth |
| Lemon Juice 🍋 | ¼ cup | Freshly squeezed for acidity |
| Salt 🧂 | ½ tsp | Kosher or sea salt |
| Vanilla Bean 🌱 | 1 whole | Split and scraped |
| Ascorbic Acid ⚗️ | ½ tsp | Prevents browning |
The apples are the foundation here. Honeycrisp or Granny Smith hold their shape best during canning—avoid mealy varieties like Red Delicious. Local orchards often have the freshest picks, but any grocery store with a good produce section works. Look for fruit that’s firm and free of bruises. If using organic, you can skip peeling (just wash well), but conventional apples should be peeled to remove wax.
No fresh apples? Frozen apple slices work in a pinch (thaw first). For sugar, coconut sugar or maple syrup can replace granulated at a 1:1 ratio, but may alter flavor slightly. White vinegar can sub for apple cider vinegar if needed. Want more spice? Add star anise or allspice berries in cheesecloth during cooking—remove before jar filling.
Store sealed jars in a cool, dark pantry for up to 12 months. Once opened, refrigerate and use within 3 weeks. The preserves taste best after resting for 2-4 weeks, allowing flavors to meld. Label jars with the date—it’s easy to forget!
Why You’ll Love This Recipe
- 5-Minute Prep: I just peel, slice, and simmer—no fancy steps, just apples, sugar, and spices doing their thing.
- Warm Spiced Sweetness: The cinnamon and vinegar give that cozy, tangy-sweet kick that makes these taste like autumn in a jar.
- Pantry Staple: I can these up in batches and have ready-to-go fruit for pies, oatmeal, or straight from the jar all year.
- Dime a Dozen: A bushel of apples turns into jars of goodness for pennies. Honestly, it’s cheaper than store-bought and twice as good.
Step-by-Step Instructions for Canned Apples
This preserving method ensures vibrant color, balanced sweetness, and proper acidity for safe storage.
Step 1: Prepare and Treat the Apples
Begin by washing the 8 lb Fresh Apples thoroughly under cool water to remove any surface debris. Core and peel the apples, then slice them into uniform ½-inch thick wedges for consistent cooking. As you work, place the cut apples into a large bowl of cold water mixed with the 0.5 tsp Ascorbic Acid to prevent browning.
This anti-browning bath is essential—it maintains the apples’ bright color throughout the canning process. Drain and rinse the apples just before cooking to remove excess ascorbic acid solution, which could affect the final flavor profile.
Step 2: Create the Spiced Syrup
In a large stainless steel pot, combine the 4 cups Water, 3 cups Granulated Sugar, 0.5 cup Apple Cider Vinegar, 0.25 cup Lemon Juice, 1 tbsp Ground Cinnamon, 0.5 tsp Ground Nutmeg, 0.25 tsp Ground Cloves, and 0.5 tsp Salt. Split the 1 whole Vanilla Bean lengthwise, scrape the seeds into the pot, then add the pod as well.
Bring the mixture to a gentle boil over medium-high heat, stirring until the sugar fully dissolves. This creates a balanced syrup that will infuse the apples with warm spice notes while the vinegar and lemon juice provide necessary acidity for safe preservation. Reduce heat to medium once boiling.
Step 3: Cook the Apples in Syrup
Drain the apple slices and add them to the hot syrup. Return the mixture to a gentle simmer, stirring occasionally to ensure even cooking. Cook for 8-10 minutes until the apples are tender but still hold their shape—test by piercing with a fork; it should slide in with slight resistance.
This cooking time softens the apples while allowing them to absorb the spiced syrup. Avoid overcooking, as the apples will continue to soften during the canning process. The syrup should reduce slightly, becoming more concentrated in flavor.
Step 4: Pack and Process the Jars
Using a slotted spoon, pack the hot apple slices into clean, sterilized pint jars, leaving ½-inch headspace at the top. Ladle the hot syrup over the apples, maintaining the same headspace. Remove any air bubbles by gently tapping the jars on the counter or running a clean knife around the inside.
Wipe the rims with a clean, damp cloth to ensure a proper seal. Apply lids and rings, then process in a water bath canner for 20 minutes (adjust for altitude if necessary). The processing time ensures the jars seal properly and the contents are safely preserved for long-term storage.
After processing, let the jars cool undisturbed for 12-24 hours. You’ll hear the satisfying ping of lids sealing as they cool. Check the seals before storing in a cool, dark place. The apples will keep for up to 1 year, though they’re best enjoyed within 6 months for peak flavor and texture.
Pro Tips For Making Recipe For Canned Apples
- Peel Evenly: Use a vegetable peeler and work in long strokes from top to bottom—uneven thickness means some apple slices turn mushy while others stay crunchy.
- Simmer, Don’t Boil: Keep the heat at a gentle simmer; a rolling boil turns your apples to applesauce before they even pick up the cinnamon flavor.
- Use Firm Apples: I learned this the hard way—skip the soft varieties like Red Delicious and go for Granny Smith or Honeycrisp so they hold their shape in the jar.
- Add Vinegar Last: Stir in the apple cider vinegar during the final 2 minutes of cooking to preserve its sharpness—adding it too early makes the whole batch taste flat.
Common Mistakes When Making Perfect Results
Undercooking the Apples
One common mistake is pulling the apples too early. They should be cooked until just tender but still holding shape, about 8-10 minutes in the syrup. Undercooked apples will remain hard after canning. I test with a fork—it should slide in with slight resistance. 🍎
Skipping the Ascorbic Acid
Some skip the 0.5 tsp ascorbic acid to prevent browning, but this leads to dull, discolored preserves. The quick soak in acidulated water keeps the fruit vibrant. I once skipped this step and ended up with unappetizing brown apples.
Overpacking the Jars
Leaving too little headspace causes syrup overflow and improper sealing. Always maintain ½-inch headspace when packing apples and syrup. This allows for expansion during processing and creates a proper vacuum seal.
Using Wrong Apple Varieties
Mealy varieties like Red Delicious turn to mush during canning. Stick with firm apples like Honeycrisp or Granny Smith. These hold their shape and texture beautifully through the entire process.
Insufficient Processing Time
Cutting processing time short risks spoilage. The full 20 minutes in the water bath is essential for safety. I set a timer and resist the urge to pull jars early, even if they look sealed. 💡
Ignoring Altitude Adjustments
At higher elevations, water boils at lower temperatures. Adjust processing time by adding 5 minutes per 1,000 feet above sea level. This ensures the jars reach the proper temperature for safe preservation.
Frequently Asked Questions
What apple varieties work best?
Firm, crisp types like Honeycrisp or Granny Smith hold their shape perfectly. Avoid mealy varieties such as Red Delicious, as they turn mushy during cooking.
How long can I store the jars?
Sealed jars keep for up to 1 year in a cool, dark pantry. Once opened, refrigerate and use within 3 weeks for best quality. The flavor improves after 2-4 weeks of resting.
Can I reduce the sugar?
Yes, but use at least 1 cup per 4 cups of liquid for proper preservation. For a sugar-free option, ensure added acidity from lemon juice or vinegar to maintain safety.
Why did my jars not seal?
Common causes include improper ½-inch headspace, not wiping jar rims, or insufficient processing time. Always check lids after 12-24 hours and reprocess if needed.
Nutrition Facts

- BBQ Sausage Recipe Oven: Smoky Depth Without the Grill - September 28, 2026
- BBQ Chicken Bowl Recipe Rice: Smoky Sweetness Over Fluffy Grains - September 28, 2026
- Beef Cutlet Recipe Ideas: Crispy Breaded Patties With Bold Seasonings - September 28, 2026