
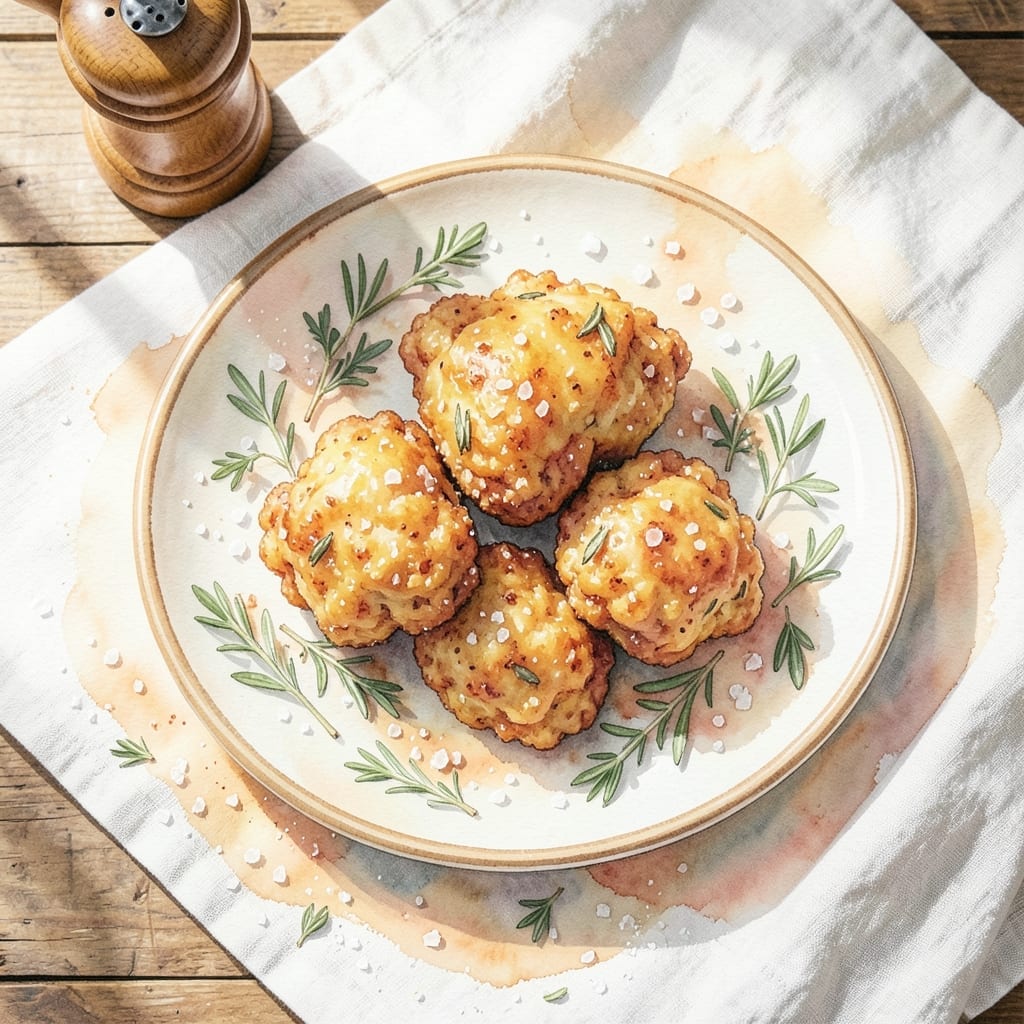
There’s a science to achieving crispy fried chicken with a juicy interior, and this method delivers every time. The secret lies in a two-step coating process that locks in moisture while creating a shatteringly golden crust.
I’ve tested countless variations, and the perfect balance comes from buttermilk marinating the chicken overnight, then dredging it in seasoned flour. The result is meat that stays tender through the frying process, with a coating that crisps to perfection.
Frying at the right temperature ensures the outside cooks quickly without drying the inside. Each bite offers a satisfying crunch followed by succulent, flavorful meat—exactly what fried chicken should be.
This approach works for both bone-in pieces and tenders. The technique is straightforward, but the results taste anything but simple.
Ingredients for Recipe for Crunchy Fried Chicken
Buttermilk-marinated chicken and a two-step coating create that perfect crunch with juicy meat inside.
| Ingredient | Amount | Notes |
|---|---|---|
| Chicken Pieces 🍗 | 3 lb | Bone-in, skin-on preferred |
| Buttermilk 🥛 | 2 cups | Full-fat for extra tenderness |
| All-Purpose Flour 🌾 | 3 cups | Divided for dredging and coating |
| Cornstarch 🌽 | ½ cup | For extra crispiness |
| Salt 🧂 | 1 ½ tbsp | Diamond Crystal kosher preferred |
| Black Pepper 🌶️ | 1 tbsp | Freshly ground for best flavor |
| Paprika 🌶️ | 1 ½ tbsp | Sweet or smoked variety |
| Garlic Powder 🧄 | 1 tbsp | Not garlic salt |
| Onion Powder 🧅 | 1 tbsp | Fresh ground preferred |
| Cayenne Pepper 🔥 | ½ tsp | Adjust for heat preference |
| Vegetable Oil 🫒 | 4 cups | For deep frying, high smoke point |
| Large Eggs 🥚 | 2 whole | For extra binding in coating |
| Baking Powder 🧂 | 1 tsp | For lighter, crispier crust |
The chicken quality is non-negotiable. Bone-in, skin-on thighs and drumsticks yield the juiciest results—breasts tend to dry out. Source from Whole Foods or local butchers for better flavor and texture. For buttermilk, full-fat from a trusted dairy (like Organic Valley) ensures maximum tenderness. The flour should be all-purpose, but avoid self-rising as it can alter the coating’s texture.
No buttermilk? Mix 2 cups milk with 2 tbsp vinegar or lemon juice and let sit for 5 minutes. Swap cornstarch for arrowroot powder at a 1:1 ratio if needed. For heat-sensitive palates, reduce cayenne to 1/4 tsp. The oil must have a high smoke point—peanut or canola oil work just as well as vegetable. Avoid olive oil; its low smoke point burns at frying temps.
Marinate the chicken in buttermilk for up to 24 hours—overnight is ideal. Store raw chicken in the coldest part of your fridge and use within 2 days. Leftover fried chicken keeps in the fridge for 3-4 days but is best eaten fresh. Reheat in an oven or air fryer to maintain crispiness.
Why You’ll Love This Recipe
- One Pan Wonder: I toss the chicken in buttermilk, dredge it in flour and cornstarch, then fry—no fancy steps, just straight-up delicious.
- That Crunch Though: The cornstarch in the coating makes it shatteringly crispy, while the buttermilk keeps the inside juicy. Honestly, it’s the best of both worlds.
- Crowd Pleaser: I’ve served this at picnics, game nights, and even a last-minute dinner for picky eaters—everyone cleans their plate.
- Budget Hero: Chicken pieces are affordable, and the flour-cornstarch mix stretches further than you’d think. Between us, it’s my go-to when I need to feed a group without breaking the bank.
Step-by-Step Instructions for Crunchy Fried Chicken
This method guarantees a perfect golden crust while keeping the meat incredibly juicy inside.
Step 1: Brine the Chicken in Buttermilk
Begin by submerging the 3 lb Chicken Pieces in the 2 cups Buttermilk. I use a large resealable bag for this, as it ensures every piece is fully coated. The buttermilk’s acidity tenderizes the meat while adding moisture, which is crucial for that juicy bite.
Seal the bag and refrigerate for at least 4 hours, or overnight for maximum flavor penetration. This step is non-negotiable—it’s what separates good fried chicken from extraordinary. Turn the bag occasionally to redistribute the buttermilk.
Step 2: Prepare the Seasoned Coating
In a large bowl, whisk together 3 cups All-Purpose Flour, 0.5 cup Cornstarch, 1.5 tbsp Salt, 1 tbsp Black Pepper, 1.5 tbsp Paprika, 1 tbsp Garlic Powder, 1 tbsp Onion Powder, 0.5 tsp Cayenne Pepper, and 1 tsp Baking Powder. The cornstarch and baking powder are the secrets to that ultra-crispy crust.
In a separate bowl, beat the 2 whole Large Eggs lightly. This will act as the glue between the chicken and the flour mixture. Keep the bowls close to your workstation for an efficient dredging process.
Step 3: Dredge and Coat the Chicken
Remove the chicken from the buttermilk, letting any excess drip off. Dip each piece into the beaten eggs, ensuring full coverage, then immediately press it into the seasoned flour mixture. I like to use one hand for the wet ingredients and one for the dry to keep things clean.
Press firmly so the coating adheres well and forms a thick, even layer. For extra crunch, repeat the egg and flour dredging process. Place the coated pieces on a wire rack to rest for 10-15 minutes—this helps the coating dry slightly, which prevents it from falling off during frying.
Step 4: Fry to Golden Perfection
Heat the 4 cups Vegetable Oil in a deep, heavy-bottomed pot or Dutch oven to 350°F. Use a thermometer to maintain the temperature; if the oil is too cool, the chicken will absorb grease and become soggy. If it’s too hot, the outside will burn before the inside cooks.
Fry the chicken in batches to avoid overcrowding the pot, which can lower the oil temperature. Cook for 12-15 minutes for dark meat and 10-12 minutes for white meat, turning occasionally, until the crust is deep golden brown and the internal temperature reaches 165°F. Drain on a wire rack, not paper towels, to keep the crust crisp.
Pro Tips For Making Recipe For Crunchy Fried Chicken
- Double Fry for Crunch: Fry the chicken once at 325°F until cooked through, then rest for 5 minutes and fry again at 375°F for 2-3 minutes—this second fry locks in that shatteringly crisp crust.
- Buttermilk Overnight: Soak the chicken in buttermilk for at least 12 hours, or up to 24 if you can wait. I learned this the hard way—rushing the marinade gives you dry meat and a sad, thin crust.
- Skip Cold Chicken: Always let the chicken sit at room temperature for 20 minutes after its buttermilk bath before dredging. Cold chicken lowers the oil temp too fast and turns your crispy coating into a greasy mess.
- Cornstarch Boost: Replace 25% of the all-purpose flour with cornstarch in your dredge. Sounds weird, but it works—this combo delivers a lighter, crunchier shell that stays crispy longer.
Serving Suggestions for Leftovers
Classic Plating
Serve your fried chicken on a wire rack or wooden cutting board to maintain that perfect crunch. The rack prevents steam from making the coating soggy. I love the rustic look of a cast iron skillet as a serving dish for family-style meals.
Fresh Sides
A crisp coleslaw with apple cider vinegar dressing cuts through the richness beautifully. Toss 4 cups shredded cabbage with ¼ cup mayonnaise and 2 tbsp vinegar. For something lighter, try buttermilk biscuits to soak up any extra flavor. 🥗
Dipping Sauces
Offer honey mustard (mix ¼ cup mayo with 2 tbsp honey and 1 tbsp Dijon) for sweetness. Spicy lovers will adore a hot sauce blend—I combine Frank’s RedHot with melted butter for dipping. Always include ranch dressing as a crowd-pleaser.
Garnishes
Sprinkle with flaky sea salt like Maldon right before serving for an extra burst of flavor. Fresh parsley or chives add a pop of color. For a Southern touch, serve with pickle slices and white bread for sandwich-making. 💛
Family-Style Feast
Pile the chicken high on a large platter with sides of mashed potatoes and corn on the cob. This creates a centerpiece that invites sharing. I always include extra napkins—this is messy eating at its finest.
Picnic Presentation
For outdoor serving, line a basket with parchment paper and arrange chicken with watermelon slices and potato salad. The contrast of hot and cold makes every bite memorable. Keep it covered until serving to retain warmth.
Nutrition Facts
Frequently Asked Questions
Why use buttermilk for marinating?
Buttermilk tenderizes the meat and keeps it juicy. Its acidity breaks down proteins while adding moisture, ensuring a crispy outside and tender inside.
What’s the ideal oil temperature for frying?
Maintain 350°F for perfect crispiness. Too low and the coating absorbs grease; too high and the outside burns before cooking through.
Can I bake instead of fry?
Yes, but the texture differs. Bake at 400°F for 25-30 minutes on a wire rack for crispiness, though it won’t be as crunchy as frying.
How do I keep the coating from falling off?
Let coated chicken rest for 10-15 minutes before frying. This dries the surface slightly, helping the coating adhere better.

- BBQ Sausage Recipe Oven: Smoky Depth Without the Grill - September 28, 2026
- BBQ Chicken Bowl Recipe Rice: Smoky Sweetness Over Fluffy Grains - September 28, 2026
- Beef Cutlet Recipe Ideas: Crispy Breaded Patties With Bold Seasonings - September 28, 2026