
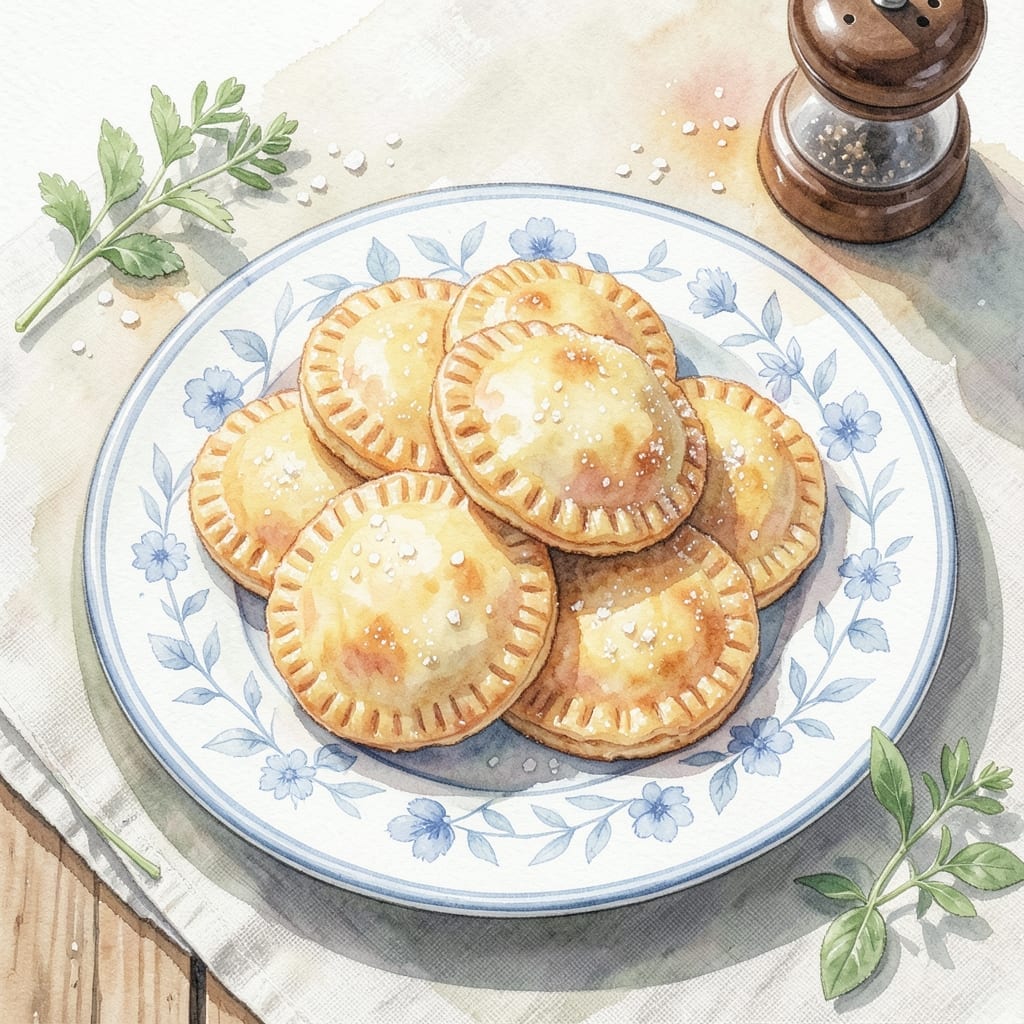
There’s a special satisfaction in achieving perfectly flaky layers with a golden, crisp exterior at home. This method transforms simple dough into a treat that rivals any state fair creation.
The secret lies in cold ingredients and precise rolling techniques that create distinct layers. I’ve refined this approach to ensure consistent results every time, with dough that puffs beautifully when fried.
What emerges from the hot oil is a shell so light and crisp it shatters at the touch, with visible flaky stratification that makes each bite a revelation. The golden brown color signals perfect doneness.
Use this as a base for sweet or savory fillings, or enjoy plain with a dusting of sugar. The technique works for hand pies or turnovers with equal success.
Ingredients for Recipe for Fried Pie Dough
Cold butter and precise rolling create the flaky, golden shell that defines this treat.
| Ingredient | Amount | Notes |
|---|---|---|
| All-Purpose Flour 🌾 | 3 cups | Plus extra for dusting |
| Unsalted Butter 🧈 | 1 cup | Cold, cut into cubes |
| Ice Water 💧 | ¾ cup | Divided as needed |
| Granulated Sugar 🍚 | 1 tbsp | For dough sweetness |
| Fine Sea Salt 🧂 | 1 tsp | Diamond Crystal preferred |
| White Vinegar 💧 | 1 tbsp | For tenderizing dough |
| Vegetable Shortening 🧈 | ¼ cup | Cold, for extra flakiness |
| Neutral-Flavored Oil 🫒 | 4 cups | For deep frying, like canola |
| Large Egg 🥚 | 1 whole | For egg wash finish |
| Milk 🥛 | 1 tbsp | For egg wash |
| Granulated Sugar 🍚 | ¼ cup | For dusting finished pies |
The butter is critical here. Use European-style unsalted butter (like Plugrá or Kerrigold) for its higher fat content and superior flakiness. Vegetable shortening adds an extra layer of crispness—Crisco is the standard. The flour should be all-purpose, nothing fancy. Keep every ingredient ice-cold until frying (yes, even the water). This prevents the fat from melting before it hits the hot oil.
No vinegar? Lemon juice works in a pinch. For a richer dough, swap 1 tablespoon of water for 1 tablespoon of heavy cream. The egg wash is optional but gives that professional golden sheen. If avoiding dairy, use vegetable oil and water instead. The frying oil must have a high smoke point—peanut oil is ideal, but canola or vegetable oil works too.
Dough can be made 2 days ahead and refrigerated, or frozen for 1 month. Fried pies are best eaten the same day but keep at room temperature for up to 24 hours. Reheat in a 350°F oven for 5-10 minutes to restore crispness.
Why You’ll Love This Recipe
- 5-Ingredient Magic: I love that this comes together with just flour, butter, ice water, sugar, and salt—no fancy pantry items needed.
- Buttery Crisp Perfection: The butter layers create this flaky, golden crust that cracks just right with every bite.
- Endless Fillings: I’ve stuffed these with jam, apples, even leftover pie filling—whatever’s in the fridge works.
- Freezer Friendly: Honestly, I double the batch and freeze extras for when cravings hit unexpectedly.
Step-by-Step Instructions for Fried Pie Dough
Master the technique for creating exceptionally flaky, golden-brown fried pie dough with these precise steps.
Step 1: Combine Dry Ingredients and Cut in Fats
In a large mixing bowl, whisk together the 3 cups All-Purpose Flour, 1 tbsp Granulated Sugar, and 1 tsp Fine Sea Salt until evenly distributed. This ensures uniform flavor throughout the dough. Add the 1 cup Unsalted Butter (cold and cubed) and 0.25 cup Vegetable Shortening to the flour mixture.
Using a pastry cutter or your fingertips, work the fats into the flour until the mixture resembles coarse crumbs with pea-sized butter pieces visible. These visible fat pieces are crucial—they create the flaky layers when the dough bakes. The White Vinegar will be added next to tenderize the gluten.
Step 2: Incorporate Liquid Ingredients to Form Dough
Create a well in the center of the flour mixture and add the 1 tbsp White Vinegar followed by 0.75 cup Ice Water, 1 tablespoon at a time. Use a fork to gradually incorporate the liquid, mixing just until the dough begins to come together. The vinegar reacts with the flour to create a more tender crumb.
Turn the shaggy dough onto a lightly floured surface and gently knead it 4-5 times just until it forms a cohesive ball. Overworking the dough will develop too much gluten, resulting in tough rather than flaky layers. The dough should feel slightly tacky but not sticky.
Step 3: Chill and Roll the Dough for Optimal Texture
Divide the dough into 4 equal portions (for 4 servings) and shape each into a disk. Wrap each disk tightly in plastic wrap and refrigerate for at least 1 hour or up to 24 hours. This chilling step is essential—it allows the gluten to relax and the fat to firm up, which prevents shrinking during rolling and frying.
On a lightly floured surface, roll each chilled dough disk into a ⅛-inch thick circle, about 8 inches in diameter. Maintain even thickness throughout to ensure uniform cooking. If the dough becomes too soft while rolling, return it to the refrigerator for 10-15 minutes to rechill.
Step 4: Prepare for Frying with Egg Wash
In a small bowl, whisk together the 1 whole Large Egg and 1 tbsp Milk to create an egg wash. This will give your fried pies that professional, golden-brown finish. Lightly brush the egg wash over the entire surface of each rolled dough circle, being careful not to let it pool at the edges.
The egg wash not only enhances browning but also creates a slight barrier that helps maintain the flakiness of the layers during frying. At this point, you can add your pie filling to half of each circle, fold, and crimp the edges, or simply cut into desired shapes for unfilled fried dough.
Step 5: Fry to Golden, Flaky Perfection
In a deep, heavy-bottomed pot, heat the 4 cups Neutral-Flavored Oil over medium-high heat to 350-375°F. Use a deep-fry thermometer for accuracy—oil temperature is critical for achieving the right texture. Too cool, and the dough will absorb oil and become greasy; too hot, and it will brown before cooking through.
Carefully place the dough pieces in the hot oil, working in batches to avoid crowding the pot. Fry for 2-3 minutes per side or until deep golden brown and crisp. The layers should be visibly flaky and separated. Drain on a wire rack or paper towels, then dust generously with the 0.25 cup Granulated Sugar while still warm.
Pro Tips For Making Recipe For Fried Pie Dough
- Chill the Butter: Cut your unsalted butter into small cubes and freeze for 10 minutes before mixing—this keeps it from melting into the flour and ruining the flaky layers.
- Use Ice-Cold Water: I learned this the hard way: if your water isn’t actually icy, the dough will turn tough instead of tender.
- Don’t Overwork It: Mix just until the dough comes together, even if it looks shaggy—overmixing develops gluten and makes fried pies chewy, not crisp.
- Rest Before Frying: Let the dough rest in the fridge for at least 30 minutes after rolling; this relaxes the gluten and prevents shrinking in the hot oil.
Essential Equipment for Perfect Results
Deep Fry Thermometer
A deep-fry thermometer is non-negotiable for perfect results. I use the Taylor Precision 5942—it clips to the pot and gives accurate readings between 350-375°F. Without precise oil temperature, you risk greasy or undercooked dough.
Heavy-Duty Pot
Choose a 5-6 quart Dutch oven or heavy stockpot for even heat distribution. Lodge enameled cast iron is my go-to—it maintains temperature beautifully. Avoid thin aluminum pots that create hot spots.
Pastry Tools
A pastry cutter makes quick work of incorporating cold butter and shortening. The OXO Good Grips model has comfortable handles. For rolling, a French tapered rolling pin gives superior control over thickness.
Cooling Rack
Drain fried pies on a wire cooling rack set over a baking sheet, not paper towels. This prevents sogginess by allowing air circulation on all sides. I use the Wilton 3-tier rack for batch frying.
Plastic Wrap
For chilling dough, heavy-duty plastic wrap prevents drying. Press it directly against the surface to eliminate air pockets. Glad ClingWrap works well and won’t tear during handling.
Slotted Spoon
A stainless steel slotted spoon safely transfers hot pies from oil. The 12-inch length keeps your hands at a safe distance. Look for one with a heat-resistant handle for comfort. 💡
Nutrition Facts
Frequently Asked Questions
Why do I need to keep ingredients cold?
Cold butter and shortening create steam when fried, which makes the layers flaky. If they melt before frying, the dough becomes dense.
Can I reuse the frying oil?
Yes, strain and store it in an airtight container after cooling. Reuse within 1 week for best results, but avoid overheating.
How do I prevent soggy fried pies?
Drain on a wire rack, not paper towels. This allows air circulation to keep the crust crisp. Avoid stacking while warm.
Can I make the dough ahead?
Yes, refrigerate for up to 2 days or freeze for 1 month. Thaw in the fridge before rolling and frying.

- BBQ Oysters Recipe Grill: Smoky Garlic Butter Bliss - September 28, 2026
- Crock Pot Mac and Cheese Recipe Paula Deen: Ultra Creamy Southern-Style Comfort - September 28, 2026
- Beyond Burger Recipe Ideas: Plant-Based Creativity for Every Meal - September 28, 2026