
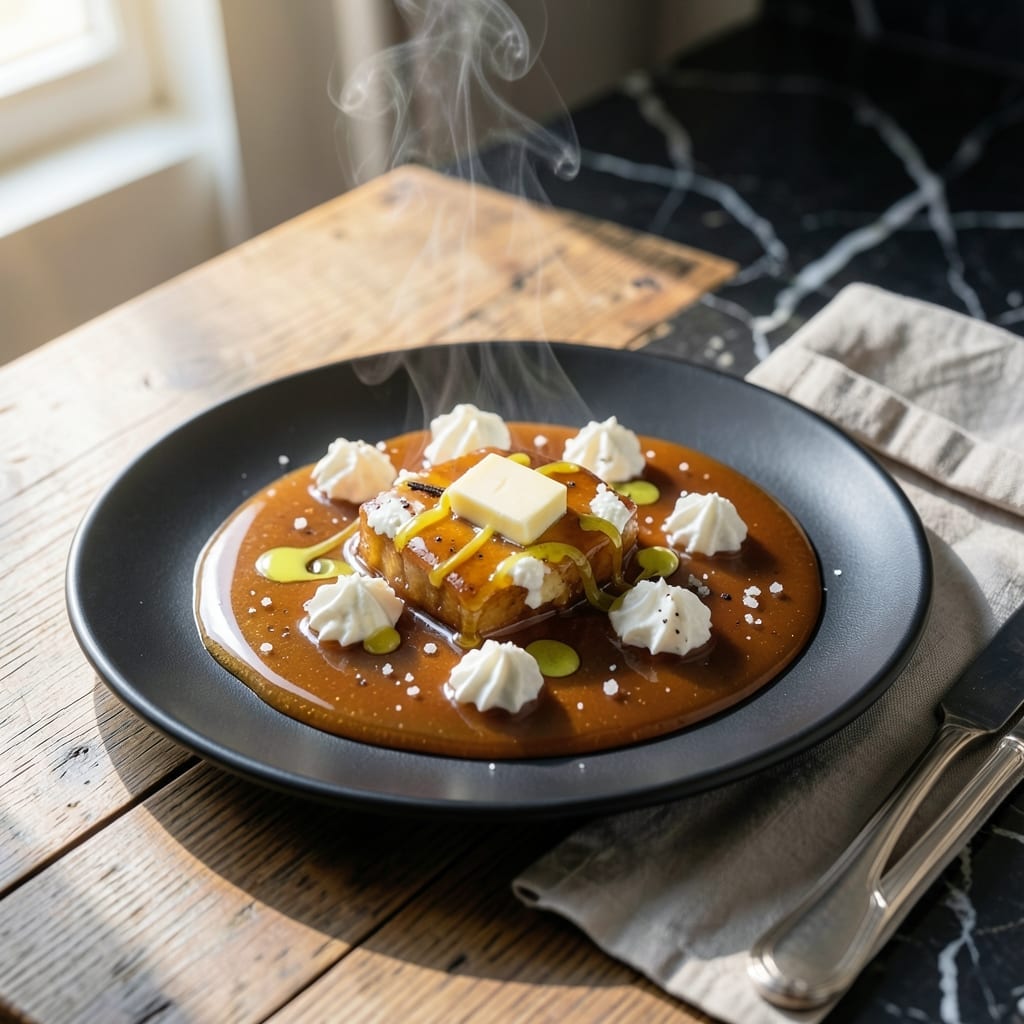
This silky honey glaze transforms ordinary desserts into extraordinary creations with its smooth, sweet finish. I’ve refined this recipe to achieve the perfect balance between richness and simplicity, ensuring it complements any dish without overpowering it.
With just a few ingredients and 10 minutes of your time, you can create a versatile drizzle that elevates everything from cakes to fruits. The key is gentle heat to preserve the honey’s natural flavor while achieving a glossy, pourable consistency.
The result is a golden, velvety sauce that clings beautifully to pastries, ice cream, or fresh berries. Its subtle sweetness enhances without dominating, making it a must-have for any home baker’s repertoire.
Store it in an airtight container for up to two weeks, and you’ll always have a quick way to add elegance to your desserts.
Ingredients for Recipe for Honey Glazed
Seven simple ingredients create this glossy, golden drizzle for any sweet treat.
| Ingredient | Amount | Notes |
|---|---|---|
| Honey 🍯 | 1 cup | Raw or pure for best flavor |
| Unsalted Butter 🧈 | ½ cup | Room temperature for easy melting |
| Heavy Cream 🥛 | ¼ cup | Whole milk works too |
| Vanilla Extract 🌿 | 1 tsp | Pure extract preferred |
| Salt 🧂 | ¼ tsp | Fine sea salt for balance |
| Lemon Juice 🍋 | 1 tbsp | Freshly squeezed for brightness |
| Ground Cinnamon 🌿 | ¼ tsp | Optional for warmth |
The honey is the star here. Local raw honey from farmers markets has the most complex flavor, but any pure honey works—just avoid those syllable-heavy “honey blends” at the grocery store (they’re mostly corn syrup). Trader Joe’s and Whole Foods carry solid options. For the butter, Plugrá or Kerrygold melt beautifully without separating.
No heavy cream? Whole milk plus a pat of butter gets you close. Out of vanilla? Almond extract at half the amount works, though the flavor shifts slightly. Want it dairy-free? Coconut oil instead of butter and swap cream for coconut milk (the canned kind, not carton). The cinnamon is totally optional but adds a cozy depth.
This keeps 2 weeks in the fridge in an airtight jar. For longer storage, freeze in ice cube trays—3 months max. Reheat gently in the microwave (or a warm water bath) to restore that silky pour.
Why You’ll Love This Recipe
- 5-Minute Magic: I melt the butter and honey together while the oven preheats—no fancy steps, just stir and go.
- Caramel-Like Richness: The honey and cream reduce into this glossy, buttery glaze that clings to whatever you drizzle it over.
- Dresses Up Anything: I’ve used it on roasted carrots, pancakes, even store-bought pound cake for an instant upgrade.
- Doubles Easily: One batch covers a weeknight dessert and still leaves enough to gift in a little jar.
Step-by-Step Instructions for Honey Glazed
This method ensures a velvety texture with the perfect balance of sweetness and depth.
Step 1: Melt and Combine the Base Ingredients
In a medium saucepan, melt the 0.5 cup Unsalted Butter over medium-low heat. You want it to melt gently without browning—this preserves the delicate flavor. Watch for the edges to start bubbling slightly, but remove it from heat if it begins to turn golden.
Once melted, add the 1 cup Honey and stir until fully combined. The honey will thin out as it warms, creating a smooth, glossy base. I use a silicone spatula to scrape the bottom of the pan and ensure nothing sticks or burns.
Step 2: Incorporate Cream and Flavorings
Slowly pour in the 0.25 cup Heavy Cream while stirring constantly. This prevents the mixture from separating and ensures a silky emulsion. The cream should blend seamlessly into the honey-butter mixture, turning it a lighter, caramel-like color.
Next, add the 1 tsp Vanilla Extract, 0.25 tsp Salt, and 1 tbsp Lemon Juice. Stir well to distribute the flavors evenly. The salt enhances the sweetness, while the lemon juice adds a subtle brightness that balances the richness.
Step 3: Simmer to Thicken and Deepen Flavors
Return the saucepan to low heat and let the mixture simmer gently for 5-7 minutes. Stir occasionally to prevent sticking. You’ll notice the glaze thicken slightly as it reduces—it should coat the back of a spoon but still be pourable.
Avoid boiling vigorously, as this can cause the glaze to separate or become grainy. The goal is a slow, steady simmer that allows the flavors to meld while achieving the ideal consistency. If it thickens too much, add a splash of warm water to loosen it.
Step 4: Add Warmth with Cinnamon and Finish
Remove the saucepan from heat and stir in the 0.25 tsp Ground Cinnamon. This adds a subtle warmth that complements the honey beautifully. Taste and adjust seasoning if needed—though the balance of sweet, salty, and tangy should already be perfect.
Let the glaze cool for 5 minutes before using. It will thicken slightly as it cools, making it easier to drizzle. If it becomes too thick, gently reheat it over low heat or stir in a little warm water to restore the desired consistency.
Use immediately over desserts, pastries, or even savory dishes for a touch of sweetness. Store any leftovers in an airtight container in the refrigerator for up to 2 weeks.
Pro Tips For Making Recipe For Honey Glazed
- Low and Slow: I learned this the hard way—cook the honey and butter on medium-low heat, or you’ll end up with a bitter, burnt mess instead of a smooth glaze.
- Use Real Vanilla: Skip the imitation stuff; a splash of pure vanilla extract actually changes the outcome, giving the glaze a deeper, richer flavor.
- Watch the Cream: Add the heavy cream gradually and stir constantly—after burning three batches, I finally figured out it curdles if it hits high heat too fast.
- Salt Last: Hold off on the salt until the very end, then taste and adjust. Sounds weird, but it works: salting too early can make the honey taste flat.
Common Mistakes When Making recipe for honey glazed
Overheating the Honey
Never let your honey reach a boil—high heat destroys its delicate flavors and can make the glaze bitter. Keep the temperature at medium-low and stir frequently. I use a candy thermometer to monitor below 250°F for perfect results.
Skipping the Cream
Heavy cream isn’t just for richness—it stabilizes the emulsion. Substituting milk or water often causes separation. If you must, use whole milk plus 1 tbsp butter for better texture. The fat content matters here.
Ignoring the Salt
That ¼ tsp salt isn’t optional—it balances the sweetness and enhances all flavors. I’ve made batches without it, and they taste flat. Use fine sea salt for even distribution. Trust me on this one. 💡
Rushing the Simmer
Patience is key during the 5-7 minute simmer. Rushing with high heat leads to a thin, watery glaze. The slow reduction concentrates flavors and achieves that perfect syrup consistency we’re after.
Adding Cinnamon Too Early
Stir in the ¼ tsp cinnamon only after removing from heat. Adding it earlier can make the glaze taste bitter. The residual heat is enough to infuse its warm, cozy flavor throughout.
Improper Storage
Always cool completely before sealing in an airtight container. Trapped heat creates condensation, which thins the glaze. It keeps beautifully refrigerated for 2 weeks—just reheat gently before using. ❄️
Nutrition Facts
Frequently Asked Questions
Can I use a honey substitute?
Maple syrup or agave work in a pinch, but expect a different flavor profile. Maple adds a deeper, caramel-like taste, while agave is more neutral. Stick to 1 cup of your chosen substitute for best results.
Why does my glaze look grainy?
This usually happens if the mixture boils too vigorously or the honey crystallizes. Reheat gently over low heat while stirring constantly to smooth it out. Avoid high temperatures to prevent separation.
How do I thin out a glaze that’s too thick?
Stir in warm water, 1 tablespoon at a time, until it reaches your desired consistency. For extra richness, use warm heavy cream instead. Let it sit for a minute to stabilize before using.

- BBQ Sausage Recipe Oven: Smoky Depth Without the Grill - September 28, 2026
- BBQ Chicken Bowl Recipe Rice: Smoky Sweetness Over Fluffy Grains - September 28, 2026
- Beef Cutlet Recipe Ideas: Crispy Breaded Patties With Bold Seasonings - September 28, 2026