
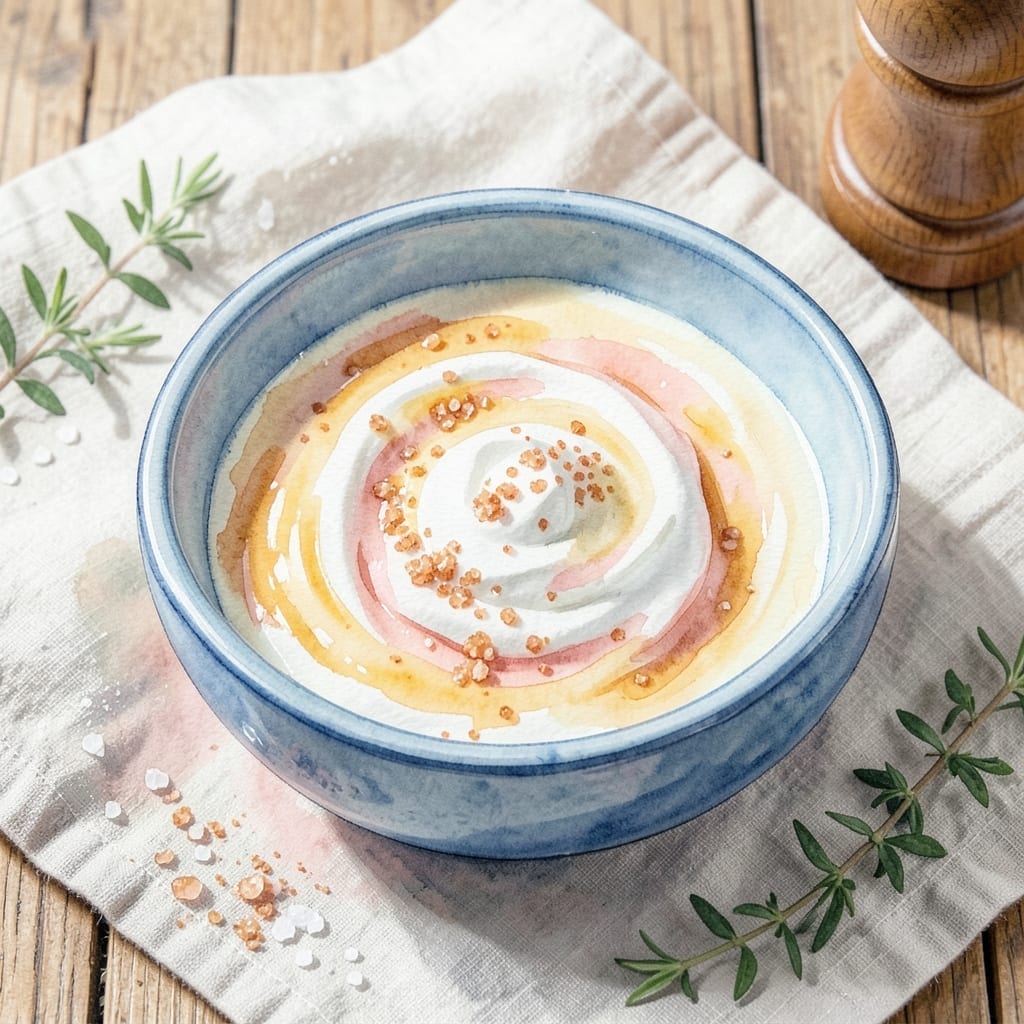
There’s something special about achieving creamy frozen desserts without the heaviness of traditional ice cream. This approach delivers a lighter texture while keeping the richness you crave.
The process is straightforward: simple ingredients, precise churning, and a bit of patience. The result is a dessert that’s smooth, satisfying, and just sweet enough to hit the spot.
What makes this method stand out is its balance. You get the velvety mouthfeel of ice cream with a fraction of the richness, making it perfect for warm days or lighter cravings.
Serve it fresh from the churn or let it set for a firmer texture. Either way, it’s a treat worth making again and again.
Ingredients for Recipe for Ice Milk
A lighter take on frozen desserts with rich, velvety results everyone will love.
| Ingredient | Amount | Notes |
|---|---|---|
| Whole Milk 🥛 | 4 cups | Full-fat for creaminess |
| Granulated Sugar 🍚 | ¾ cup | Adjust to taste preference |
| Heavy Cream 🥛 | 1 cup | Lightens the texture |
| Vanilla Extract 🌿 | 2 tsp | Pure for best flavor |
| Salt 🧂 | ¼ tsp | Fine grain preferred |
| Egg Yolks 🥚 | 4 whole | Large eggs, room temperature |
| Corn Syrup 🍯 | 2 tbsp | Light or dark variety |
| Vanilla Bean 🌱 | 1 whole | Scraped seeds only |
| Lemon Juice 🍋 | 1 tsp | Freshly squeezed |
| Almond Extract 🌰 | ¼ tsp | Optional for depth |
The dairy base is critical here. Whole milk from local dairies offers superior richness compared to national brands. Look for organic or grass-fed labels for the best flavor profile. Heavy cream should have at least 36% fat content—Organic Valley or Horizon are reliable choices. For the vanilla, Nielsen-Massey or Rodelle provide the most consistent quality.
No vanilla bean? Double the extract works fine. Out of heavy cream? Half-and-half plus a tablespoon of butter gets you close. Granulated sugar can be swapped for coconut sugar at a 1:1 ratio, though the color will darken. For a lighter version, 2% milk works but expect a slightly icier texture. The egg yolks stabilize the mixture—don’t skip them.
The base mixture keeps in the fridge for 24 hours before churning. Once churned, store in an airtight container for up to 1 week. For longer storage, freeze in pint containers for up to 2 months—just let it soften at room temperature for 10 minutes before serving.
Why You’ll Love This Recipe
- 5-Minute Mix: I just stir milk, sugar, cream, and vanilla—no cooking, no fuss.
- Creamy Dream: The heavy cream and whole milk blend into this velvety, rich texture that’s pure comfort.
- Kid-Approved Treat: I make a big batch and it’s gone in a day—perfect for birthdays or just because.
- Pennywise Indulgence: Honestly, it’s cheaper than store-bought and tastes way better, with no weird additives.
Step-by-Step Instructions for Ice Milk
Master the custard base and churning process for velvety-smooth results with a lighter texture.
Step 1: Infuse and Heat the Dairy Base
In a medium saucepan, combine the 4 cups Whole Milk, 1 cup Heavy Cream, and the seeds scraped from the 1 whole Vanilla Bean (reserve the pod for later use or discard). Heat over medium heat until small bubbles form at the edges—this should reach 170-175°F on an instant-read thermometer.
As the mixture heats, stir occasionally to prevent scorching and ensure even heating. The goal is to gently infuse the vanilla flavor without bringing the dairy to a boil, which could cause it to curdle or develop a cooked taste. You’ll notice a subtle sweet aroma as the vanilla releases its essence.
Step 2: Temper and Thicken the Custard
In a separate bowl, whisk together the 4 whole Egg Yolks, 0.75 cup Granulated Sugar, 0.25 tsp Salt, and 2 tbsp Corn Syrup until the mixture is smooth and slightly pale. This step ensures the eggs are evenly distributed before combining with the hot dairy.
Slowly pour about 1 cup of the heated milk mixture into the egg yolk mixture while whisking constantly. This tempering process gradually raises the temperature of the eggs, preventing them from scrambling when added to the remaining hot liquid. Once tempered, pour the egg mixture back into the saucepan with the remaining milk mixture.
Return the saucepan to medium-low heat and cook, stirring constantly with a wooden spoon or silicone spatula, until the custard thickens enough to coat the back of the spoon. This should take 5-7 minutes and reach a temperature of 175-180°F. The mixture will look slightly thicker, but don’t let it boil.
Step 3: Strain, Flavor, and Chill
Immediately strain the custard through a fine-mesh sieve into a clean bowl to remove any cooked bits of egg or vanilla pod remnants. This step guarantees a silky-smooth base for your ice milk. Stir in the 2 tsp Vanilla Extract, 1 tsp Lemon Juice, and 0.25 tsp Almond Extract until fully incorporated.
Press plastic wrap directly onto the surface of the custard to prevent a skin from forming, then refrigerate for at least 4 hours, or preferably overnight. Chilling is critical—it allows the flavors to meld and ensures the mixture is cold enough for proper churning in the next step. The custard should be thick but pourable when ready.
Step 4: Churn to Perfection
Pour the chilled custard into your ice cream maker and churn according to the manufacturer’s instructions, typically for 20-25 minutes. The ice milk will begin to thicken and take on a soft, creamy texture, similar to soft-serve. It’s ready when it holds its shape but is still slightly pliable.
For a firmer texture, transfer the churned ice milk to a lidded container and freeze for an additional 2-3 hours. This final step solidifies the texture while maintaining its smooth, scoopable consistency. The result should be lighter than traditional ice cream but just as rich in flavor, with a delicate balance of sweetness and creaminess.
Pro Tips For Making Recipe For Ice Milk
- Chill the Base: Let the milk, cream, and sugar mixture cool completely in the fridge for at least 4 hours—I learned this the hard way after ending up with icy, grainy ice milk the first three times.
- Use Full-Fat Dairy: Skip the low-fat milk or light cream; whole milk and heavy cream are non-negotiable for that smooth, creamy texture you’re after.
- Stir While Heating: Keep the mixture moving over medium-low heat until the sugar fully dissolves, or you’ll risk scorching the milk at the bottom of the pot.
- Add Vanilla Last: Fold in the vanilla extract after the base cools—adding it too early can make the flavor fade, and nobody wants bland ice milk.
Troubleshooting This Dish
Grainy Texture Fix
If your ice milk turns out icy, the custard base likely wasn’t chilled enough before churning. Ensure it reaches 40°F or below for 4 hours minimum. Adding 1 tbsp vodka or 1 tsp xanthan gum helps lower the freezing point and prevent ice crystals. 💡
Too Soft After Churning
When the texture is too soft, the mixture may have been too warm or over-churned. Freeze for an additional 2-3 hours in a shallow container. If it’s still soft, your ice cream maker may need pre-chilling for 15 minutes longer next time.
Eggy Flavor Problem
An eggy taste means the custard was overheated. Cook it at 175°F max and stir constantly. If it happens, mask the flavor with 1 tsp vanilla extract or ½ tsp almond extract next batch.
Flavor Too Mild
Boost the vanilla by using 2 vanilla beans or adding 1 tsp vanilla bean paste. For depth, increase the salt to ½ tsp—it enhances all flavors. A pinch of cinnamon adds warmth without overpowering.
Separation in Storage
If the texture separates after freezing, the mixture may have been under-churned. Run it through the ice cream maker again for 5 minutes. Prevent this by ensuring your custard is fully emulsified before churning.
Machine Not Churning
If your machine struggles, the custard might be too thick. Thin with ¼ cup whole milk before churning. Ensure the bowl is fully frozen—12-24 hours in the freezer is ideal. 🌡️
Nutrition Facts
Frequently Asked Questions
Can I make this without an ice cream maker?
Yes, but it requires extra effort. Freeze the custard in a shallow pan, then stir vigorously with a fork every 30 minutes for 3-4 hours to break up ice crystals.
Why does it need egg yolks?
Egg yolks act as a natural emulsifier, creating a smoother texture and preventing separation. They also add richness without the heaviness of cream.
How long will it keep in the freezer?
Store in an airtight container for up to 2 months. For best texture, let it soften at room temperature for 10 minutes before scooping.
Can I use a dairy-free milk alternative?
Coconut milk works best due to its fat content. Almond or oat milk may result in a icier texture unless you add 1 tbsp cornstarch to stabilize.

- BBQ Sausage Recipe Oven: Smoky Depth Without the Grill - September 28, 2026
- BBQ Chicken Bowl Recipe Rice: Smoky Sweetness Over Fluffy Grains - September 28, 2026
- Beef Cutlet Recipe Ideas: Crispy Breaded Patties With Bold Seasonings - September 28, 2026