
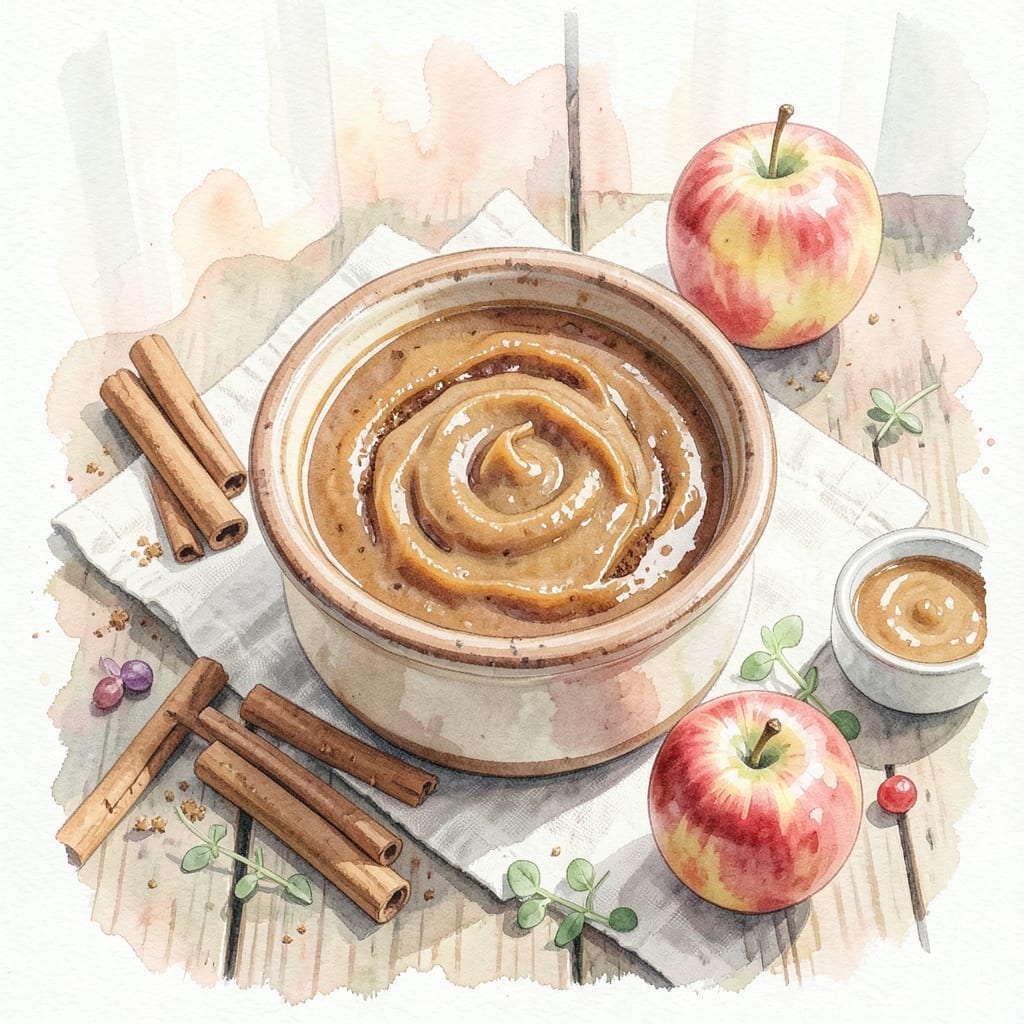
There’s a deep satisfaction in transforming fresh apples into rich, velvety apple butter through slow roasting. This method coaxes out natural sweetness while developing complex spiced flavors that store-bought versions can’t match.
By roasting apples at 300°F with warm spices, the fruit breaks down into a thick, caramelized spread. The oven does most of the work, requiring only occasional stirring to prevent sticking and ensure even cooking.
The result is a smooth, deeply flavored condiment that captures the essence of autumn. Its concentrated sweetness and warm spices make it perfect for toast, yogurt, or as a glaze for meats.
Make a large batch and store in airtight containers for up to three weeks in the refrigerator, or freeze for longer preservation. The flavor only improves with time.
Ingredients for Recipe for Making Apple Butter in the Oven
Transform fresh apples and warm spices into this velvety, slow-roasted orchard spread with ease.
| Ingredient | Amount | Notes |
|---|---|---|
| Apples 🍎 | 6 lb | Mixed varieties, peeled, cored, chopped |
| Granulated Sugar 🍚 | 1 cup | Adjust to taste and apple sweetness |
| Light Brown Sugar 🟤 | ½ cup | Packed, for depth of flavor |
| Ground Cinnamon 🌿 | 2 tsp | Ceylon or Cassia variety |
| Ground Nutmeg 🌰 | ¼ tsp | Freshly grated preferred |
| Ground Cloves 🌼 | ¼ tsp | Use sparingly for warmth |
| Vanilla Extract 🌿 | 1 tsp | Pure extract for best flavor |
| Lemon Juice 🍋 | 1 tbsp | Freshly squeezed for brightness |
| Salt 🧂 | ¼ tsp | Fine sea salt for balance |
The apples are everything here. Mixed varieties—some sweet, some tart—create the best depth of flavor. Honeycrisp and Granny Smith are my go-to combo. Most supermarkets carry both year-round, but hit up farmers markets in autumn for peak freshness. Look for firm fruit without bruising. Six pounds yields about 4 cups of finished apple butter, which is a great batch for gifts.
No brown sugar? Coconut sugar at a 1:1 ratio works well. Out of nutmeg? Allspice at half the amount offers a similar warmth. The vanilla extract can be swapped with vanilla bean paste for visible specks, or omitted entirely if you prefer a more spice-forward profile. For sweetness, maple syrup or agave can replace granulated sugar, but reduce other liquids slightly.
Store in sterilized jars for up to 3 weeks in the fridge. For longer storage, freeze in airtight containers for 6 months. The flavor deepens over time, so making it a day ahead is ideal. Always use clean, dry spoons to prevent mold.
Why You’ll Love This Recipe
- Hands-Off Cooking: The oven does all the work while I fold laundry or help with homework—just toss the apples with sugar and spices, then walk away.
- Warm Spiced Comfort: Cinnamon and nutmeg turn sweet apples into a spread that tastes like fall in a jar. Honestly, I sneak spoonfuls straight from the pot.
- Endless Uses: Slather it on toast, swirl into oatmeal, or gift it in tiny jars—this stuff makes breakfasts and hostess gifts effortless.
- Pantry Hero: A 5-pound bag of apples becomes jars of apple butter for pennies. I’ll be real: it’s my secret weapon for using up fruit before it goes soft.
Step-by-Step Instructions for Making Apple Butter in the Oven
This slow-roasted method concentrates flavors beautifully while maintaining perfect texture throughout.
Step 1: Prepare and Season the Apples
Preheat your oven to 300°F. In a large bowl, combine the 6 lb Apples with 1 cup Granulated Sugar, 0.5 cup Light Brown Sugar, 2 tsp Ground Cinnamon, 0.25 tsp Ground Nutmeg, and 0.25 tsp Ground Cloves.
Add the 1 tsp Vanilla Extract, 1 tbsp Lemon Juice, and 0.25 tsp Salt, then toss everything together until the apples are evenly coated. The acidity from the lemon juice prevents browning and brightens the flavor profile while the spices create a warm, aromatic base.
Step 2: Arrange Apples on Baking Sheets
Spread the seasoned apples evenly across two large rimmed baking sheets. Avoid overcrowding to ensure proper air circulation and even roasting. The apples should form a single layer with minimal overlap.
This arrangement allows the heat to penetrate uniformly and the moisture to evaporate at a consistent rate. You’ll notice the apples begin to release their juices as they warm up—this is the start of the caramelization process that develops the deep, rich flavor characteristic of proper apple butter.
Step 3: Slow-Roast Until Deeply Caramelized
Place the baking sheets in the preheated oven and roast for 1.5 to 2 hours. Stir the apples every 30 minutes to prevent sticking and ensure even cooking. The edges should become deep golden brown and the apples should soften significantly.
As the apples cook, their natural sugars will caramelize and the juices will reduce, creating a thick, glossy sauce. The kitchen will fill with an intoxicating aroma of warm spices and sweet apples—your signal that the transformation is progressing beautifully. The apples are ready when they can be easily mashed with a wooden spoon.
Step 4: Blend to Desired Consistency
Remove the baking sheets from the oven and let the apples cool slightly for 10 minutes. Transfer the mixture to a food processor or use an immersion blender directly in the baking sheet for larger batches.
Pulse or blend until you reach your preferred texture—smooth and velvety or slightly chunky for a more rustic spread. The apple butter will thicken further as it cools, so aim for a consistency that’s slightly looser than your final desired product while it’s still warm.
Step 5: Cool and Store Properly
Transfer the apple butter to clean glass jars and let it cool completely at room temperature. As it cools, you’ll see the mixture thicken and develop a rich, spreadable consistency. The color will deepen to a beautiful caramel hue.
Once cooled, seal the jars and store in the refrigerator for up to 3 weeks, or process in a water bath for longer storage. The flavors will continue to develop over the first 24-48 hours, becoming even more complex and delicious with time.
Pro Tips For Making Recipe For Making Apple Butter In The Oven
- Roast at 300°F: Low and slow is the way to go—any higher and the sugars will caramelize too fast, leaving you with burnt edges instead of that smooth, deep flavor.
- Peel, But Don’t Core: I learned this the hard way—leave the cores in while roasting (they’ll soften and blend in), but peel first so you’re not fishing out tough skins later.
- Skip the Overmixing: After roasting, resist the urge to puree it into oblivion; a few chunks make it rustic, and overworking it can turn the butter grainy.
- Swap Half the Sugar: If your apples are sweet, cut the granulated sugar by half and lean on the brown sugar—it adds a molasses depth that plain white sugar can’t.
Health Benefits of This Recipe
Rich in Fiber
Apples retain most of their dietary fiber during cooking, with each 2-tbsp serving providing about 1-2 grams. This supports digestion and helps maintain healthy cholesterol levels. The slow roasting process actually makes the fiber more soluble and easier for your body to utilize. 💪
Packed with Antioxidants
The extended cooking time concentrates the polyphenols and flavonoids naturally present in apples. These compounds help combat oxidative stress and inflammation. The cinnamon adds its own antioxidant power, creating a spread that’s as healthful as it is delicious.
Natural Energy Source
The natural sugars in apples provide a steady energy boost without the crash associated with refined sugars. Combined with the complex carbohydrates from the fruit, this makes apple butter a great addition to breakfast or pre-workout snacks. I love it on whole-grain toast for sustained energy.
Vitamin C Content
While some vitamin C is lost during cooking, oven-roasted apple butter still retains a portion of this essential nutrient. The lemon juice in the recipe adds an extra 10-15% of your daily vitamin C needs per serving, supporting immune function and skin health.
Low in Fat
This spread is virtually fat-free, making it a heart-healthy alternative to butter or margarine. A 2-tbsp serving contains less than 0.1g of fat. It’s an excellent way to add flavor to foods without adding unhealthy fats to your diet. ✨
Spice Benefits
The cinnamon in this recipe may help regulate blood sugar levels, while nutmeg and cloves have been shown to have anti-inflammatory properties. These spices don’t just add flavor—they contribute to the overall nutritional profile of your homemade spread.
Nutrition Facts
Frequently Asked Questions
What apples work best?
A mix of sweet and tart varieties creates the best flavor. Honeycrisp and Granny Smith are ideal for balance. Avoid overly mealy types like Red Delicious.
How do I know when it’s done?
The apples should be deeply caramelized and easily mashable with a spoon after 1.5-2 hours at 300°F. The mixture will thicken further as it cools.
Can I reduce the sugar?
Yes, but start with at least 1/2 cup total sugar. The apples’ natural sweetness concentrates during roasting, so taste before adding more.
Why did my apple butter turn out runny?
It likely needs more roasting time. Uncover and continue cooking in 15-minute intervals, stirring often, until thickened to your liking.

- BBQ Sausage Recipe Oven: Smoky Depth Without the Grill - September 28, 2026
- BBQ Chicken Bowl Recipe Rice: Smoky Sweetness Over Fluffy Grains - September 28, 2026
- Beef Cutlet Recipe Ideas: Crispy Breaded Patties With Bold Seasonings - September 28, 2026