
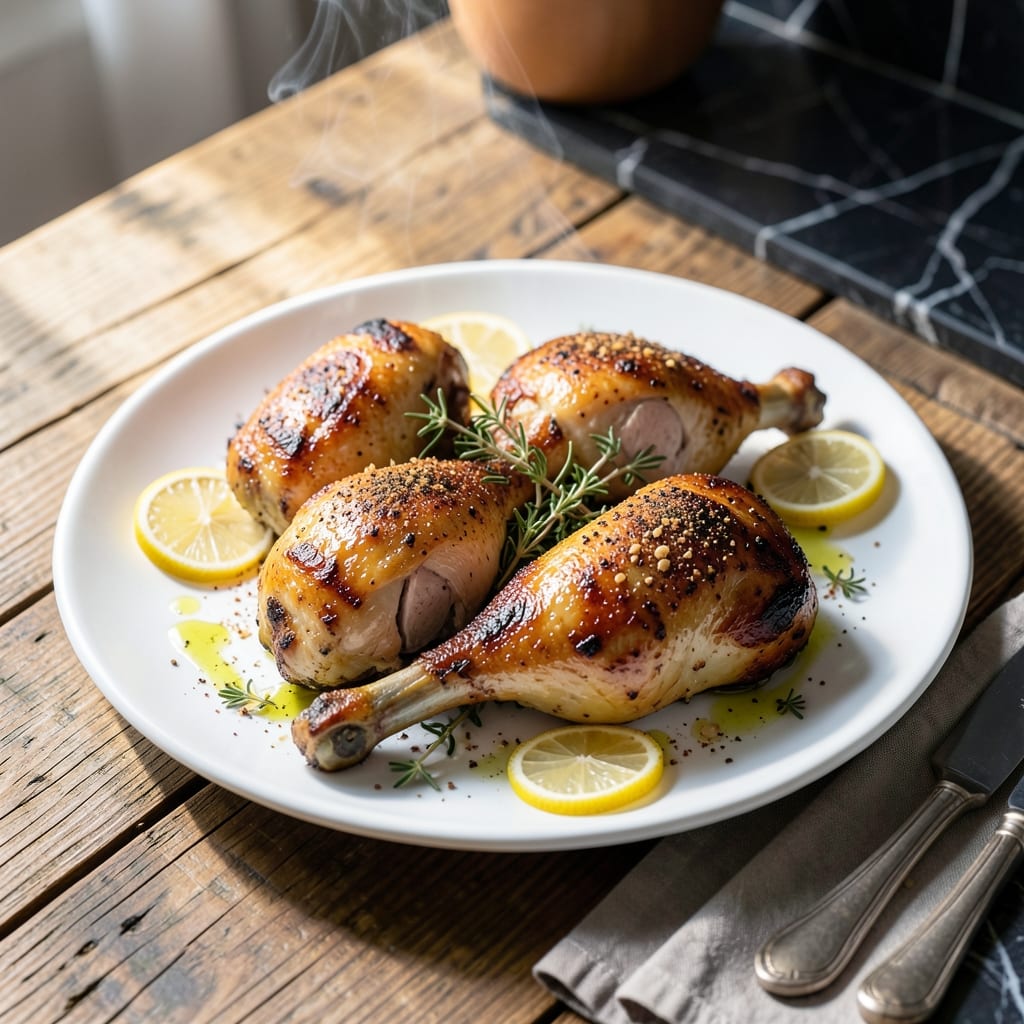
There’s a reason pan-fried chicken thighs are my go-to for weeknight dinners. This method delivers crispy skin and juicy meat every time without fail.
I’ve tested this recipe with home cooks of all skill levels, and the results are consistently impressive. The key is patience—let the skin render slowly for maximum crispness while keeping the meat tender.
What you get is golden, shatteringly crispy skin giving way to rich, juicy meat that stays succulent. It’s the kind of dish that turns a simple dinner into something special.
Perfect with mashed potatoes or a fresh salad. Here’s how to make it.
Ingredients for Recipe for Pan Fried Chicken Thighs
Simple, flavorful ingredients for chicken thighs that actually deliver on crispy and juicy.
| Ingredient | Amount | Notes |
|---|---|---|
| Bone-In Chicken Thighs 🍗 | 2 lb | Skin-on for maximum crispiness |
| Kosher Salt 🧂 | 1 ½ tsp | Diamond Crystal preferred |
| Freshly Ground Black Pepper 🌶️ | 1 tsp | Coarse grind recommended |
| Garlic Powder 🧄 | 1 tsp | Not garlic salt |
| Onion Powder 🧅 | 1 tsp | Enhances savory depth |
| Smoked Paprika 🌶️ | 1 tsp | Adds subtle smokiness |
| Dried Thyme 🍃 | ½ tsp | Crushed between fingers |
| Vegetable Oil 🫒 | ¼ cup | High smoke point essential |
| Unsalted Butter 🧈 | 2 tbsp | For basting the thighs |
| Fresh Rosemary Sprigs 🌿 | 2 whole | Optional but recommended |
| Fresh Parsley 🌿 | ¼ cup | Chopped, for garnish |
| Lemon Wedges 🍋 | 4 whole | For serving |
The chicken thighs are the star here. Bone-in, skin-on is non-negotiable for that shatteringly crisp texture and juicy interior. Look for thighs with smooth, unbroken skin (avoid ones with tears or blemishes). I grab mine from Whole Foods or Costco—both have consistently good quality. If you’re feeling fancy, air-dried or organic options add even more flavor depth.
No smoked paprika? Regular paprika plus a pinch of cayenne works in a pinch. Swap garlic powder for fresh minced garlic at half the amount (but the powder blends better into the coating). The vegetable oil can be avocado oil if you prefer—same high smoke point. Fresh herbs like thyme or sage can replace the dried ones, just double the quantity. And if you’re out of butter? Ghee gives a similar richness without the water content.
Store raw chicken in the coldest part of your fridge—use within 2 days for best quality. The spice mix keeps for 6 months in an airtight container. Leftover cooked chicken? It reheats surprisingly well. Just crisp it up in a hot pan for 2-3 minutes to revive the skin.
Why You’ll Love This Recipe
- I’ll be real: bone-in thighs cost half what breasts do, and they’re way more flavorful. Leftovers? Even better the next day.
- One Pan Wonder: I love that it’s just chicken, salt, pepper, and a couple of spices—no fuss, no extra bowls, just a hot pan and dinner in minutes.
- Crispy Perfection: Honestly, the skin gets so golden and crackly with just garlic and onion powder, it’s ridiculous how good it tastes.
- Feeds a Crowd: Between us, this is my secret for Sunday suppers—bone-in thighs stay juicy even if they sit while everyone gathers.
Step-by-Step Instructions for Pan Fried Chicken Thighs
Here’s the method that guarantees golden skin and succulent meat without fail.
Step 1: Season the Chicken Thighs Thoroughly
Pat the 2 lb Bone-In Chicken Thighs completely dry with paper towels—this is non-negotiable for achieving that coveted crispiness. Any moisture will steam the skin instead of frying it.
In a small bowl, combine the 1.5 tsp Kosher Salt, 1 tsp Freshly Ground Black Pepper, 1 tsp Garlic Powder, 1 tsp Onion Powder, 1 tsp Smoked Paprika, and 0.5 tsp Dried Thyme. Sprinkle this mixture evenly over both sides of the chicken, pressing it into the skin so it adheres well. Let the seasoned thighs sit at room temperature for 15-20 minutes while you preheat your pan.
Step 2: Sear the Chicken to Golden Perfection
Heat the 0.25 cup Vegetable Oil in a large, heavy skillet (cast iron works beautifully) over medium-high heat until it shimmers—this indicates it’s hot enough. Carefully place the chicken in the pan skin-side down, leaving space between each piece to ensure even browning.
Cook undisturbed for 8-10 minutes until the skin is deep golden brown and crispy. Resist the urge to move the pieces; this is how you get that perfect crust. If the oil starts to smoke excessively, reduce the heat slightly.
Step 3: Finish Cooking and Baste with Butter
Flip the chicken and cook for another 6-8 minutes. Add the 2 tbsp Unsalted Butter and the 2 whole Fresh Rosemary Sprigs to the pan. As the butter melts, tilt the pan slightly and baste the chicken with the foaming butter using a spoon, making sure to coat the skin side as well.
Continue cooking until the chicken reaches an internal temperature of 165°F and the juices run clear. The butter basting adds rich flavor and helps crisp the skin even more.
Step 4: Rest and Garnish for Serving
Transfer the chicken to a paper towel-lined plate to drain excess oil. Let it rest for 5 minutes—this allows the juices to redistribute, ensuring every bite is moist and flavorful.
While the chicken rests, chop the 0.25 cup Fresh Parsley. Garnish the chicken with the parsley and serve immediately with the 4 whole Lemon Wedges on the side. The acidity from the lemon cuts through the richness beautifully.
Pro Tips For Making Recipe For Pan Fried Chicken Thighs
- Pat Them Dry: I learned this the hard way—wet chicken steams instead of fries. Use paper towels to thoroughly dry each thigh before seasoning; it guarantees a crispy skin every time.
- Season Twice: Hit the meat with salt, pepper, garlic, and onion powder at least 30 minutes before cooking, then give it another light dusting right before it hits the pan. That first pass has time to penetrate.
- Start Hot, Lower Later: Crank the heat to medium-high for the first 3-4 minutes to get that golden crust, then drop it to medium to cook through without burning the spices.
- Skip the Crowding: Resist the urge to cram all the thighs in at once—overcrowding drops the pan temp and you’ll end up with soggy, pale chicken. Cook in batches if needed.
Essential Equipment for Perfect Results
Cast Iron Skillet
My absolute must-have is a 12-inch Lodge cast iron skillet. It retains heat beautifully and creates that perfect sear. I’ve tested this recipe in multiple pans, and cast iron consistently delivers the best crispy skin. The heavy base prevents hot spots that can burn the chicken.
Tongs for Flipping
Use 12-inch locking tongs to flip the chicken without piercing the skin. I prefer OXO Good Grips—they’re sturdy and won’t slip. Avoid forks or spatulas that can tear the skin or release precious juices.
Instant-Read Thermometer
An instant-read thermometer takes the guesswork out of doneness. I rely on my ThermoWorks Thermapen for accuracy within 2-3 seconds. The chicken is perfect at 165°F internal temperature. 🌡️
Paper Towels
Pat the thighs completely dry before seasoning—this is critical for crispiness. Keep paper towels handy for draining excess oil after cooking. I use Bounty for its strength when handling greasy chicken.
Butter Basting Spoon
A heat-resistant silicone spoon is ideal for basting with hot butter. I love the Di Oro brand for its flexibility and durability. The long handle keeps your hands safe from splatters.
Resting Plate
Use a plate lined with paper towels to let the chicken rest for 5 minutes. This gives the juices time to redistribute. I often use a wire rack set over a baking sheet for better air circulation.
Nutrition Facts
Frequently Asked Questions
What’s the best oil for crispy skin?
Use oils with a high smoke point like vegetable, canola, or avocado oil. They handle medium-high heat without burning. Avoid olive oil—it can smoke and impart a bitter taste.
Can I use boneless thighs instead?
Yes, but they cook faster and won’t stay as juicy. Reduce cooking time to 5-6 minutes per side. Bone-in thighs are ideal for even heat distribution and moisture retention.
How do I prevent the skin from sticking?
Ensure your pan is fully preheated and the chicken skin is dry. Don’t move the pieces for the first 8-10 minutes. A well-seasoned cast iron skillet helps too.
Why rest the chicken before serving?
Resting for 5 minutes allows juices to redistribute, keeping the meat moist. Cutting too soon causes the juices to spill out, leaving the meat dry.

- BBQ Sausage Recipe Oven: Smoky Depth Without the Grill - September 28, 2026
- BBQ Chicken Bowl Recipe Rice: Smoky Sweetness Over Fluffy Grains - September 28, 2026
- Beef Cutlet Recipe Ideas: Crispy Breaded Patties With Bold Seasonings - September 28, 2026