
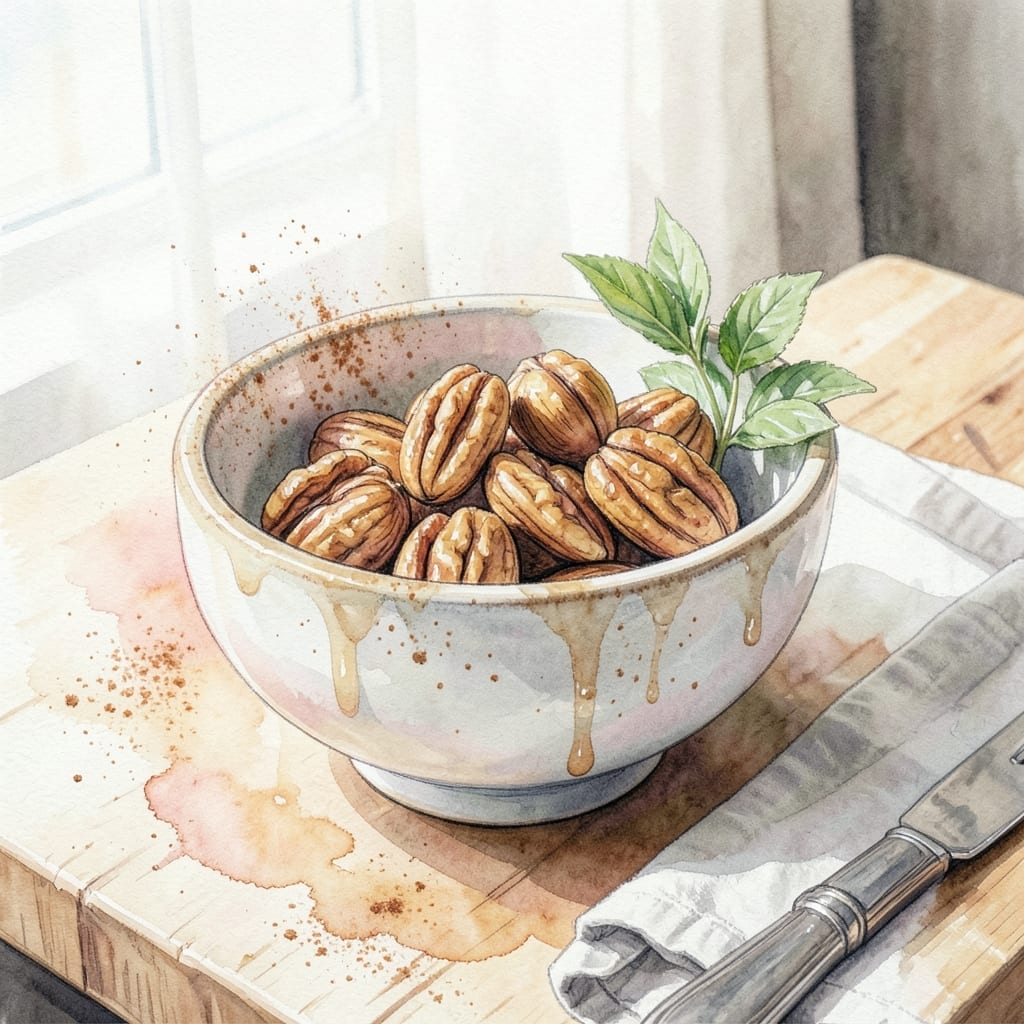
Toasting walnuts transforms their flavor from mild to deeply nutty, unlocking a rich aroma that elevates any dish. This simple technique takes just 10 minutes and requires only a baking sheet and oven.
The process is straightforward: spread walnuts in a single layer and bake at 350°F, stirring occasionally for even browning. Watch closely—they go from golden to burnt quickly.
Perfectly toasted walnuts add crunch to salads, depth to desserts, or a gourmet touch to cheese boards. Their versatility makes them a pantry staple worth keeping on hand.
Once cooled, store in an airtight container for up to a week. The enhanced flavor and texture will change how you use walnuts forever.
Ingredients for Recipe for Toasted Walnuts
Simple pantry staples transformed into a gourmet topping for any dish.
| Ingredient | Amount | Notes |
|---|---|---|
| Walnuts 🥜 | 2 cups | Raw, whole or halves |
| Olive Oil 🫒 | 1 tsp | Optional for sheen |
| Sea Salt 🧂 | ¼ tsp | Fine grain preferred |
| Ground Cinnamon 🌿 | ¼ tsp | Optional for sweetness |
| Light Brown Sugar 🍚 | 1 tbsp | Optional for caramelization |
| Maple Syrup 🍁 | 1 tbsp | Optional for glaze |
| Vanilla Extract 🌿 | ½ tsp | Optional for dessert use |
| Smoked Paprika 🌶️ | ¼ tsp | Optional for savory depth |
The walnuts are the star here. Raw, fresh walnuts toast up best—avoid pre-roasted or salted varieties. I source mine from Whole Foods or local farmers markets for optimal freshness. Look for plump, unblemished nuts with a light color; stale walnuts taste bitter and won’t crisp properly. A single layer on the baking sheet is non-negotiable for even toasting.
No walnuts? Pecans or almonds work equally well with the same method. For a sweet twist, swap brown sugar for coconut sugar or add cayenne for heat. The olive oil is optional but adds a subtle richness—avocado oil is a neutral alternative. Skip the seasonings entirely if you prefer plain toasted nuts for savory applications.
Cool completely before storing—this prevents steam from making them soggy. They keep in an airtight container at room temperature for 1 week, or freeze for 3 months. Revive stale nuts with a quick re-toast at 350°F for 3-5 minutes.
Why You’ll Love This Recipe
- 5-Minute Magic: I toss walnuts with olive oil, a pinch of sea salt, and let the oven do the rest—no babysitting required.
- Sweet-Spicy Crunch: That cinnamon-brown sugar combo hits just right, with a hint of salt to balance the warmth.
- Salad to Snack: Honestly, I sprinkle these on oatmeal, yogurt, even ice cream—never met a dish they didn’t improve.
- Pantry Hero: One batch lasts a week in my house, and walnuts are cheap in bulk—so I always have some on hand.
Step-by-Step Instructions for Toasted Walnuts
Master the technique for perfectly crisp, aromatic nuts with this professional approach.
Step 1: Prepare the Walnuts and Seasoning Base
Preheat your oven to 350°F and line a rimmed baking sheet with parchment paper. Spread the 2 cups Walnuts in a single layer on the prepared sheet. I use whole or halved pieces for even toasting and better presentation in finished dishes.
In a small bowl, combine the 1 tsp Olive Oil, 0.25 tsp Sea Salt, and your choice of flavor enhancers. This base layer ensures the seasonings adhere properly to the nuts’ natural oils. The parchment prevents sticking and makes cleanup effortless.
Step 2: Create the Flavor Profile Mixture
To the olive oil mixture, add the 0.25 tsp Ground Cinnamon and 1 tbsp Light Brown Sugar. The brown sugar’s molasses content creates beautiful caramelization during toasting, while the cinnamon adds warm depth. Whisk until the sugar begins to dissolve in the oil.
For a balanced sweet-savory profile, incorporate the 1 tbsp Maple Syrup, 0.5 tsp Vanilla Extract, and 0.25 tsp Smoked Paprika. The maple syrup provides a subtle glaze, the vanilla rounds out the flavors, and the smoked paprika introduces a sophisticated backdrop. Stir until fully combined.
Step 3: Coat and Toast to Perfection
Drizzle the seasoning mixture evenly over the walnuts, using a silicone spatula to toss and coat every piece thoroughly. The nuts should appear glossy but not swimming in liquid—excess pooling can lead to uneven toasting and potential burning.
Place the baking sheet in the preheated oven and toast for 10-12 minutes, stirring halfway through the cooking time. You’re aiming for a deep golden brown color and fragrant aroma that fills your kitchen. The sugar will begin to caramelize at the edges, creating those desirable crisp bits.
Step 4: Cool and Crisp the Nuts
Remove the walnuts from the oven when they reach the desired color. Immediately spread them in a single layer on the parchment to prevent clustering. The residual heat will continue cooking them slightly, so don’t wait for them to darken further in the oven.
Let them cool completely for 15-20 minutes. This cooling period is crucial—the nuts will crisp up as they cool, and the flavors will meld together. They’ll transform from soft and warm to perfectly crunchy. Store in an airtight container at room temperature for up to 1 week.
Pro Tips For Making Recipe For Toasted Walnuts
- Watch the Heat: Toast walnuts over medium-low heat—high heat burns the sugar and turns them bitter. I learned this the hard way after ruining a batch with blackened edges.
- Dry the Walnuts First: Pat the walnuts dry with a towel before toasting; even a little moisture makes them steam instead of crisp up.
- Skip the Overcrowding: Spread walnuts in a single layer on the pan—crowding them leads to uneven toasting and soggy spots.
- Add Sugar Last: Toss the walnuts with cinnamon and salt first, then sprinkle brown sugar in the last minute to avoid burning it before the nuts are done.
Common Mistakes When Making This Recipe
Overcrowding the Pan
Never dump all your walnuts in a thick layer. Spread 2 cups in a single layer with space between pieces. Crowding steams instead of toasts, leaving you with chewy nuts rather than crisp ones. 🔥
Skipping the Stir
Set a timer for 5 minutes and stir the nuts halfway through. Without stirring, the ones on the edges will burn while the center stays pale. I use a metal spatula to flip them quickly.
Walking Away Too Soon
Toasted nuts go from perfect to burnt in 30 seconds. Stay nearby and start checking at 8 minutes. Look for deep golden color and a fragrant aroma. The moment you smell them, they’re almost done.
Using High Heat
Stick to 350°F. Higher temps burn the outside before the inside warms. Low and slow ensures even toasting and brings out the natural oils without bitterness.
Forgetting to Cool
Resist the urge to taste right away. Let them cool for 15 minutes on the tray. They crisp up as they cool, and the flavors settle beautifully.
Ignoring Freshness
Start with fresh, raw walnuts. Stale nuts won’t crisp properly and taste bitter. I always check the expiration date and buy from stores with high turnover, like Whole Foods.
Nutrition Facts
Frequently Asked Questions
How do I know when they’re done?
Watch for a deep golden color and fragrant aroma after 10-12 minutes. They’ll darken slightly as they cool. If they smell burnt, they’re overdone.
Can I use a stovetop instead of an oven?
Yes! Heat a dry skillet over medium-low heat and stir constantly for 5-8 minutes. This method requires more attention but works well.
Why are my walnuts chewy instead of crisp?
This usually means they didn’t dry properly. Spread in a single layer and cool completely for 15 minutes before storing.
How long will they stay fresh?
Store in an airtight container at room temperature for up to 1 week, or freeze for 3 months for longer freshness.

- BBQ Sausage Recipe Oven: Smoky Depth Without the Grill - September 28, 2026
- BBQ Chicken Bowl Recipe Rice: Smoky Sweetness Over Fluffy Grains - September 28, 2026
- Beef Cutlet Recipe Ideas: Crispy Breaded Patties With Bold Seasonings - September 28, 2026