
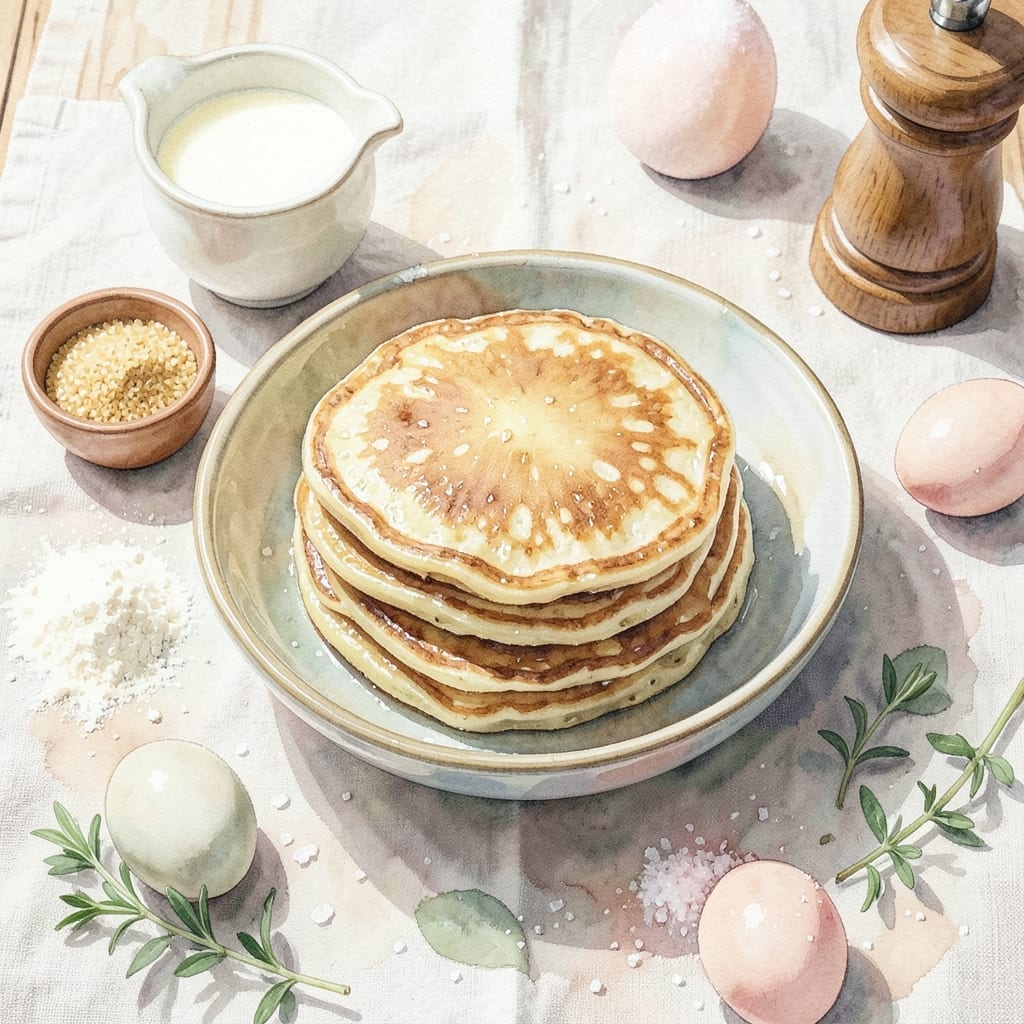
There’s a reason yeast pancakes have stood the test of time—they deliver an unmatched lightness that standard pancakes simply can’t match. This recipe transforms basic ingredients into tall, airy stacks with golden edges and a tender crumb.
The yeast does the heavy lifting, creating a batter that bubbles and rises before hitting the griddle. A brief rest allows the flavor to develop while ensuring each pancake cooks up with a delicate, almost cloud-like texture. The result is worth the minimal extra time.
You’ll get pancakes that are fluffy inside with just the right amount of crispness on the outside. They hold syrup and butter beautifully, making every bite satisfying. Serve them warm for the best experience.
Perfect for weekend brunches or special breakfasts. Here’s how to make them.
Ingredients for Recipe for Yeast Pancakes
Basic pantry staples transform into something extraordinary with yeast as the secret.
| Ingredient | Amount | Notes |
|---|---|---|
| All-Purpose Flour 🌾 | 4 cups | Sifted for lighter texture |
| Active Dry Yeast 🍞 | 2 ¼ tsp | One 0.25 oz package |
| Warm Water 💧 | 1 cup | 110-115°F for activation |
| Granulated Sugar 🧂 | 2 tbsp | Divided, feeds yeast and sweetens |
| Large Eggs 🥚 | 2 whole | Room temperature preferred |
| Whole Milk 🥛 | 1 ½ cups | Warm to 110°F |
| Unsalted Butter 🧈 | 4 tbsp | Melted and cooled |
| Salt 🧂 | 1 tsp | Fine sea salt preferred |
| Vanilla Extract 🌿 | 1 tsp | Pure extract for best flavor |
| Baking Soda 🧂 | ½ tsp | Balances acidity |
| Vegetable Oil 🫒 | 1 tbsp | For griddle greasing |
The yeast is the star here. Fleischmann’s or Red Star are reliable brands—check expiration dates, as old yeast loses potency. Temperature matters: water and milk must be warm (110-115°F), not hot. I use a kitchen thermometer for precision (worth the extra minute). The flour should be fresh; King Arthur is my go-to for consistency in baking.
No yeast on hand? This isn’t a standard pancake recipe—sourdough starter can work in a pinch, but expect a tangier flavor. Milk substitutes like oat or almond work at a 1:1 ratio, though dairy gives the richest texture. For vegan pancakes, swap eggs for flax eggs (1 tbsp ground flax + 3 tbsp water per egg) and use plant-based butter.
Batter can rest in the fridge overnight, which actually enhances flavor. Cooked pancakes keep 2-3 days refrigerated or freeze for 1 month. Reheat in a toaster or skillet to revive that golden crispness.
Why You’ll Love This Recipe
- One Bowl Wonder: I mix everything in a single bowl—flour, yeast, warm water, sugar, and eggs—and let it rise while I sip my coffee.
- Pillowy Perfection: The yeast gives them that airy, melt-in-your-mouth texture with just the right hint of sweetness from the sugar.
- Breakfast or Dinner: I’ve served these for Sunday brunch and as a quick weeknight dinner—equally loved both times.
- Budget Stretch: Honestly, these cost pennies to make and still taste like a treat from a fancy café.
Step-by-Step Instructions for Yeast Pancakes
This method ensures light, airy pancakes with a delicate crumb and perfectly golden edges.
Step 1: Activate the Yeast Mixture
In a large mixing bowl, combine the 1 cup Warm Water, 2.25 tsp Active Dry Yeast, and 2 tbsp Granulated Sugar. The water temperature is crucial—it should feel warm to the touch but not hot, ideally between 110-115°F to activate the yeast without killing it.
Let the mixture sit for 5-7 minutes until it becomes frothy and bubbly. This visual confirmation tells you the yeast is active and ready to work. If it doesn’t foam, your yeast may be expired—start over with fresh yeast to ensure proper rise.
Step 2: Combine Wet and Dry Ingredients
Whisk the 2 whole Large Eggs, 1.5 cups Whole Milk, 4 tbsp Unsalted Butter (melted and cooled), and 1 tsp Vanilla Extract into the yeast mixture. In a separate bowl, sift together the 4 cups All-Purpose Flour, 1 tsp Salt, and 0.5 tsp Baking Soda.
Gradually add the dry ingredients to the wet mixture, stirring just until combined. The batter will be thick but pourable. Avoid overmixing—lumps are fine and will dissolve during the resting period.
Step 3: Let the Batter Rest and Rise
Cover the bowl with a clean kitchen towel and let the batter rest at room temperature for 30-45 minutes. During this time, the yeast will ferment, creating air pockets that give the pancakes their signature fluffiness. You’ll notice the batter visibly rising and becoming lighter in texture.
If your kitchen is cool, place the bowl in a slightly warm spot, like near (but not on) a preheating oven. Don’t rush this step—proper fermentation is key to achieving the airy, cloud-like texture promised by this recipe.
Step 4: Cook on a Preheated Griddle
Heat a griddle or nonstick skillet over medium heat and brush lightly with 1 tbsp Vegetable Oil. Pour ¼ cup of batter onto the griddle for each pancake. Cook until bubbles form on the surface and the edges look set, about 2-3 minutes.
Flip each pancake and cook for another 1-2 minutes until the underside is golden brown. The pancakes should puff up noticeably due to the yeast activity. Adjust the heat as needed to prevent burning—too high, and the outside will char before the inside cooks through.
Serve immediately while warm, with your favorite toppings. The yeast adds a subtle depth of flavor that pairs beautifully with maple syrup or fresh fruit.
Pro Tips For Making Recipe For Yeast Pancakes
- Proof the Yeast: Always dissolve the active dry yeast in warm water (around 110°F) with a pinch of sugar first—if it doesn’t foam within 5 minutes, your yeast is dead and the pancakes won’t rise.
- Rest the Batter: After mixing, let the batter sit covered for 30-45 minutes in a warm spot; this gives the yeast time to work, making the pancakes light and airy.
- Skip Cold Eggs: Use room-temperature eggs—they blend more evenly into the batter and help the yeast activate properly, rather than shocking it with cold ingredients.
- Thin with Care: If the batter seems too thick, add warm water a tablespoon at a time; too much liquid will make the pancakes dense instead of fluffy.
Common Mistakes When Making Perfect Results
Yeast Temperature Issues
Using water that’s too hot (above 120°F) will kill your yeast, leaving you with dense pancakes. I always use a kitchen thermometer to verify my 1 cup Warm Water is between 110-115°F. Cold water won’t activate the yeast properly either. 🌡️
Skipping the Rest
Rushing the 30-45 minute rest means missing out on the yeast’s magic. This is when the batter develops its airy structure. If your kitchen is cold, place the bowl near a warm oven (not on it) to encourage fermentation.
Overmixing the Batter
Stirring too vigorously develops gluten, making pancakes tough. Mix just until the dry ingredients are incorporated—those small lumps will disappear during resting. The batter should look thick but pourable.
Incorrect Griddle Heat
Cooking on high heat burns the outside before the inside cooks. Aim for medium heat and adjust as needed. Your griddle is ready when water droplets dance and evaporate quickly.
Flipping Too Soon
Patience is key. Wait until bubbles form and edges look set (about 2-3 minutes) before flipping. Flipping early results in raw centers. The second side only needs 1-2 minutes for perfect golden brown color.
Ignoring Yeast Freshness
Old yeast loses potency. Always check expiration dates on your 2.25 tsp Active Dry Yeast. If your mixture doesn’t foam after 5-7 minutes, start over with fresh yeast. 💡
Nutrition Facts
Frequently Asked Questions
Why do these pancakes need to rest before cooking?
The 30-45 minute rest allows yeast to ferment, creating air pockets for that signature fluffiness. Skipping this step results in dense pancakes.
Can I make the batter the night before?
Yes! Prepare the batter, cover tightly, and refrigerate overnight. The cold slows fermentation but enhances flavor. Bring to room temperature before cooking.
How do I know when to flip them?
Wait until bubbles form on top and edges look set, about 2-3 minutes. Flipping too soon means raw centers. The second side needs just 1-2 minutes.
What if my yeast doesn’t foam?
Discard it and start fresh—your yeast may be expired. Always check the expiration date and ensure water is 110-115°F.

- BBQ Sausage Recipe Oven: Smoky Depth Without the Grill - September 28, 2026
- BBQ Chicken Bowl Recipe Rice: Smoky Sweetness Over Fluffy Grains - September 28, 2026
- Beef Cutlet Recipe Ideas: Crispy Breaded Patties With Bold Seasonings - September 28, 2026