
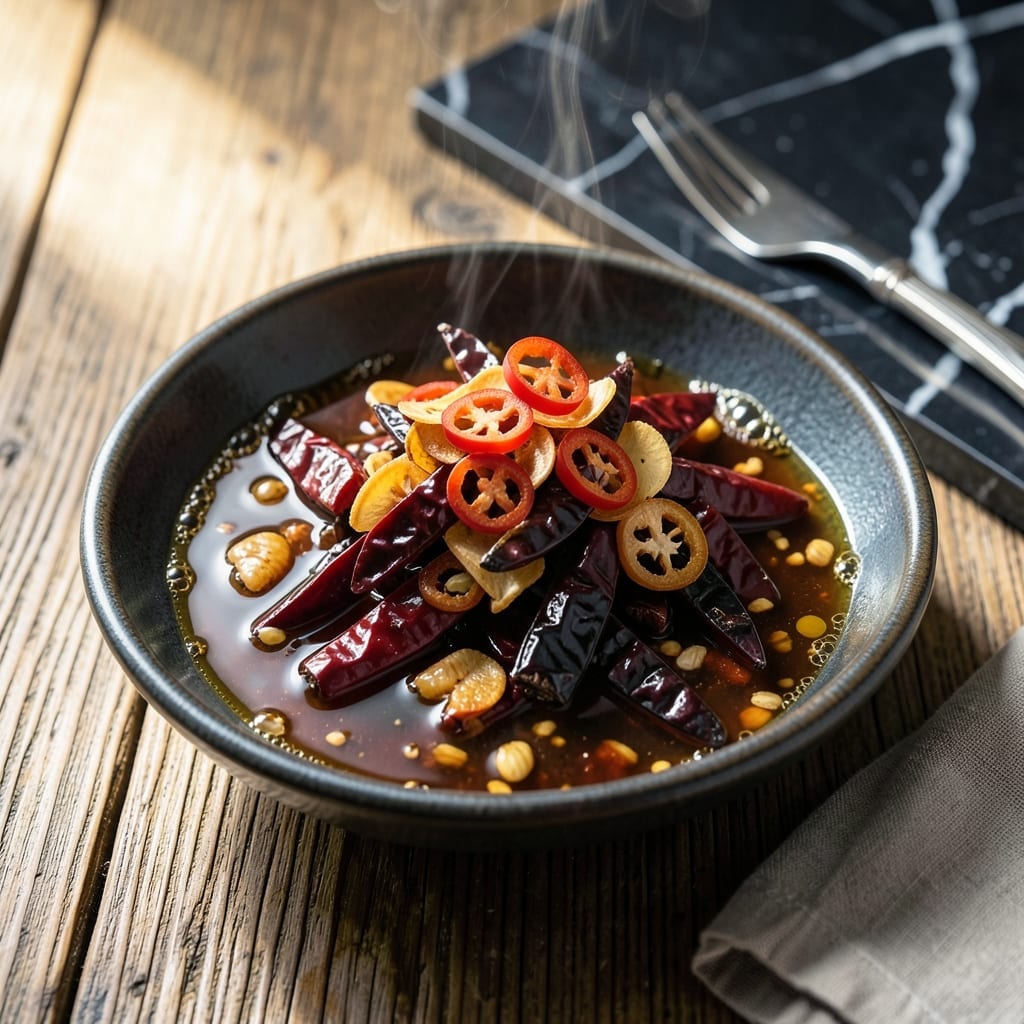
This versatile condiment brings bold, spicy flavor to any dish with minimal effort. A perfect balance of heat, garlic, and umami transforms simple meals into restaurant-quality experiences.
With just a few pantry staples and 10 minutes of prep, you’ll have a smooth, aromatic sauce that keeps for weeks in the fridge. Its depth elevates everything from stir-fries to sandwiches.
Ingredients for Recipe of Chilli Garlic Sauce
Eight simple ingredients deliver bold, spicy depth to any dish in minutes.
| Ingredient | Amount | Notes |
|---|---|---|
| Red Chili Peppers 🌶️ | 10 whole | Dried, stems removed and seeded |
| Garlic Cloves 🧄 | 8 cloves | Peeled and roughly chopped |
| Vegetable Oil 🫒 | ½ cup | Neutral flavor, for frying |
| Soy Sauce 🥢 | ¼ cup | Low-sodium preferred |
| Rice Vinegar 🍚 | 2 tbsp | For tangy balance |
| Brown Sugar 🍚 | 2 tbsp | Light or dark variety |
| Salt 🧂 | ½ tsp | Adjust to taste |
| Water 💧 | ¼ cup | To adjust consistency |
The chili peppers are key here. Asian markets often have the best selection—look for bright red, plump pods with no moisture (that means they’re fresh). Dried Thai bird’s eye chilies pack serious heat, but any small red chili works. Garlic should be fresh, firm, and aromatic—avoid the pre-peeled stuff in jars, which can taste bitter. For the oil, avocado or peanut oil handles high heat beautifully without breaking down.
No dried chilies? Crushed red pepper flakes at half the volume get you close, though the texture will differ. Fresh chilies can work too (use about 6-8 small ones), but the sauce won’t store as long. Out of rice vinegar? Apple cider vinegar is a fine swap. Brown sugar can be coconut sugar—same amount. The soy sauce is non-negotiable for umami, but tamari works for gluten-free.
This keeps 3-4 weeks in the fridge in a sealed jar. The flavor deepens over time, so make it a day ahead if possible. Freezing works too—portion into ice cube trays for easy use. Always use a clean spoon to avoid contamination.
Why You’ll Love This Recipe
- Five Minute Magic: I blend the peppers, garlic, and vinegar in one bowl—no fancy steps, just a quick stir and simmer.
- Garlic Fireworks: The sizzle of garlic in hot oil with those chilies? That’s the smell of pure umami heat.
- Drizzle on Everything: Honestly, I use it on noodles, eggs, even pizza—this sauce turns any dish into a flavor bomb.
- Budget Keeper: A handful of pantry staples and 10 minutes gives me a jar of sauce that lasts for weeks.
Step-by-Step Instructions for Chilli Garlic Sauce
Here’s the method. Straightforward, tested, works every time.
Step 1: Toast the Aromatics for Depth
Heat the 0.5 cup Vegetable Oil in a saucepan over medium-low heat. When it shimmers, add the 10 whole Red Chili Peppers and 8 cloves Garlic Cloves. Stir constantly for 2-3 minutes until the garlic turns golden brown and the chili peppers darken slightly.
Watch closely—garlic burns easily. You want it deeply fragrant and just starting to crisp at the edges, not black. This toasting step builds the foundation of flavor. Remove from heat immediately if it starts smoking.
Step 2: Blend into a Smooth Paste
Carefully transfer the oil, chili peppers, and garlic to a blender or food processor. I use a slotted spoon to fish out the solids first, then pour the oil in. Add the 2 tbsp Rice Vinegar, 2 tbsp Brown Sugar, 0.5 tsp Salt, 0.25 cup Soy Sauce, and 0.25 cup Water.
Blend until completely smooth, scraping down the sides as needed. The texture should be like a thin ketchup—thick enough to cling to a spoon but still pourable. This usually takes 1-2 minutes of blending.
Step 3: Simmer to Perfect Consistency
Pour the blended mixture back into the saucepan and return to medium heat. Bring to a gentle simmer, then reduce heat to low. Let it cook for 8-10 minutes, stirring occasionally.
You’ll notice the sauce thicken slightly and deepen in color. The raw garlic flavor will mellow into a rich, savory aroma. Taste and adjust seasoning—add a pinch more salt if needed, but remember the soy sauce is already salty.
Step 4: Cool and Store for Maximum Flavor
Remove from heat and let the sauce cool completely at room temperature. As it cools, it will thicken further. This usually takes 30-45 minutes.
Transfer to a clean jar or airtight container. The sauce will keep in the refrigerator for up to 2 weeks. Here’s the thing—the flavors actually improve after a day as they meld together. For the best results, make this a day ahead of when you plan to use it.
Pro Tips For Making Recipe Of Chilli Garlic Sauce
- Toast the Garlic: Cook the garlic in oil on medium-low until just golden—about 3-4 minutes—then pull it off the heat. I learned this the hard way after burning three batches to bitter black bits.
- Seed the Chilies: Remove the seeds and white pith from the red chilies unless you want a sauce that sets your mouth on fire. My grandmother swore by this, and she was right: it keeps the heat manageable.
- Skip the Overheating: Resist the urge to crank the heat past medium when combining the vinegar and soy sauce—it can turn the sauce bitter. Sounds weird, but it works: a gentle simmer is all you need.
- Rest Before Serving: Let the sauce sit for 10-15 minutes after cooking to let the flavors meld. I skip this when I’m lazy, but the dish is noticeably better when I don’t.
Make-Ahead Tips for Leftovers
Batch Prep Tips
Double or triple the recipe without changing the technique. I routinely make 3 batches at once—it takes the same effort and stores beautifully. Just ensure your blender can handle the volume; I use a Vitamix for large quantities. 💡
Storage Containers
Use sterilized glass jars for refrigerator storage—they preserve flavor best. For freezer storage, silicone ice cube trays work wonders. Once frozen, transfer cubes to a freezer bag for easy portioning.
Freezer Life
This sauce freezes remarkably well for up to 6 months. Portion into ¼ cup servings before freezing so you can thaw exactly what you need. Label with the date—it’s easy to forget!
Thawing Method
Move frozen portions to the fridge 24 hours before use. For quick thawing, place the sealed container in a bowl of cold water. Never microwave—it can separate the sauce.
Flavor Maturation
Like fine wine, this sauce improves with age. I always make it at least 1 day ahead—the flavors deepen and mellow beautifully. After 1 week, the heat becomes more rounded and complex. 🔥
Prep Shortcut
Toast extra chili peppers and garlic, then store in the freezer in a sealed bag. When ready to make sauce, just blend with the other ingredients. This cuts prep time in half.
Frequently Asked Questions
Can I use fresh chilies instead of dried?
Yes, but use about 6-8 small fresh chilies and remove seeds for less heat. The sauce won’t store as long, so use within 1 week.
Why does my sauce taste bitter?
Bitterness usually comes from burnt garlic. Toast it on medium-low heat until just golden brown, not dark. Remove from heat immediately if it starts smoking.
How can I make it less spicy?
Remove all chili seeds and use fewer peppers. Start with 5 chilies, then adjust to taste. Adding more brown sugar can also balance the heat.
Can I skip the blending step?
For a chunkier texture, you can skip blending, but the flavor won’t be as well-distributed. If doing this, finely mince the garlic and chilies first for better infusion.
Nutrition Facts

- BBQ Sausage Recipe Oven: Smoky Depth Without the Grill - September 28, 2026
- BBQ Chicken Bowl Recipe Rice: Smoky Sweetness Over Fluffy Grains - September 28, 2026
- Beef Cutlet Recipe Ideas: Crispy Breaded Patties With Bold Seasonings - September 28, 2026