
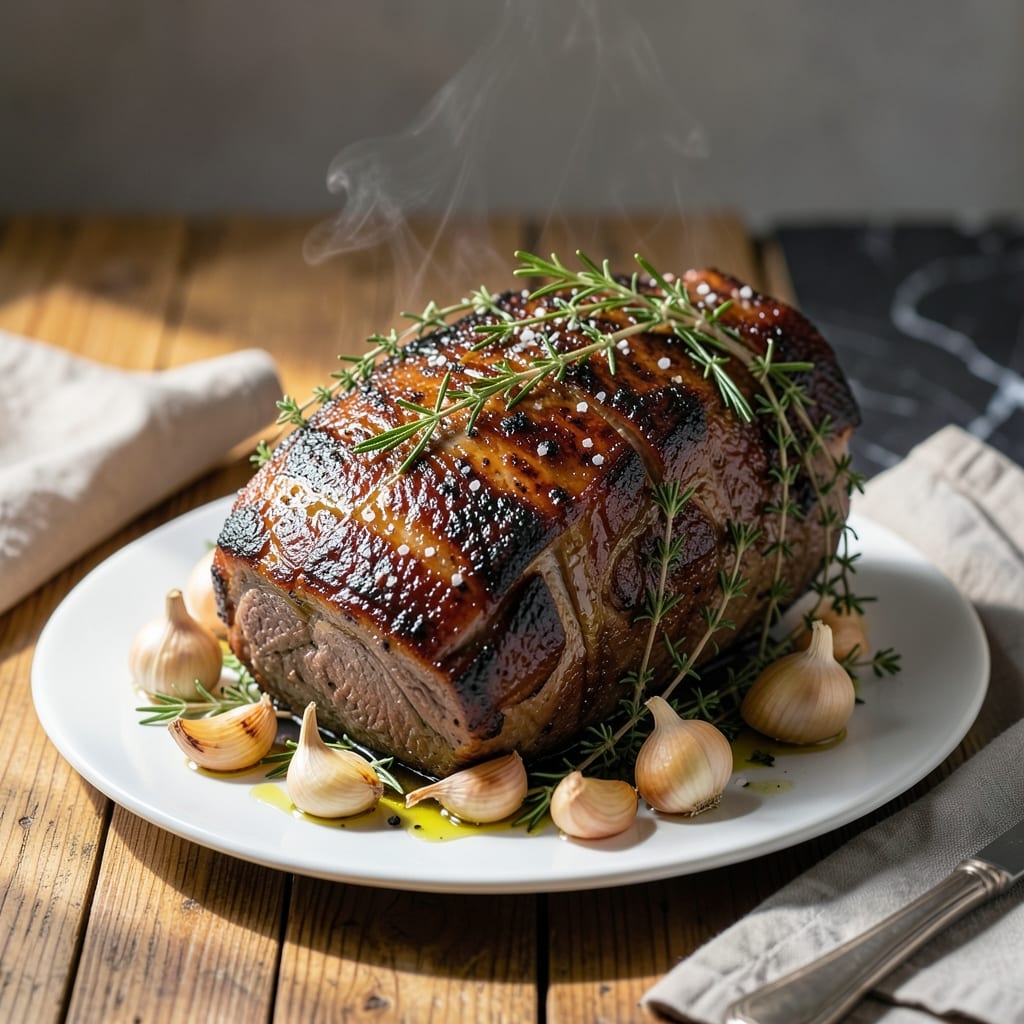
There’s an art to creating a roast that’s tender inside and golden outside, and this oven-baked method delivers every time. The key lies in patience and precision, allowing the meat to cook evenly while developing deep, savory layers of flavor.
This approach uses simple techniques to ensure a juicy, flavorful result without complicated steps. A well-seasoned crust forms as it roasts, locking in moisture and creating a dish that’s as impressive as it is satisfying.
What emerges from the oven is a centerpiece-worthy feast with a perfectly caramelized exterior and a tender, succulent interior. The aroma alone will draw everyone to the table, eager for that first bite.
Serve with roasted vegetables or a fresh salad for a complete meal. Here’s how to achieve it.
Ingredients for Recipe Roast
A well-chosen roast and aromatic vegetables form the foundation of this impressive oven-baked centerpiece.
| Ingredient | Amount | Notes |
|---|---|---|
| Beef Chuck Roast 🥩 | 3 lb | Boneless, well-marbled preferred |
| Kosher Salt 🧂 | 2 tsp | Diamond Crystal preferred for texture |
| Black Pepper 🌶️ | 1 ½ tsp | Freshly ground for optimal flavor |
| Garlic Cloves 🧄 | 6 cloves | Peeled, smashed for maximum aroma |
| Fresh Rosemary 🌿 | 3 whole | Sprigs, leaves stripped and chopped |
| Fresh Thyme 🍃 | 5 whole | Sprigs, leaves stripped for even distribution |
| Olive Oil 🫒 | 3 tbsp | Extra-virgin for superior depth |
| Yellow Onion 🧅 | 1 whole | Large, quartered for roasting |
| Carrots 🥕 | 4 whole | Large, peeled and cut into chunks |
| Celery Stalks 🥬 | 3 whole | Cut into 2-inch pieces for flavor base |
| Red Wine 🍷 | 1 cup | Dry variety like Cabernet Sauvignon |
| Beef Broth 🥣 | 2 cups | Low-sodium preferred to control seasoning |
| Tomato Paste 🍅 | 2 tbsp | Concentrated for rich umami depth |
| All-Purpose Flour 🌾 | 2 tbsp | For thickening the pan juices |
| Unsalted Butter 🧈 | 2 tbsp | For finishing the sauce with velvety texture |
For the beef, chuck roast is ideal—its marbling ensures the tender interior promised. Source from Whole Foods or a trusted butcher for consistent quality. The fresh herbs (rosemary and thyme) should be vibrant green, not wilted. I prefer Diamond Crystal kosher salt for its clean flavor and precise measurement. The wine needn’t be expensive, but avoid cooking wines with added salt.
No red wine? Substitute beef broth with 1 tbsp balsamic vinegar for acidity. Swap fresh herbs for dried at one-third the amount, but fresh delivers superior aroma. If avoiding gluten, replace flour with cornstarch (mix with cold water first). The vegetables can be adapted—parsnips or potatoes work well alongside the carrots and celery.
The roast can be prepped 12 hours ahead—season, cover, and refrigerate. Leftovers keep 4-5 days in the fridge or freeze for 3 months. Slice against the grain when serving for maximum tenderness. Always bring meat to room temperature before roasting (worth the extra minute).
Why You’ll Love This Recipe
- Set It and Forget It: I toss the chuck roast with salt, pepper, garlic, and rosemary, then let the oven do the work.
- Rich Garlic-Rosemary Depth: The beef soaks up the garlic and rosemary until every bite tastes like a slow-simmered Sunday dinner.
- Feeds a Crowd: One roast, multiple meals—perfect for Sunday supper with leftovers for sandwiches or tacos.
- Budget-Friendly Luxury: A chuck roast stretches farther than pricier cuts, and honestly, it’s just as tender.
Step-by-Step Instructions for Oven-Baked Beef Roast
This method guarantees fall-apart tender beef with rich, savory depth in every bite.
Step 1: Sear and Season the Beef Chuck Roast
Pat the 3 lb Beef Chuck Roast completely dry with paper towels. This ensures a proper sear. Season all sides aggressively with the 2 tsp Kosher Salt and 1.5 tsp Black Pepper, pressing the seasoning into the meat so it adheres well.
Heat 2 tbsp Olive Oil in a large Dutch oven over medium-high heat until shimmering. Sear the roast on all sides for 3-4 minutes per side until deeply browned. The meat should release easily from the pan when it’s ready to turn. Transfer the seared roast to a plate.
Step 2: Build the Aromatic Base
In the same Dutch oven, add the remaining 1 tbsp Olive Oil. Add the 1 whole Yellow Onion, 4 whole Carrots, and 3 whole Celery Stalks. Cook for 5-6 minutes until the vegetables begin to soften and develop golden-brown edges.
Add the 6 cloves Garlic Cloves, 3 whole Fresh Rosemary, and 5 whole Fresh Thyme, stirring for 1 minute until fragrant. Stir in the 2 tbsp Tomato Paste and cook for another 2 minutes to deepen its flavor. This builds a robust foundation for the braising liquid.
Step 3: Deglaze and Braise to Tenderness
Pour in the 1 cup Red Wine and scrape up all the browned bits from the bottom of the pot with a wooden spoon. These bits are packed with flavor. Let the wine reduce by half, about 3-4 minutes.
Return the seared roast to the Dutch oven. Pour in the 2 cups Beef Broth, ensuring the liquid comes about halfway up the side of the meat. The roast should not be fully submerged. Bring to a simmer, then cover tightly with a lid.
Step 4: Oven-Braise Until Fork-Tender
Transfer the Dutch oven to a preheated 325°F oven. Braise for 2.5 to 3 hours, turning the roast halfway through the cooking time. You’ll know it’s done when the beef is fork-tender and easily pulls apart with minimal resistance.
Check the braising liquid occasionally—if it reduces too much, add a splash of water or broth to maintain the level. This ensures the meat stays moist and continues to absorb flavor as it cooks.
Step 5: Finish with a Velvety Sauce
Transfer the roast to a cutting board and tent with foil. Skim excess fat from the braising liquid, then place the Dutch oven on the stovetop over medium heat. Whisk in the 2 tbsp All-Purpose Flour to thicken the sauce, simmering for 2-3 minutes.
Remove from heat and stir in the 2 tbsp Unsalted Butter until melted and fully incorporated. This final step adds a luxurious sheen and richness to the sauce. Slice the roast against the grain and serve with the sauce spooned over the top.
Pro Tips For Making Recipe Roast
- Dry the Roast: Pat the chuck roast thoroughly dry with paper towels before seasoning—I learned this the hard way after wondering why my roast never browned properly.
- Salt Generously: Use more kosher salt than you think, especially on the fatty side, to build a flavorful crust that locks in the juices.
- Don’t Rush the Sear: Give the roast a full 3-4 minutes per side in a screaming-hot pan to develop that deep, caramelized crust that makes all the difference.
- Rest Before Slicing: After roasting, tent it with foil and let it rest for at least 15 minutes—my grandmother swore by this, and she was right.
Dietary Considerations for This Recipe
Gluten-Free Option
Swap the 2 tbsp All-Purpose Flour for cornstarch—mix 1 tbsp with 1 tbsp cold water first to prevent clumping. This thickens the sauce just as effectively without gluten. I’ve tested this with great results.
Low-Sodium Adjustments
Use low-sodium beef broth and reduce the kosher salt to 1 tsp. Skip any added salt in the sauce, letting the natural flavors of the beef and vegetables shine. This keeps the dish rich but heart-healthy. 💪
Dairy-Free Alternative
Replace the 2 tbsp Unsalted Butter with olive oil or a dairy-free butter substitute. The sauce will still be velvety and flavorful, though slightly less rich. I often use this trick for lactose-intolerant guests.
Vegetable Variations
Swap carrots or celery for parsnips or potatoes if preferred. These hold up well to long braising and add a subtle sweetness. Just cut them into similar-sized chunks for even cooking.
Wine Substitution
No red wine? Use 1 cup beef broth with 1 tbsp balsamic vinegar for acidity. This mimics the depth of wine without the alcohol. The dish will still be deeply savory and satisfying.
Herb Flexibility
Out of fresh rosemary or thyme? Use dried herbs at one-third the amount. While fresh delivers superior aroma, dried still works in a pinch. I keep a stash for quick weeknight meals. ✨
Nutrition Facts
Frequently Asked Questions
What’s the best cut for a tender roast?
Chuck roast is ideal due to its marbling, which keeps the meat moist during long cooking. For a leaner option, bottom round works but requires careful monitoring to prevent dryness.
How do I know when it’s done?
It should reach an internal temp of 195-205°F and pull apart easily with a fork. If it shreds without resistance, it’s perfect. Never rely on color alone.
Can I cook this in a slow cooker?
Yes! Sear the meat first, then transfer to a slow cooker with all liquids and veggies. Cook on low for 8-10 hours or high for 5-6 hours for the same tender results.
Why is my roast tough?
It likely didn’t cook long enough. Toughness means the collagen hasn’t broken down—keep cooking until it’s fork-tender. Slicing too soon can also cause dryness.

- BBQ Sausage Recipe Oven: Smoky Depth Without the Grill - September 28, 2026
- BBQ Chicken Bowl Recipe Rice: Smoky Sweetness Over Fluffy Grains - September 28, 2026
- Beef Cutlet Recipe Ideas: Crispy Breaded Patties With Bold Seasonings - September 28, 2026