
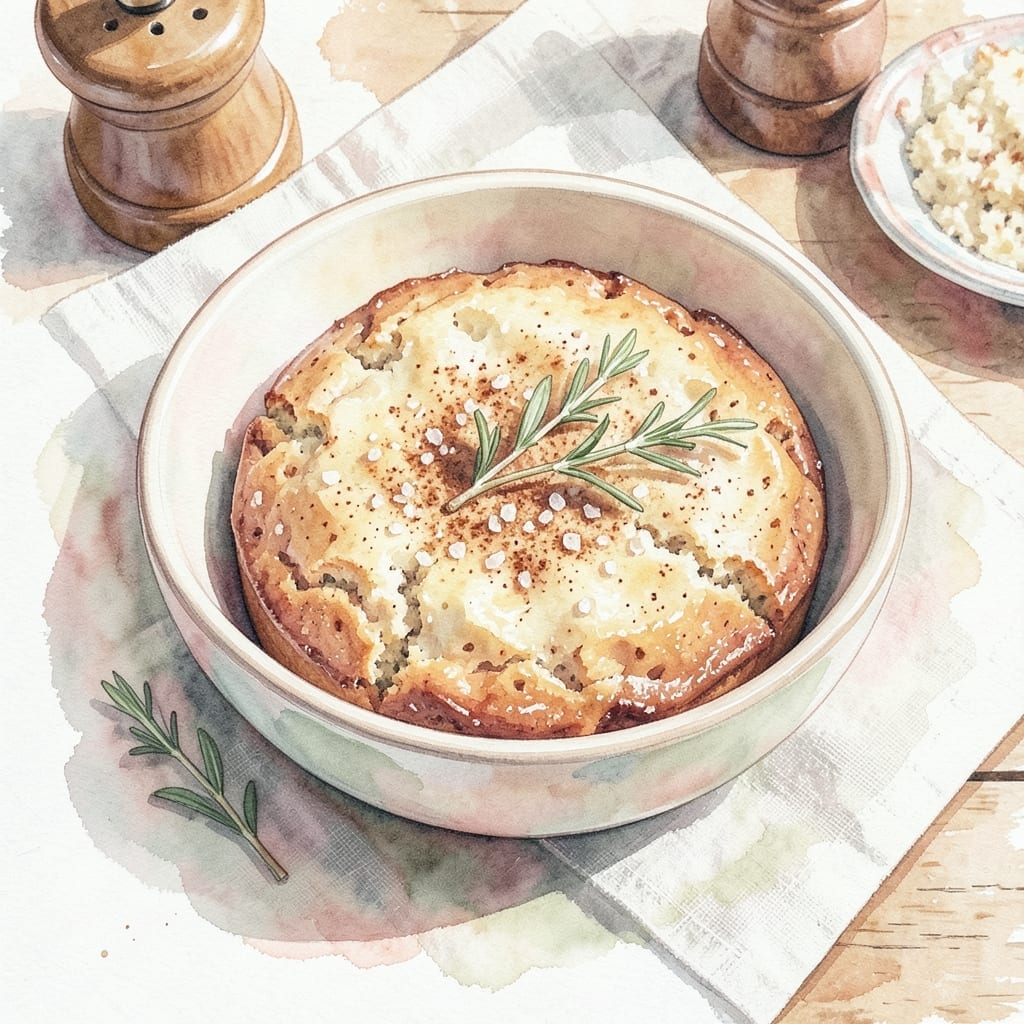
Apple flour transforms gluten-free baking with its natural sweetness and delicate texture. This recipe showcases how to use it effectively in desserts without compromising on flavor or moisture.
The key lies in balancing apple flour with other gluten-free flours to achieve the perfect crumb. Its subtle fruitiness pairs beautifully with warm spices like cinnamon and nutmeg, creating layered flavors.
What results is a tender, naturally sweet baked good that doesn’t taste like a compromise. The apple flour adds moisture while keeping the texture light and satisfying.
Ideal for those seeking a gluten-free treat that still delivers on taste and quality. Here’s how to make it work in your kitchen.
Ingredients for Recipe Using Apple Flour
Apple flour leads the way with supporting gluten-free flours and warm spices. Simple, wholesome ingredients for perfect texture.
| Ingredient | Amount | Notes |
|---|---|---|
| Apple Flour 🍎 | 1 ½ cups | Finely ground, unsweetened |
| Almond Flour 🌰 | 1 cup | Blanched, fine texture |
| Tapioca Starch 🌾 | ½ cup | For binding and chewiness |
| Ground Cinnamon 🌿 | 1 ½ tsp | Freshly ground preferred |
| Ground Nutmeg 🌰 | ½ tsp | Freshly grated for best flavor |
| Baking Powder 🧂 | 1 ½ tsp | Gluten-free, aluminum-free |
| Salt 🧂 | ½ tsp | Fine sea salt preferred |
| Coconut Sugar 🥥 | ¾ cup | Or substitute maple syrup |
| Unsweetened Applesauce 🍎 | ½ cup | For moisture and binding |
| Coconut Oil 🥥 | ½ cup | Melted, or vegan butter |
| Vanilla Extract 🌿 | 1 tsp | Pure, not imitation |
| Chopped Walnuts 🌰 | ½ cup | Toasted for extra flavor |
| Raisins 🍇 | ½ cup | Optional for added texture |
Apple flour quality matters. Bob’s Red Mill offers a consistent product, but homemade (dried, ground apples) works too if you have a high-powered blender. Almond flour should be fine and blanched—Honeyville or Anthony’s Goods are reliable brands. Look for tapioca starch without additives; most grocery stores carry it in the baking aisle.
No apple flour? Substitute with pear flour for similar sweetness. Almond flour can be replaced with hazelnut flour at a 1:1 ratio. For egg-free binding, the applesauce is essential—do not omit. Coconut sugar can be swapped with maple syrup (reduce liquids slightly). Walnuts? Pecans or pumpkin seeds add a nice crunch too.
Store dry ingredients in airtight containers in a cool, dark place for up to 3 months. Baked goods keep fresh for 5 days at room temperature. For longer storage, freeze for up to 3 months—thaw before serving for best texture.
Why You’ll Love This Recipe
- I’ll be real: these taste just as good on day three as day one, so I double the batch without guilt.
- One Bowl Wonder: I just dump the apple flour, almond flour, and tapioca starch in a bowl, mix, and go—no fancy equipment needed.
- Warm Spice Magic: The cinnamon and nutmeg hit differently with apple flour. Honestly, it’s like autumn in every bite.
- Gluten-Free Hero: Between us, this works for breakfast muffins, afternoon snacks, or even a quick dessert.
Step-by-Step Instructions for Gluten-Free Baking with Natural Sweetness
Here’s the method. Straightforward, tested, works every time.
Step 1: Combine Dry Ingredients for Structure
In a large bowl, whisk together the 1.5 cups Apple Flour, 1 cup Almond Flour, and 0.5 cup Tapioca Starch. I always sift these first to break up any lumps and ensure even distribution throughout the batter. This blend provides the perfect gluten-free base with natural sweetness from the apple.
Next, add the 1.5 tsp Ground Cinnamon, 0.5 tsp Ground Nutmeg, 1.5 tsp Baking Powder, and 0.5 tsp Salt. The cinnamon and nutmeg add warm, aromatic depth that pairs beautifully with the apple flour, while the baking powder ensures proper rise. Whisk until fully incorporated and the mixture takes on a uniform, light brown hue.
Step 2: Cream Wet Ingredients for Moisture
In a separate bowl, combine the 0.75 cup Coconut Sugar, 0.5 cup Unsweetened Applesauce, and 0.5 cup Coconut Oil (melted). I use a silicone spatula to mix these thoroughly until the coconut sugar is mostly dissolved. The applesauce adds moisture and binding, while the coconut oil provides richness without dairy.
Add the 1 tsp Vanilla Extract and stir to incorporate. This step ensures even distribution of the wet ingredients, which is crucial for maintaining the delicate balance in gluten-free baking. The mixture should be smooth and slightly glossy, with no visible separation.
Step 3: Fold in Dry Mixture and Add-Ins
Gradually add the dry ingredient mixture to the wet ingredients, folding gently with a spatula until just combined. Avoid overmixing—gluten-free batters can become dense if worked too much. The batter will be thick but pourable, with a slightly grainy texture from the flours.
Now fold in the 0.5 cup Chopped Walnuts and 0.5 cup Raisins. I like to reserve a small handful of walnuts to sprinkle on top before baking for added texture. The walnuts provide a satisfying crunch, while the raisins offer bursts of sweetness that complement the apple flour’s natural flavor.
Step 4: Bake to Golden Perfection
Preheat your oven to 350°F and line a baking pan with parchment paper. Pour the batter into the prepared pan, spreading it evenly with the back of a spoon. The batter will be thick, so take your time to ensure it’s level for even baking.
Bake for 25-30 minutes until a toothpick inserted into the center comes out clean and the edges are golden brown. The top should spring back lightly when touched. If it browns too quickly, tent the pan with foil to prevent over-browning while the center finishes cooking.
Step 5: Cool and Serve
Remove the pan from the oven and let it cool in the pan for 10 minutes. This allows the structure to set slightly before transferring to a wire rack. Gluten-free baked goods can be more fragile when hot, so this brief rest prevents crumbling.
After 10 minutes, transfer the baked good to a wire rack to cool completely. Slice and serve at room temperature. The texture should be moist with a tender crumb, and the aroma of cinnamon and apple will be irresistible. Store leftovers in an airtight container for up to 3 days.
Pro Tips For Making Recipe Using Apple Flour
- Toast the Apple Flour: Spread apple flour on a baking sheet and toast at 350°F for 5-7 minutes—it deepens the flavor and removes any raw starchiness. I learned this the hard way after my first batch tasted flat.
- Balance the Moisture: Apple flour absorbs liquid fast, so add an extra tablespoon of water or milk if the batter seems too thick. Sounds weird, but it works: this keeps your texture from turning dry.
- Skip Overmixing: Once you combine the almond flour and tapioca starch, stop stirring as soon as the dough comes together. Overworking it makes the finished dish dense and gummy.
- Boost the Spices: Double the cinnamon and nutmeg—apple flour’s mild sweetness needs the extra warmth. My grandmother swore by this, and she was right: it makes the flavors actually pop.
Pro Cooking Tips for This Dish
Flour Blending Secrets
Always sift your apple flour with other dry ingredients to prevent clumping. I use a fine-mesh sieve for almond flour too—it breaks up any packed areas. This ensures even distribution of leavening agents and spices throughout your batter. 💡
Moisture Balance
Apple flour absorbs liquid differently than wheat flour. I add 1-2 tbsp extra applesauce if the batter seems too thick. The goal is a consistency like thick pancake batter. Remember, gluten-free batters should be slightly wetter than traditional ones.
Leavening Adjustments
Since apple flour is heavier, I sometimes add an extra ¼ tsp baking powder for better rise. But don’t overdo it—too much can create a bitter taste. For best results, use aluminum-free baking powder to avoid any metallic aftertaste.
Baking Time Watch
Gluten-free baked goods often brown faster. I check mine at 20 minutes and tent with foil if needed. The toothpick test is your best friend—look for clean insertion with just a few moist crumbs. Internal temp should reach 200-205°F.
Cooling Patience
Let your creation cool completely before slicing. I know it’s hard to wait, but this prevents crumbling. The structure sets as it cools, and the flavors meld beautifully. A wire rack is essential for proper air circulation. 🔥
Storage Tips
Store in an airtight container at room temp for up to 3 days. For longer storage, freeze slices wrapped in parchment then foil. Reheat gently in a 300°F oven for 5-10 minutes to restore freshness.
Nutrition Facts
Frequently Asked Questions
Can I make my own apple flour at home?
Yes! Dry apple slices at 200°F for 6-8 hours, then grind into a fine powder. Use a high-powered blender for best results.
Why does my batter seem too thick?
Apple flour absorbs moisture differently. Add 1-2 tbsp extra applesauce to reach a thick pancake batter consistency. Don’t overmix.
Can I substitute almond flour with another type?
Hazelnut flour works at a 1:1 ratio. For nut-free, try oat flour but increase leavening by ¼ tsp.
How do I know when it’s done baking?
Check at 20 minutes. A toothpick should come out clean, and internal temp should hit 200-205°F.

- BBQ Sausage Recipe Oven: Smoky Depth Without the Grill - September 28, 2026
- BBQ Chicken Bowl Recipe Rice: Smoky Sweetness Over Fluffy Grains - September 28, 2026
- Beef Cutlet Recipe Ideas: Crispy Breaded Patties With Bold Seasonings - September 28, 2026