
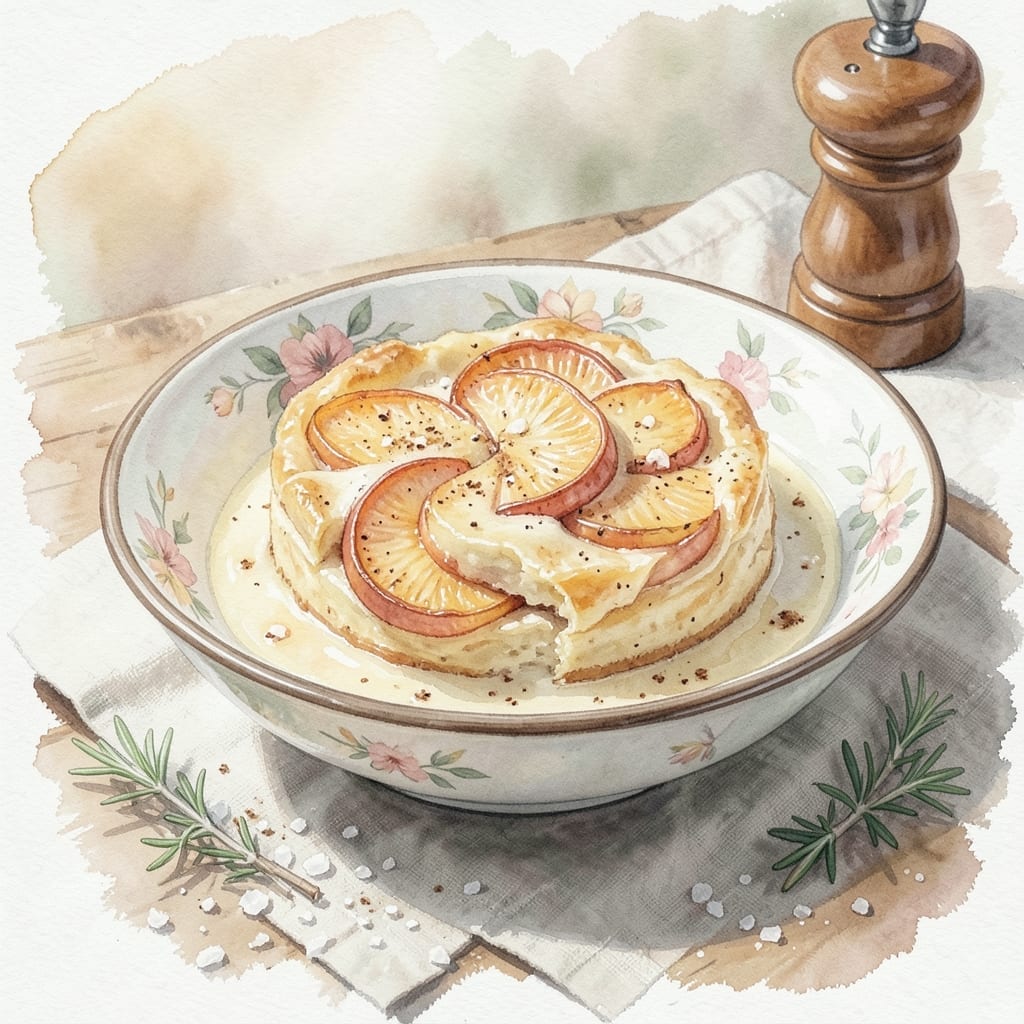
Pantry staples can create extraordinary desserts when you know the right techniques. This approach turns canned apples into a quick, impressive treat that tastes like it took hours.
I developed this method after finding myself with extra canned fruit and a craving for something sweet. The key is enhancing the apples’ natural sweetness with simple pantry additions.
The result is a warm, comforting dessert with minimal effort. It works as a last-minute solution for unexpected guests or a 15-minute indulgence.
No special equipment or advanced skills required. The process is straightforward and delivers consistent, delicious results every time.
Ingredients for Recipe Using Canned Apples
Pantry staples and canned fruit transform into a warm, comforting dessert everyone will love.
| Ingredient | Amount | Notes |
|---|---|---|
| Canned Apple Slices 🍏 | 2 cans | In light syrup, drained |
| All-Purpose Flour 🌾 | 1 cup | For thickening the filling |
| Granulated Sugar 🧈 | ½ cup | Adjust to taste preference |
| Ground Cinnamon 🌿 | 1 ½ tsp | Freshly opened for best flavor |
| Ground Nutmeg 🌰 | ¼ tsp | Freshly grated if possible |
| Unsalted Butter 🧈 | ½ cup | Melted for the topping |
| Old-Fashioned Rolled Oats 🌾 | 1 cup | For crumble topping texture |
| Light Brown Sugar 🧈 | ½ cup | Packed for richness |
| Vanilla Extract 💧 | 1 tsp | Pure for best flavor |
| Lemon Juice 🍋 | 1 tbsp | Freshly squeezed brightens flavor |
| Salt 🧂 | ¼ tsp | Balances sweetness |
The apples are the star here—look for high-quality canned slices in light syrup (not heavy syrup, which makes them cloying). Del Monte or Lucky Leaf brands are reliable and widely available. I always drain them well and give them a quick pat with paper towels to remove excess moisture. Fresh spices make a noticeable difference, so check the expiration on your cinnamon and nutmeg.
No oats for the topping? Crushed graham crackers or all-purpose flour work in a pinch. Out of brown sugar? White sugar plus a teaspoon of molasses per cup gets you close. The vanilla can be skipped if needed, but a splash of bourbon or rum adds an interesting depth (great for adult palates). Lemon juice helps balance the sweetness—bottled works, but fresh is brighter.
This dessert is best served warm, right out of the oven. Leftovers keep for 2-3 days in the fridge, but the topping softens over time. Reheat in the microwave for 30 seconds to revive. For longer storage, freeze the unbaked dish and bake straight from the freezer, adding 10 minutes to the cooking time.
Why You’ll Love This Recipe
- No Peeling Needed: I just dump the canned apple slices straight in—no knife, no mess.
- Warm Spice Magic: The cinnamon and nutmeg make the apples taste like they simmered all day.
- Crowd Pleaser: I serve this for brunch and everyone asks for the recipe.
- Pantry Hero: Canned apples mean I can make this even when fresh ones are pricey.
Step-by-Step Instructions for Apple Crumble
This method transforms pantry staples into a warm, comforting dessert in record time.
Step 1: Prepare the Apple Filling Base
Drain the 2 cans canned apple slices thoroughly and transfer them to a medium bowl. I press them gently between paper towels to remove any excess syrup—this prevents a watery filling.
Add the 0.5 cup granulated sugar, 1.5 tsp ground cinnamon, 0.25 tsp ground nutmeg, 1 tbsp lemon juice, and 1 cup all-purpose flour. Toss gently until the apples are evenly coated. The flour thickens the juices as it cooks, while the lemon juice brightens the sweetness.
The mixture should look glossy but not soupy. If your apples released a lot of liquid, add an extra sprinkle of flour to compensate.
Step 2: Create the Crumble Topping
In a separate bowl, combine the 1 cup old-fashioned rolled oats, 0.5 cup light brown sugar, 0.5 cup unsalted butter (melted), 1 tsp vanilla extract, and 0.25 tsp salt. Stir until the mixture clumps together when pressed—this texture ensures crispy, buttery bits.
Here’s the thing—the melted butter should fully saturate the dry ingredients, but the mixture shouldn’t be soggy. If it seems too loose, add a handful more oats to soak up the excess moisture.
I always use my hands for this step. The warmth helps distribute the butter evenly, and you can feel when the texture is just right for that perfect crumble.
Step 3: Assemble and Bake Until Bubbly
Spread the apple mixture evenly in a 9×9-inch baking dish or similar. The apples should form a single layer with no large gaps—this ensures even cooking and maximum topping coverage.
Sprinkle the crumble mixture evenly over the top, pressing down lightly in spots to create those coveted crispy clusters. Don’t pack it down too firmly, though—you want air pockets for that flaky texture.
Bake at 375°F for 25-30 minutes until the topping is golden brown and the filling bubbles visibly around the edges. The aroma of cinnamon and vanilla will fill your kitchen—your signal that it’s nearly done.
Step 4: Rest and Serve Warm
Let the crumble rest for 10 minutes after removing it from the oven. This allows the filling to thicken slightly and the topping to set—serving it too soon can lead to a runny mess.
You’ll notice the edges crisp up even more as it cools. The contrast between the tender apples and crunchy topping is what makes this dessert so satisfying.
Serve warm as-is or with a scoop of vanilla ice cream. The heat from the crumble will slightly melt the ice cream, creating the perfect bite every time. This serves 4 generously, with each portion offering that ideal balance of fruit and crispy topping.
Pro Tips For Making Recipe Using Canned Apples
- Drain the Apples: Always drain and rinse the canned apple slices to remove excess syrup—otherwise, your dish will be cloyingly sweet and the texture will be soggy.
- Toast the Spices: Lightly toast the cinnamon and nutmeg in a dry pan for 30 seconds before mixing—it wakes up the flavors and makes the dish taste fresher.
- Skip the Overmixing: When combining the flour with the apples, stir just until coated; overmixing develops gluten and turns the topping dense instead of tender.
- Use the Syrup: Reserve the syrup from the can and brush it over the finished dish for extra shine and a subtle apple flavor boost—no waste, just better taste.
Storing and Reheating recipe using canned apples
Refrigerator Storage
Let the crumble cool completely, then cover with plastic wrap pressed directly on the surface. Store at 40°F or below for up to 3 days. The topping stays crisp longest when covered this way. ❄️
Freezer Storage
For longer storage, wrap the entire dish in aluminum foil and freeze for up to 2 months. I label with the date and contents—it’s easy to forget what’s inside. Thaw overnight in the fridge before reheating.
Oven Reheating
Preheat to 350°F and warm the crumble for 10-15 minutes, covered with foil to prevent burning. This method restores the topping’s crispness best. Remove the foil for the last 2 minutes for extra browning.
Microwave Reheating
Place a single portion on a microwave-safe plate and heat for 30-45 seconds. Add a splash of milk or water to revive the filling if it seems dry. The topping won’t be as crisp, but it’s still delicious. 🔥
Serving Leftovers
Serve reheated portions with a scoop of vanilla ice cream or a dollop of whipped cream. The warmth of the apples contrasts beautifully with cold toppings. I prefer it slightly warm rather than piping hot.
Nutrition Facts
Frequently Asked Questions
Do I need to rinse the canned apples first?
Drain them well but don’t rinse. The light syrup adds natural sweetness. Pat with paper towels to remove excess moisture for a thicker filling.
Can I use pie filling instead of sliced apples?
Yes, but reduce added sugar since pie filling is pre-sweetened. The texture will be softer, and you may need to adjust baking time by 5 minutes.
Why is my crumble topping soggy?
This usually happens from too much liquid in the filling. Ensure apples are thoroughly drained and press the topping lightly to create clusters.
Can I make this gluten-free?
Swap the flour for 1:1 gluten-free baking flour and use certified GF oats. The texture remains crispy with these simple substitutions.

- Blue Zone Recipe Ideas: Longevity-Boosting Meals for Vibrant Living - September 28, 2026
- Beefaroni Recipe With Tomato Soup: One-Pot Nostalgic Comfort - September 28, 2026
- Bread Recipe KitchenAid Mixer: Foolproof Loaf With Perfect Rise - September 28, 2026