
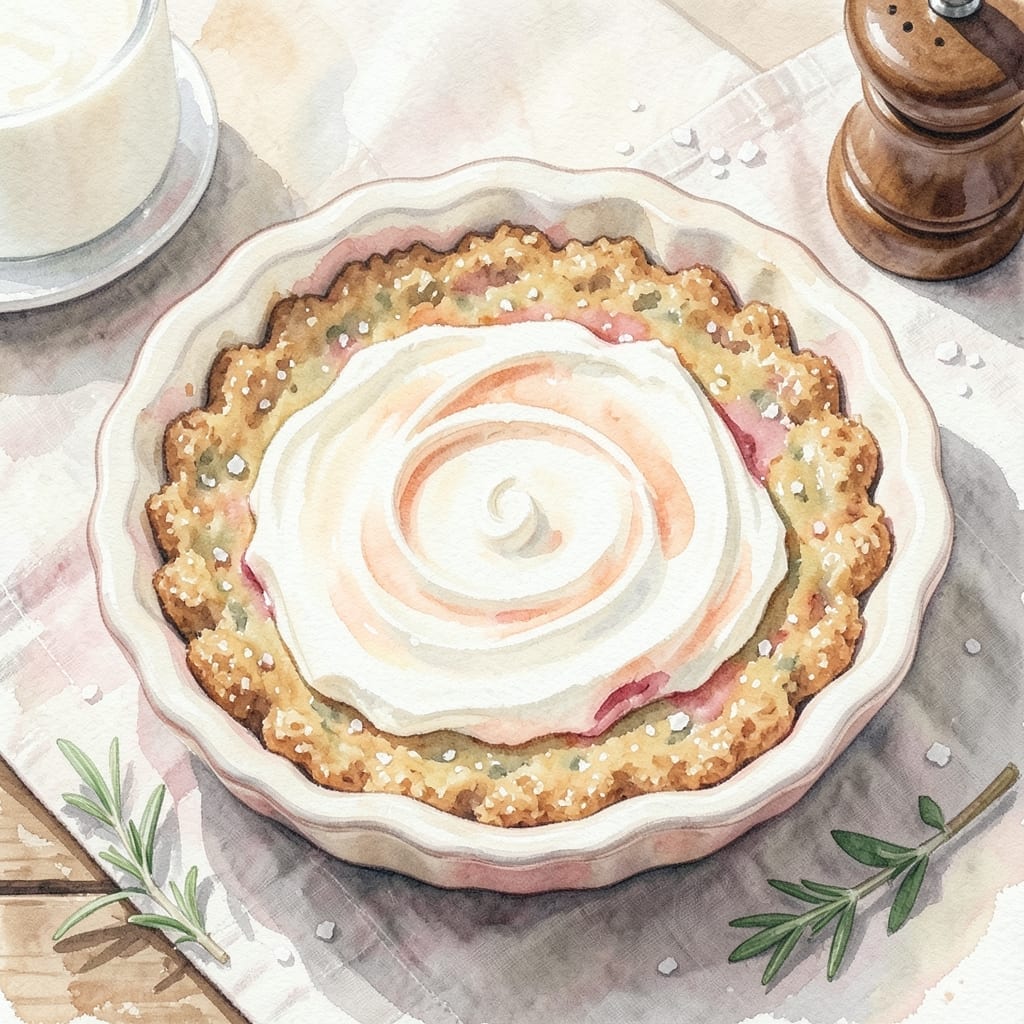
There’s an elegant simplicity to no-bake desserts that never fails to impress. This creation demonstrates how a humble graham cracker base can transform into something extraordinary with minimal effort.
The beauty lies in its foolproof nature—no oven required, just a few quality ingredients and time. The crust provides the perfect crunchy foundation for a creamy filling that sets beautifully in the refrigerator.
What emerges is a dessert with contrasting textures: crisp base and velvety topping. The graham cracker crust adds buttery richness that complements the filling without overpowering it.
Ideal for warm weather or when you need a reliable make-ahead option. The process is as satisfying as the result.
Ingredients for Recipe Using Graham Cracker Crust
Simple ingredients transform into a showstopping dessert with layers of texture and flavor.
| Ingredient | Amount | Notes |
|---|---|---|
| Graham Crackers 🍪 | 2 cups | Crushed into fine crumbs |
| Unsalted Butter 🧈 | ½ cup | Melted for crust binding |
| Granulated Sugar 🍚 | ¼ cup | For sweetening crust |
| Cream Cheese 🧀 | 16 oz | Full-fat, softened to room temperature |
| Heavy Cream 🥛 | 1 cup | Cold, for whipping |
| Powdered Sugar 🧂 | 1 cup | Sifted for smooth filling |
| Vanilla Extract 💧 | 1 tsp | Pure for best flavor |
| Lemon Juice 🍋 | 1 tbsp | Freshly squeezed for brightness |
| Salt 🧂 | ¼ tsp | Fine sea salt preferred |
| Fresh Strawberries 🍓 | 2 cups | Hulled and sliced for topping |
| Strawberry Jam 🍯 | ¼ cup | For glaze if desired |
The graham crackers form the foundation. Honey Maid or store-brand work equally well—just ensure they’re finely crushed. Unsalted butter is essential here to control the sodium level in the crust. For the cream cheese, Philadelphia brand provides consistent texture and richness. Heavy cream should be the highest fat percentage available for optimal whipping stability.
Substitute graham crackers with digestive biscuits or vanilla wafers for a different flavor profile. No heavy cream? Coconut cream (chilled overnight) works as a dairy-free alternative. Powdered sugar can be replaced with granulated sugar blended to a fine powder, though the texture may be slightly grainier. Vanilla bean paste can stand in for extract with spectacular results.
The crust keeps at room temperature for 2 days, while the assembled dessert requires refrigeration and holds for 5 days. Freezing is not recommended as it alters the creamy texture. Always bring cream cheese to room temperature before mixing to prevent lumps in the filling.
Why You’ll Love This Recipe
- No-Bake Base: I love that I can crush the graham crackers and mix with melted butter in minutes—no oven required.
- Buttery Sweet Crunch: The combo of sugar, butter, and toasted graham flavor with the creamy filling is irresistible.
- Potluck Hero: I bring this to every gathering—it’s always the first dessert gone, and it travels perfectly.
Step-by-Step Instructions for No-Bake Cheesecake
This method delivers a creamy, stable filling with a perfectly crisp graham cracker base every time.
Step 1: Prepare the Graham Cracker Crust
Process the 2 cups Graham Crackers into fine crumbs using a food processor or rolling pin. Transfer to a mixing bowl and stir in the 0.25 cup Granulated Sugar until evenly distributed.
Pour in the 0.5 cup Unsalted Butter (melted) and mix until the crumbs resemble wet sand and hold together when pressed. Press this mixture firmly into the bottom of a 9-inch springform pan, using a measuring cup to compact it evenly. Chill in the refrigerator for 15 minutes to set.
Step 2: Whip the Heavy Cream
In a chilled mixing bowl, beat the 1 cup Heavy Cream with an electric mixer on high speed until soft peaks form. This typically takes 2-3 minutes. Watch for the cream to thicken and hold its shape when the beaters are lifted.
Be careful not to overmix into stiff peaks—you want a smooth, spreadable consistency that will fold easily into the cream cheese mixture. Set aside while you prepare the filling base.
Step 3: Cream the Cheese and Sugar
In a separate large bowl, beat the 16 oz Cream Cheese (softened) with the 1 cup Powdered Sugar on medium speed until completely smooth and free of lumps, about 3 minutes. Scrape down the sides of the bowl as needed to ensure even mixing.
Add the 1 tsp Vanilla Extract, 1 tbsp Lemon Juice, and 0.25 tsp Salt, then beat for an additional 30 seconds to incorporate. The mixture should be velvety and glossy, with no visible streaks of cream cheese.
Step 4: Fold and Assemble the Filling
Gently fold the whipped cream into the cream cheese mixture using a silicone spatula. Work in thirds, adding a portion of cream, folding until just combined, then repeating. This maintains the air in the whipped cream for a light, fluffy texture.
Spoon the filling over the chilled crust and smooth the top with the spatula. Tap the pan lightly on the counter to remove any air bubbles, then refrigerate for at least 4 hours or overnight to set fully.
Step 5: Top and Serve
Just before serving, arrange the 2 cups Fresh Strawberries (hulled and sliced) over the top of the cheesecake. For added shine, warm the 0.25 cup Strawberry Jam with a splash of water, then brush lightly over the berries as a glaze.
Use a hot knife (dipped in hot water and wiped dry) for clean slices. The crust should hold together firmly, while the filling remains creamy and rich without any baked texture. Serve chilled.
Pro Tips For Making Recipe Using Graham Cracker Crust
- Press Firmly: Use the bottom of a glass to really pack the crust into the pan—I learned this the hard way after my first three crusts crumbled when sliced.
- Melt Butter Slowly: Heat the butter over low, just until melted, to prevent separating or browning before mixing with the crumbs.
- Chill Before Filling: Pop the crust in the fridge for at least 30 minutes (yes, even if you’re impatient like me) to keep it from turning soggy under the cream cheese layer.
- Soften Cream Cheese: Leave it on the counter for a full hour before mixing—sounds obvious, but I used to skip this and ended up with lumpy filling every time.
Serving Suggestions for Leftovers
Plating Elegance
Run a thin knife around the edge before releasing the springform pan for clean sides. The crust will hold its shape beautifully. I always wipe the knife with a hot, damp cloth between cuts for those perfect slices. 💫
Garnish Like a Pro
Arrange Fresh Strawberries in concentric circles or a scattered pattern. A light drizzle of melted Strawberry Jam adds gloss and intensifies the berry flavor. Mint sprigs add color contrast without overpowering.
Individual Servings
For dinner parties, press the crust into muffin tins instead of a springform pan. Fill each with the cheesecake mixture, then top with a single strawberry slice. These personal portions look stunning and eliminate the need for slicing.
Sauce Pairings
A warm berry compote or caramel sauce elevates the dessert instantly. I make a quick compote by simmering 1 cup strawberries with 2 tbsp sugar for 5 minutes. Drizzle just before serving.
Temperature Tips
Serve chilled but not ice-cold. Remove from the fridge 15 minutes before serving to let the flavors soften slightly. The crust stays crisp, while the filling becomes even creamier. 🔥
Portable Option
Cut into bars for easy transport to potlucks. Line your pan with parchment paper first for easy removal. These travel well in a sealed container for up to 2 hours without refrigeration.
Nutrition Facts
Frequently Asked Questions
How long should I chill the crust before adding filling?
Chill the graham cracker crust for at least 15 minutes to set. This prevents crumbling when you add the filling and ensures a firm base.
Can I make this ahead of time?
Yes! The assembled dessert keeps well in the fridge for up to 5 days. For best texture, add toppings like strawberries just before serving.
What if my crust is crumbly?
Press the crumbs more firmly into the pan and use a measuring cup to compact them tightly. Adding an extra 1 tbsp melted butter can also help bind it better.
Can I use a different pan size?
A 9-inch springform pan works best, but an 8-inch will yield a thicker dessert. Adjust chilling time to 6 hours for deeper pans.

- BBQ Sausage Recipe Oven: Smoky Depth Without the Grill - September 28, 2026
- BBQ Chicken Bowl Recipe Rice: Smoky Sweetness Over Fluffy Grains - September 28, 2026
- Beef Cutlet Recipe Ideas: Crispy Breaded Patties With Bold Seasonings - September 28, 2026