
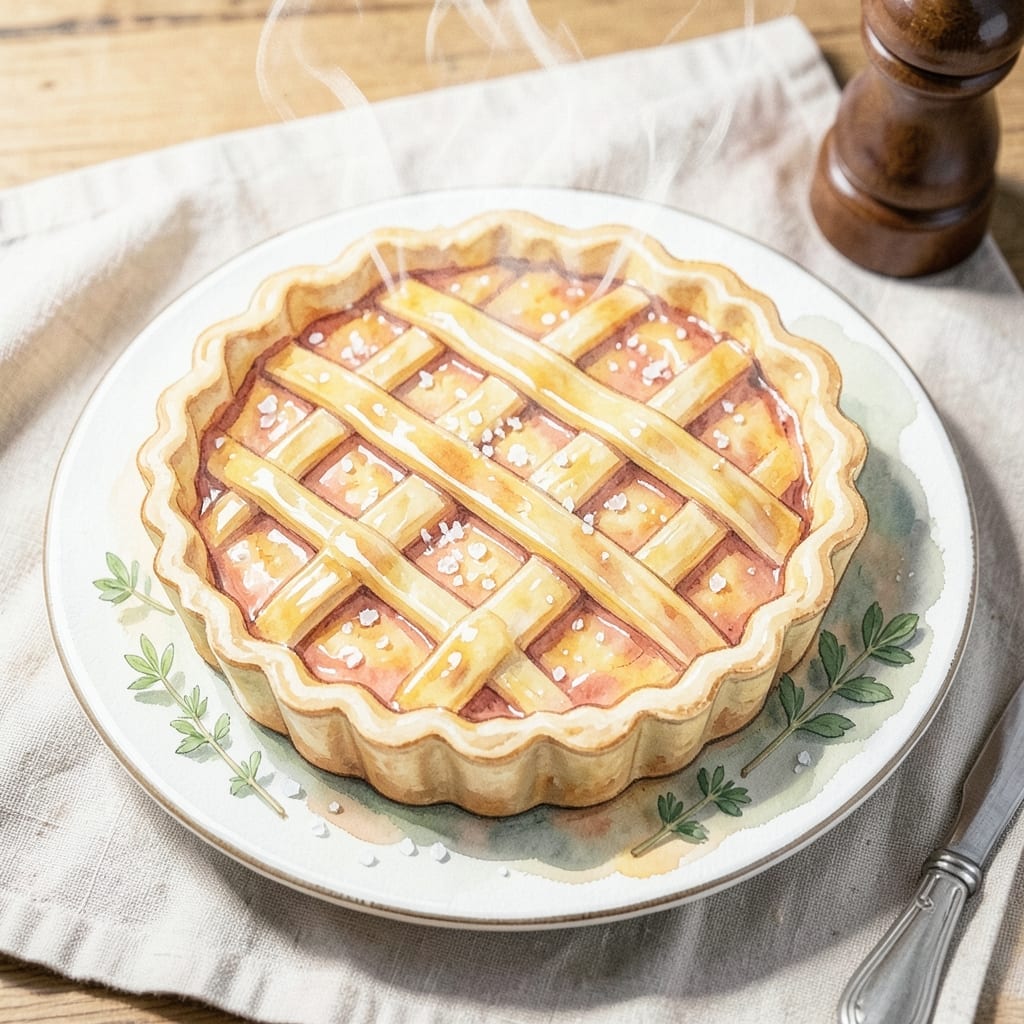
This versatile pie crust recipe transforms ordinary ingredients into something extraordinary. I’ve found endless ways to use it, from sweet desserts to savory tarts.
With just a few minutes of prep, you can create a base that’s flaky, golden, and ready for any filling. The key is keeping the dough cold and working it minimally.
What emerges is a foolproof foundation for both classic and creative dishes. Whether you fold, press, or roll it, the results are always impressive.
Perfect for last-minute entertaining or satisfying a craving. Here’s how to make the most of this simple, adaptable crust.
Ingredients for Recipe Using Pie Crust
A handful of pantry staples for a crust that does it all.
| Ingredient | Amount | Notes |
|---|---|---|
| All-Purpose Flour 🌾 | 2 ½ cups | Sifted for lighter texture |
| Unsalted Butter 🧈 | 1 cup | Chilled and cubed |
| Ice Water 💧 | ½ cup | Plus 1 tbsp as needed |
| Granulated Sugar 🍚 | 1 tbsp | For sweet applications |
| Salt 🧂 | 1 tsp | Fine sea salt preferred |
| Egg Yolk 🥚 | 1 whole | Optional for richness |
| White Vinegar 🍶 | 1 tsp | For tenderness |
| Lemon Zest 🍋 | 1 tsp | Finely grated, optional |
| Heavy Cream 🥛 | 2 tbsp | For brushing |
| Cinnamon 🌿 | ½ tsp | For sweet variations |
| Black Pepper 🌶️ | ¼ tsp | Freshly ground |
| Dried Herbs 🍃 | 1 tsp | Thyme or rosemary |
The butter is non-negotiable here. Use European-style if you can swing it—higher fat content means flakier layers. Land O’Lakes or Kerrygold are solid grocery store picks. Keep it ice cold (I cube it and freeze for 15 minutes first). The flour? King Arthur all-purpose is my go-to, but any unbleached works. Don’t even think about self-rising—that’s a whole different beast.
No ice water? Chilled vodka (yes, really) makes an even flakier crust since the alcohol evaporates. Out of sugar? Skip it for savory applications—it’s only there to balance sweet fillings. No egg? Extra tbsp of water works fine. The vinegar isn’t just for flavor; it inhibits gluten formation (fancy way of saying it keeps things tender).
Dough keeps 2-3 days in the fridge, wrapped tight. Freeze for 1 month if you’re prepping ahead. Baked crust? Same day only—it loses that crispness overnight (worth the effort to make fresh).
Why You’ll Love This Recipe
- Minimal Ingredients: I already have flour, butter, and salt in my pantry, so this comes together without a special grocery trip.
- Buttery Perfection: That flaky, golden crust with just a hint of sugar? It’s the kind of simple deliciousness that makes me sneak a bite before it cools.
- Endless Possibilities: I’ve used this crust for sweet pies, savory quiches, even hand pies—it’s my blank canvas for whatever I’m craving.
- Budget Friendly: A few pantry staples and a stick of butter make a crust that costs pennies compared to store-bought. Honestly, it’s a no-brainer.
Step-by-Step Instructions for Pie Crust
This method delivers flaky, golden crust every time with minimal effort.
Step 1: Combine Dry Ingredients
In a large bowl, whisk together the 2.5 cups All-Purpose Flour, 1 tsp Salt, and 1 tbsp Granulated Sugar until evenly distributed. I always sift my flour first—it creates a lighter texture and prevents dense crust. The sugar adds just a touch of sweetness that balances the richness of the butter.
If you’re making a savory version, swap the sugar for 0.5 tsp Cinnamon or 0.25 tsp Black Pepper depending on your preference. For herb crust, add the 1 tsp Dried Herbs now. This ensures the flavors are evenly dispersed throughout the dough.
Step 2: Cut in the Cold Butter
Add the 1 cup Unsalted Butter (chilled and cubed) to the dry ingredients. Using a pastry cutter or your fingers, work the butter into the flour until the mixture resembles coarse crumbs with some pea-sized butter pieces remaining. I like to use my hands for this—it gives me better control over the texture.
The key here is keeping the butter cold. If it starts to melt, pop the bowl in the fridge for 5 minutes to firm up. Those visible butter pieces create the flaky layers we all love in pie crust. Don’t overwork it—you want to see those butter chunks.
Step 3: Add the Wet Ingredients
Create a well in the center of the flour mixture. Add the 0.5 cup Ice Water, 1 tsp White Vinegar, and 1 whole Egg Yolk (if using). The vinegar tenderizes the gluten, while the egg yolk adds richness. For sweet applications, include the 1 tsp Lemon Zest now.
Using a fork, gently mix the wet ingredients into the dry until the dough just starts to come together. It will look shaggy—that’s perfect. The lemon zest adds a bright note that complements the buttery flavor beautifully.
Step 4: Form and Chill the Dough
Turn the dough out onto a lightly floured surface and gently knead it just until it comes together into a smooth ball. Divide it in half, flatten into discs, and wrap each in plastic. Refrigerate for at least 1 hour or up to 2 days. This resting time relaxes the gluten and makes the dough easier to roll out.
I always make extra dough and freeze it for later. It keeps beautifully for up to 3 months. When ready to use, let it thaw in the fridge overnight before rolling.
Step 5: Roll and Use Your Crust
On a floured surface, roll one disc to about ⅛-inch thickness. For a perfect fit, roll from the center outward, turning the dough 45 degrees after each pass to maintain even thickness. Transfer to your pie dish, trim the edges, and crimp as desired.
Brush the crust with the 2 tbsp Heavy Cream before baking for a beautiful golden finish. This also adds a subtle richness to the flavor. Bake according to your recipe’s instructions, and watch for that deep golden brown color that signals it’s done.
Pro Tips For Making Recipe Using Pie Crust
- Chill the Dough: Always refrigerate your pie crust for at least 30 minutes before rolling—it prevents shrinking and keeps the butter from melting too soon. I learned this the hard way after my first few pies turned into flat, sad discs.
- Use Ice-Cold Water: Make sure your water is truly ice-cold, with a few cubes still floating in it. This keeps the butter firm, which is crucial for that flaky texture.
- Skip Warm Hands: Handle the dough as little as possible, and if your kitchen is warm, chill your hands under cold water first. Warm hands melt the butter, and that means a tough crust instead of a tender one.
- Add Vinegar: Sounds weird, but it works: A teaspoon of white vinegar in your ice water makes the crust more tender by inhibiting gluten formation. My grandmother swore by this, and she was right.
Health Benefits of This recipe using pie crust
Butter Benefits
The 1 cup Unsalted Butter in this crust provides vitamin A and healthy fats that support cell growth and energy. European-style butter, like Kerrygold, has more vitamin K2, which is great for heart health. I always feel good knowing I’m using quality ingredients. 💪
Flour Power
All-Purpose Flour offers small amounts of iron and B vitamins like folate and thiamine. These nutrients help with energy metabolism and red blood cell production. Whole wheat flour would add fiber, but I prefer the flakiness of white flour for this recipe.
Egg Yolk Advantage
Adding 1 Egg Yolk boosts the crust with choline and vitamin D, which support brain and bone health. The yolk also adds richness and tenderness to the texture. It’s a simple addition with big benefits.
Healthy Fats
The fats in butter and flour provide sustained energy, keeping you full longer. While this isn’t a low-calorie food, the healthy fats help your body absorb fat-soluble vitamins like A, D, E, and K from other ingredients in your dish.
Moderation Matters
This crust is a treat, but it’s one I enjoy without guilt. Pair it with nutrient-dense fillings like fruit or veggies to create a balanced meal. A slice of pie with a side of Greek yogurt or fresh berries makes for a satisfying dessert. 💛
Nutrition Facts
Frequently Asked Questions
Can I use store-bought pie crust instead?
Yes, store-bought works in a pinch! Just thaw it according to package instructions and use as directed. Homemade tastes better, but pre-made saves time.
How do I prevent a soggy bottom crust?
Blind bake the crust at 375°F for 10-12 minutes before adding fillings. This creates a barrier against moisture. Brushing with egg white also helps.
What’s the best way to crimp the edges?
Use your thumb and index finger to press the dough between them. For a decorative touch, try a fork or fluted cutter. Keep it uniform for even baking.
Can I make this crust gluten-free?
Swap all-purpose flour for a 1:1 gluten-free blend. Add 1 tsp xanthan gum if not included. Chill longer as GF dough is more delicate.

- BBQ Sausage Recipe Oven: Smoky Depth Without the Grill - September 28, 2026
- BBQ Chicken Bowl Recipe Rice: Smoky Sweetness Over Fluffy Grains - September 28, 2026
- Beef Cutlet Recipe Ideas: Crispy Breaded Patties With Bold Seasonings - September 28, 2026