
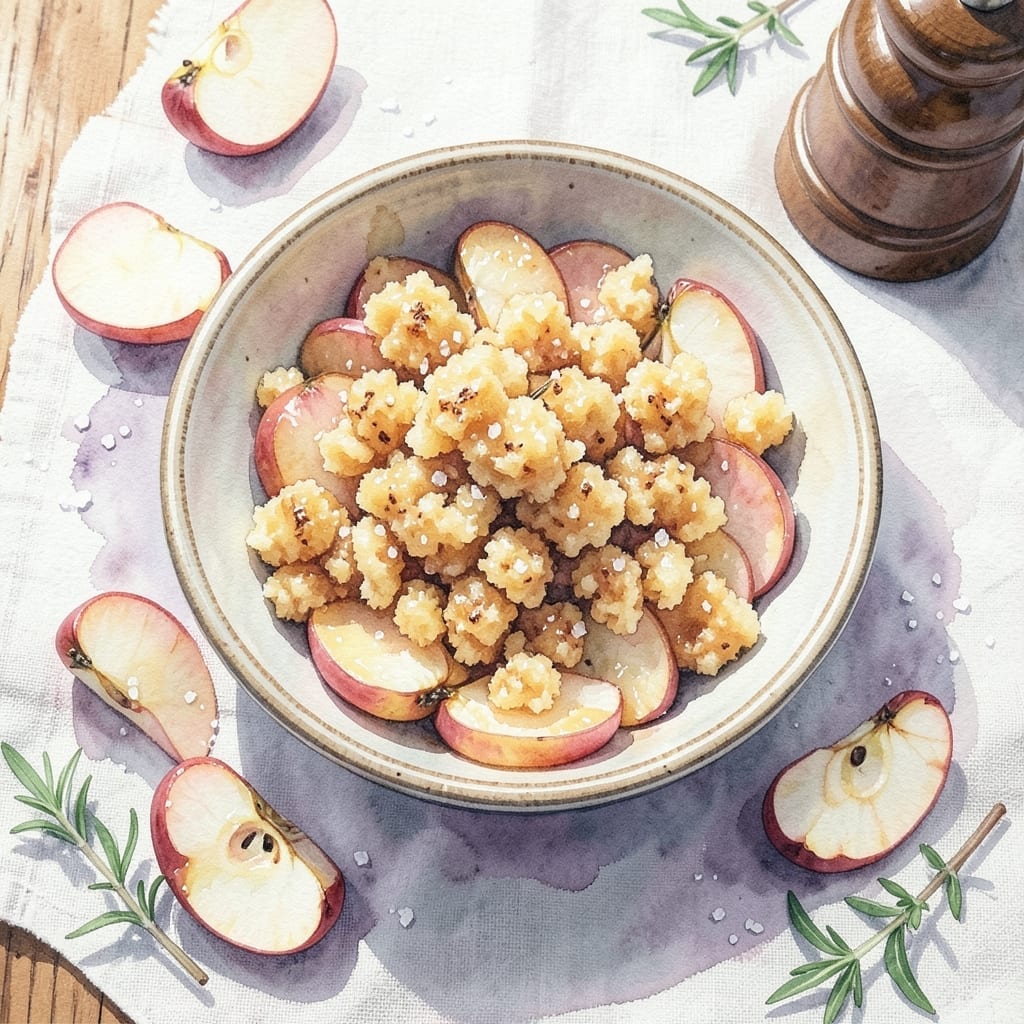
Pink Lady apples bring a perfect balance of tartness and sweetness to any dessert, making them ideal for baking. Their firm texture holds up beautifully in the oven, creating dishes with both structure and intense apple flavor.
This recipe highlights their natural qualities with a simple preparation that lets the fruit shine. The apples caramelize slightly as they cook, deepening their flavor while maintaining that signature crisp bite.
You’ll end up with a dessert that’s both elegant and approachable, with the apples’ natural sweetness complementing the other ingredients. The result is a treat that feels special but comes together with minimal effort.
Perfect for impressive yet easy entertaining or a comforting weeknight sweet. Here’s how to make it.
Ingredients for Recipe Using Pink Lady Apples
Pink Lady apples shine here with warm spices and buttery crumble topping.
| Ingredient | Amount | Notes |
|---|---|---|
| Pink Lady Apples 🍎 | 6 whole | Peeled, cored, thinly sliced |
| All-Purpose Flour 🌾 | 1 ½ cups | Sifted for lighter texture |
| Granulated Sugar 🧂 | ¾ cup | Divided for filling and topping |
| Light Brown Sugar 🧈 | ½ cup | Packed for caramel depth |
| Unsalted Butter 🧈 | ½ cup | Cold, cubed for topping |
| Ground Cinnamon 🌿 | 1 ½ tsp | Fresh for warm spice |
| Vanilla Extract 💧 | 2 tsp | Pure for best flavor |
| Lemon Juice 🍋 | 1 tbsp | Freshly squeezed for brightness |
| Old-Fashioned Rolled Oats 🌾 | ¾ cup | For crumbly topping texture |
| Walnut Halves 🥜 | ½ cup | Chopped for crunch |
| Sea Salt 🧂 | ¼ tsp | Fine grain for balance |
| Baking Powder ⚗️ | 1 tsp | For light lift in topping |
The apples are non-negotiable—Pink Lady for that tart-sweet balance. Trader Joe’s or Whole Foods usually have the best selection. Look for firm fruit with vibrant color, no bruises. The butter matters too: European-style (like Plugrá) has higher fat content, which gives you that flaky, perfect crumble. For the oats, avoid instant—they turn to mush. Old-fashioned rolled oats hold their texture beautifully.
No Pink Lady? Honeycrisp or Granny Smith work in a pinch (adjust sugar slightly). Out of walnuts? Pecans or almonds add similar crunch. Need this gluten-free? Swap the all-purpose for King Arthur gluten-free blend. The brown sugar can be light or dark—dark gives deeper molasses notes. Skip the cinnamon if you prefer, but it really complements the apple’s natural flavor.
Assemble this right before baking—the topping stays crispest. Leftovers? Cover and refrigerate for up to 3 days (reheat in oven to revive crumble). The unbaked filling can sit overnight—just add topping and bake when ready. Freezes beautifully for 2 months too.
Why You’ll Love This Recipe
- I’ll be real: leftovers taste even better the next day, and they keep for three days in an airtight container.
- One Bowl Wonder: I just dump the flour, sugars, and butter in one bowl, mix, then fold in the Pink Lady apples—no fancy steps.
- Sweet-Tart Magic: The Pink Ladies keep their crisp bite while the brown sugar caramelizes into something ridiculously good.
- Weeknight Hero: Honestly, it’s my go-to for dessert after a chaotic day—ready before the oven even heats fully.
Step-by-Step Instructions for Apple Crisp with Pink Lady Apples
This method ensures a perfect balance of tender apples and crisp topping every time.
Step 1: Prepare the Pink Lady Apples
Peel, core, and thinly slice the 6 whole Pink Lady Apples. As you work, toss the slices with the 1 tbsp Lemon Juice—this prevents browning and enhances their natural tartness. Place the apples in a large bowl.
Add 0.5 cup Light Brown Sugar, 0.5 cup Granulated Sugar, and 1.5 tsp Ground Cinnamon to the apples. Toss gently until every slice is evenly coated. The sugars will begin to draw out the apples’ juices, creating a light syrup that bakes into a glossy sauce.
Step 2: Create the Crisp Topping
In a separate bowl, combine the 1.5 cups All-Purpose Flour, 0.75 cup Old-Fashioned Rolled Oats, 0.5 cup Walnut Halves, 0.25 tsp Sea Salt, and 1 tsp Baking Powder. Stir to blend the dry ingredients thoroughly.
Cut in the 0.5 cup Unsalted Butter (cold and cubed) using a pastry cutter or your fingers until the mixture resembles coarse crumbs with pea-sized butter pieces. This texture ensures a crumbly, buttery topping with pockets of crispness.
Step 3: Assemble and Bake
Transfer the apple mixture to a greased 9×13-inch baking dish and spread it into an even layer. Pour any accumulated juices from the bowl over the apples. This liquid is essential for a saucy filling.
Sprinkle the topping evenly over the apples, pressing down lightly to help it adhere. Bake at 375°F for 40-45 minutes, or until the topping is golden brown and the apples are bubbling at the edges. The aroma of cinnamon and caramelized apples will signal it’s ready.
Step 4: Cool and Serve
Remove the dish from the oven and let it cool for 10-15 minutes. This resting period allows the juices to thicken slightly, making serving easier and preventing a runny filling.
Drizzle with the 2 tsp Vanilla Extract just before serving for a warm, fragrant finish. The vanilla’s depth complements the tart-sweet apples beautifully. Serve warm with a scoop of vanilla ice cream or a dollop of whipped cream for the ultimate experience.
Pro Tips For Making Recipe Using Pink Lady Apples
- Chill the Dough: After mixing your butter, flour, and sugars, let the dough rest in the fridge for at least 30 minutes—I learned this the hard way when my apple crumble topping spread into a greasy puddle.
- Use Cold Apples: Toss your diced Pink Lady apples in a bit of lemon juice and refrigerate while prepping the rest; it keeps them from browning and maintains a slight crispness in the final dish.
- Brown the Butter: Melt the unsalted butter until it turns golden and nutty, then cool slightly before mixing—sounds like an extra step, but it adds a depth that plain melted butter just can’t.
- Skip the Packing: When measuring brown sugar, resist the urge to pack it tightly; loosely scooped light brown sugar gives a lighter texture and prevents dense, gummy spots in your apple dessert.
Common Mistakes When Making recipe using pink lady apples
Overworking the Apples
Don’t slice your Pink Lady apples too thin or they’ll turn to mush during baking. Aim for ¼-inch slices to maintain texture. I learned this the hard way when my first attempt became applesauce. 💡
Skipping the Lemon Juice
Always toss sliced apples with 1 tbsp Lemon Juice immediately. This prevents browning and preserves their vibrant color. It also enhances their natural tartness, which balances the sweetness beautifully.
Overmixing the Topping
When making the crisp topping, stop mixing as soon as you see pea-sized butter pieces. Overworking creates a dense, paste-like texture instead of the desired crumbly finish. Use your fingers or a pastry cutter for best results.
Using Warm Butter
Your ½ cup Unsalted Butter must be cold and cubed. Warm butter blends into the flour, making the topping greasy rather than flaky. I keep mine in the freezer until I’m ready to use it.
Baking Too Long
Watch for the topping to turn golden brown and the edges to bubble. Overbaking dries out the apples and burns the crumble. Start checking at 40 minutes—every oven varies slightly.
Serving Immediately
Let your crisp rest for 10-15 minutes after baking. This allows the juices to thicken, making serving cleaner and the texture more enjoyable. The wait is tough, but worth it!
Nutrition Facts
Frequently Asked Questions
Can I use a different apple variety?
Honeycrisp or Granny Smith work, but adjust sugar slightly. Pink Ladies offer the best tart-sweet balance for this dish.
How do I store leftovers?
Cover and refrigerate for up to 3 days. Reheat in the oven at 350°F for 10-15 minutes to revive the crisp topping.
Can I make this gluten-free?
Yes! Swap all-purpose flour for a 1:1 gluten-free blend. The texture will be slightly different but still delicious.
Why do the apples need lemon juice?
The 1 tbsp Lemon Juice prevents browning and enhances the apples’ natural tartness, balancing the dish perfectly.

- BBQ Sausage Recipe Oven: Smoky Depth Without the Grill - September 28, 2026
- BBQ Chicken Bowl Recipe Rice: Smoky Sweetness Over Fluffy Grains - September 28, 2026
- Beef Cutlet Recipe Ideas: Crispy Breaded Patties With Bold Seasonings - September 28, 2026