
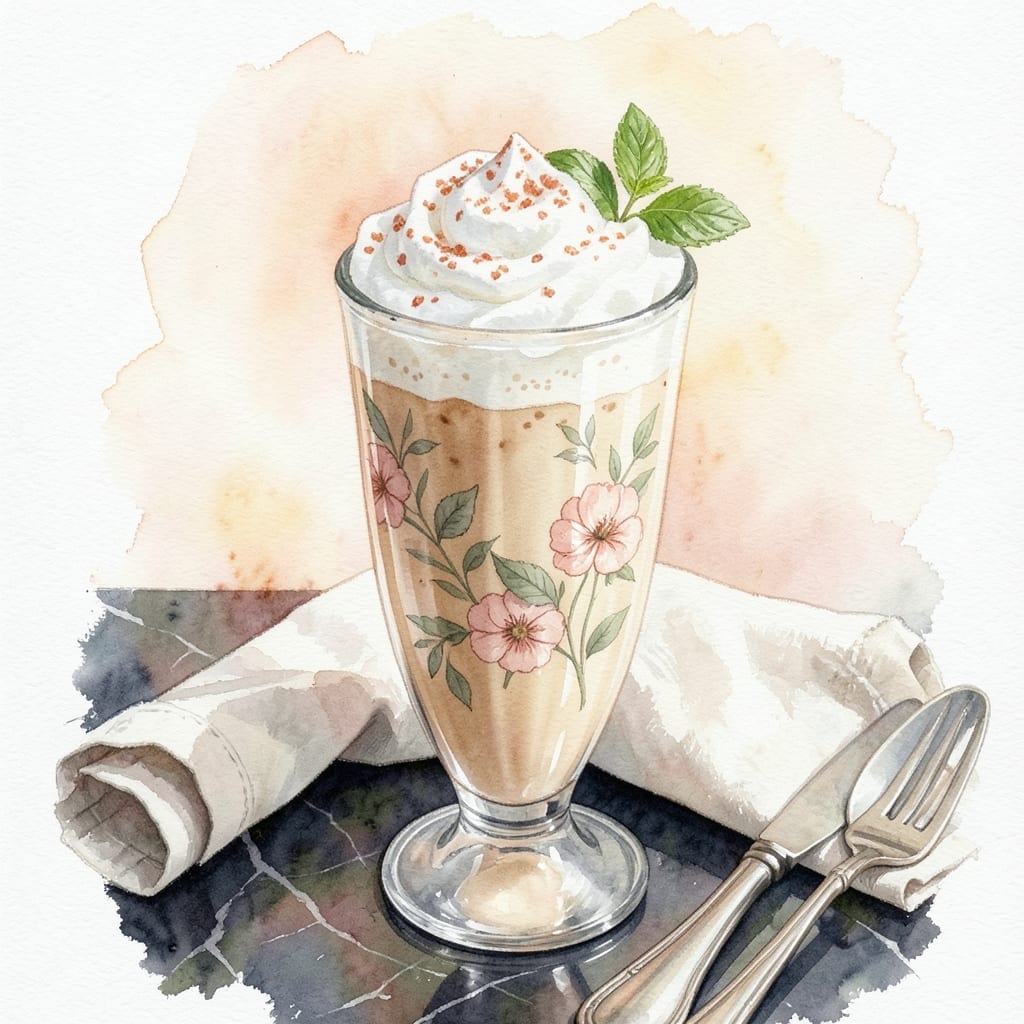
There’s something timeless about a perfectly blended vanilla milkshake that takes you straight back to childhood. I’ve refined this recipe to deliver that ideal creamy texture every time, with just the right balance of sweetness and richness.
The secret lies in using high-quality vanilla ice cream and whole milk, blended until smooth but still thick enough to require a straw. Cold ingredients are essential—never skip chilling your glass for that authentic diner experience.
What you’ll get is a velvety, frothy drink that’s rich without being overwhelming, with that classic vanilla flavor shining through. The result is pure comfort in a glass, perfect for hot days or as a sweet treat.
Customize with toppings or mix-ins, but the classic version stands perfectly on its own. Here’s how to make this nostalgic favorite at home.
Ingredients for Recipe Vanilla Milkshake
Nine simple ingredients bring this classic diner treat to life with creamy perfection.
| Ingredient | Amount | Notes |
|---|---|---|
| Vanilla Ice Cream 🍦 | 3 cups | Premium full-fat for creaminess |
| Whole Milk 🥛 | ½ cup | Cold, for smooth blending |
| Vanilla Extract 🌿 | 1 tsp | Pure extract for best flavor |
| Heavy Whipping Cream 🥛 | ¼ cup | Optional for extra richness |
| Granulated Sugar 🧂 | 2 tbsp | Adjust to taste preference |
| Ice Cubes ❄️ | 6 pieces | For chilled thickness |
| Salt 🧂 | 0.125 tsp | Enhances all flavors |
| Whipped Cream 🥛 | ¼ cup | For topping, optional |
| Maraschino Cherries 🍒 | 2 whole | Classic garnish choice |
| Chocolate Syrup 🍫 | 2 tbsp | Optional drizzle for serving |
The ice cream is non-negotiable here—Ben & Jerry’s or Häagen-Dazs vanilla give that ultra-creamy texture you remember. Whole milk adds richness without being heavy (trust me on this). Skip the low-fat versions—they just won’t deliver that nostalgic thickness. Most grocery stores carry these brands, but check the freezer aisle for sales on pints.
No whole milk? 2% works in a pinch, though the result won’t be quite as luscious. Out of vanilla extract? A vanilla bean scraped into the blender adds incredible depth. Want it thicker? Add more ice cream or a few extra ice cubes. For a lighter version, swap heavy cream for half-and-half (but the texture changes).
Best enjoyed immediately—it starts to separate after 10 minutes. Leftovers? Freeze in popsicle molds for up to 1 month. Always chill your glass first (worth the extra minute).
Why You’ll Love This Recipe
- Blender Magic: I toss in five ingredients, hit blend, and it’s ready before the kids finish arguing over who gets the first sip.
- Double Vanilla Love: The vanilla ice cream plus a splash of extract makes it taste like a bakery in a glass—seriously, that depth of flavor is ridiculous.
- Crowd Pleaser: Birthday parties, movie nights, or just because—this shake disappears faster than I can make it.
- Budget Friendly: Honestly, a scoop of ice cream and pantry staples turn into something that feels like a treat from a fancy diner.
Step-by-Step Instructions for Vanilla Milkshake
This method guarantees a thick, creamy texture that hits the spot every single time.
Step 1: Blend the Base Ingredients
Add the 3 cups Vanilla Ice Cream, 0.5 cup Whole Milk, 1 tsp Vanilla Extract, 2 tbsp Granulated Sugar, and 0.125 tsp Salt to your blender. I always use premium full-fat vanilla ice cream for that ultra-creamy texture—it makes all the difference.
Blend on medium speed for 20-30 seconds until just combined. You want the mixture to start looking smooth but don’t overdo it yet. The ice cream should still have some small chunks—this prevents it from becoming too thin as it warms up during blending.
Stop and scrape down the sides with a spatula. You’ll notice the mixture looks thicker than liquid but still has visible ice cream pieces. This is exactly where you want to be before adding the final elements.
Step 2: Incorporate Heavy Cream and Ice for Thickness
Now add the 0.25 cup Heavy Whipping Cream and 6 pieces Ice Cubes to the blender. The heavy cream adds that extra richness that takes this from good to exceptional, while the ice cubes are the secret to achieving that perfect thick, spoonable consistency.
Blend on high speed for 30-45 seconds until completely smooth. Watch for the mixture to climb the sides of the blender and become uniform in color. You’ll hear the ice cubes break down completely—that’s your signal it’s ready.
If it’s still not thick enough, add 2-3 more ice cubes and blend for another 15 seconds. The goal is a shake so thick your straw can just barely pull it up. This is where that nostalgic diner-style texture really shines.
Step 3: Taste and Adjust as Needed
Give it a taste and adjust the flavors. I always check for sweetness first—if it needs a bit more, add the remaining granulated sugar to taste. The vanilla should be prominent but not overpowering, and you should taste that creamy richness from the ice cream base.
If it’s a bit too thick (which can happen with full-fat ingredients), add a splash of whole milk and pulse to combine. Conversely, if it’s thinner than you’d like, toss in 2-3 more ice cubes and blend briefly. You’re aiming for that Goldilocks consistency—just right.
Step 4: Serve with Classic Toppings
Pour the milkshake into chilled glasses. For the full diner experience, top each serving with 0.25 cup Whipped Cream—divide it evenly between the two servings. The cold glass helps maintain that perfect thickness as you enjoy it.
Drizzle 2 tbsp Chocolate Syrup over the whipped cream, using about 1 tablespoon per serving. This adds a beautiful contrast and that classic milkshake shop look. Finish with a maraschino cherry on top of each—one per serving for that perfect nostalgic touch.
Serve immediately with a straw and a long spoon. The first sip should be cold, creamy, and perfectly sweet with just a hint of vanilla flavor shining through. This is comfort in a glass, exactly as it should be.
Pro Tips For Making Recipe Vanilla Milkshake
- Chill the Glass: Pop your serving glass in the freezer for 10 minutes before pouring—I learned this the hard way after watching my perfect shake turn into soup in a warm glass.
- Soften the Ice Cream: Let the vanilla ice cream sit out for 5-7 minutes before blending, or you’ll burn out your blender motor trying to break up rock-hard scoops.
- Skip the Overfill: Resist the urge to pack the blender to the top; leave at least an inch of space for the milkshake to expand as it blends, or you’ll be cleaning a milky explosion off your ceiling.
- Use Full-Fat Dairy: Sounds obvious, but whole milk and heavy cream make a real difference here—skimming on fat just gives you a watery, disappointing shake.
Perfect Pairings for This Dish
Classic Dessert Pairings
This creamy treat pairs beautifully with warm desserts that create a hot-cold contrast. Try it alongside a slice of apple pie or peach cobbler – the cool shake cuts through the warmth perfectly. I love the way the vanilla complements those fruit flavors. 💫
Savory Balance
For a surprising but delightful combination, serve with salty snacks like hot french fries or pretzels. The sweetness of the shake balances the saltiness wonderfully. This is a classic diner combo that never fails to satisfy.
Beverage Companions
If you’re making these for a crowd, offer iced coffee as an alternative for those who prefer less sweetness. The vanilla notes work well with coffee’s bitterness. For a fun twist, blend a shot of espresso into the shake itself.
Meal Pairings
This shake transforms a simple lunch into something special. Serve with a grilled cheese sandwich or burger for that perfect diner-style meal. The contrast of rich, savory flavors with the cool sweetness is irresistible.
Topping Bar
Set up a DIY topping station with crushed Oreos, sprinkles, and caramel sauce. Guests can customize their shakes – I’ve found this makes it especially fun for kids. The extra textures take this treat to the next level.
Seasonal Variations
In summer, add fresh strawberries or peaches to the blender. For winter, a dash of cinnamon or nutmeg adds cozy warmth. These simple additions keep the classic vanilla flavor while offering seasonal twists.
Nutrition Facts
Frequently Asked Questions
Can I make it thicker?
Add 2-3 extra ice cubes or 1/2 cup more ice cream and blend. The cold helps maintain that perfect spoonable texture.
What if my shake is too thin?
Chill your glass first, then add 1-2 more ice cubes and blend for 10-15 seconds. Using cold ingredients prevents thinning.
Can I use a different milk?
2% milk works in a pinch, but whole milk gives the creamiest result. Avoid skim milk—it won’t deliver that classic diner thickness.
How long will it keep?
Best when enjoyed immediately, but leftovers can be frozen in popsicle molds for up to 1 month. Stir well before re-freezing.

- BBQ Sausage Recipe Oven: Smoky Depth Without the Grill - September 28, 2026
- BBQ Chicken Bowl Recipe Rice: Smoky Sweetness Over Fluffy Grains - September 28, 2026
- Beef Cutlet Recipe Ideas: Crispy Breaded Patties With Bold Seasonings - September 28, 2026