
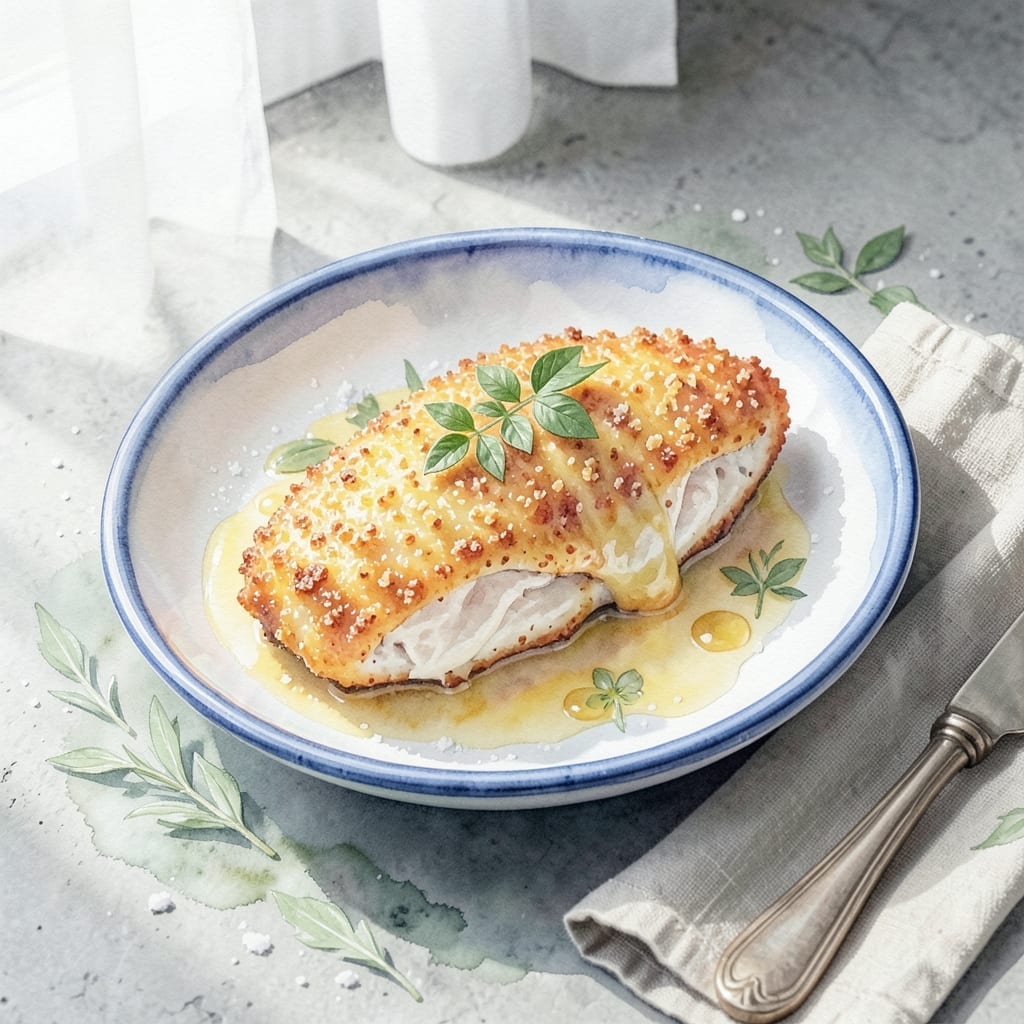
Achieving crispy, golden breaded chicken at home is simpler than many believe. The key lies in a precise breading technique and proper oil temperature, ensuring a shatteringly crispy exterior every time.
This method guarantees juicy centers by maintaining the chicken’s moisture throughout the cooking process. A brief rest after frying allows the coating to set, preventing it from separating from the meat.
The result is perfectly cooked chicken with a uniform golden crust and tender interior. Each bite delivers the ideal balance of texture and flavor that defines great breaded chicken.
Serve with classic sides like mashed potatoes or a fresh green salad to complete the meal. This approach consistently delivers professional-quality results.
Ingredients for Recipe with Breaded Chicken
Professional-quality breaded chicken requires these precise ingredients for crispy, juicy results every time.
| Ingredient | Amount | Notes |
|---|---|---|
| Chicken Breast Cutlets 🍗 | 1 ½ lb | Boneless, skinless, pounded to 1/4-inch thickness |
| All-Purpose Flour 🌾 | 1 cup | For initial dredging layer |
| Large Eggs 🥚 | 2 whole | Beaten for egg wash binding |
| Panko Breadcrumbs 🍞 | 2 cups | Japanese-style for maximum crispiness |
| Cornstarch 🌾 | ¼ cup | Added to flour for extra crunch |
| Kosher Salt 🧂 | 1 ½ tsp | Diamond Crystal preferred for seasoning |
| Freshly Ground Black Pepper 🌶️ | 1 tsp | Coarse grind for texture |
| Garlic Powder 🧄 | 1 tsp | For aromatic depth in breading |
| Onion Powder 🧅 | 1 tsp | Balances savory profile |
| Paprika 🌶️ | 1 tsp | Sweet variety for color and mild flavor |
| Neutral Oil 🫒 | 4 cups | For frying, peanut or vegetable oil |
| Buttermilk 🥛 | ½ cup | For marinating chicken before breading |
| Cayenne Pepper 🔥 | ¼ tsp | Optional for subtle heat |
The chicken cutlets must be uniformly pounded to ensure even cooking and consistent breading adhesion. Costco and Whole Foods carry pre-cut cutlets, but purchasing whole breasts and processing them yourself allows for better quality control. For the breadcrumbs, Kikkoman Panko delivers superior texture. The oil temperature is critical—use a neutral oil with a high smoke point like peanut or vegetable for optimal frying performance.
Buttermilk may be substituted with regular milk acidified with 1 tbsp vinegar or lemon juice per cup. For gluten-free versions, replace all-purpose flour with rice flour and panko with gluten-free breadcrumbs. The cornstarch is essential for crispiness but arrowroot powder works as an alternative. Freshly ground spices are preferred, but pre-ground will suffice if stored properly and used within 6 months of opening.
Breaded chicken is best served immediately but can be kept warm in a 200°F oven for up to 30 minutes. Leftovers store well in the refrigerator for 3-4 days and reheat best in a toaster oven to maintain crispiness. For longer storage, freeze uncooked breaded cutlets on a tray before bagging—lasts 2 months.
Why You’ll Love This Recipe
- Foolproof Coating: I love how the cornstarch in the flour mix makes the breading stick effortlessly—no more sad, bald chicken spots.
- Crunch in Every Bite: Panko gives it that restaurant-quality crispiness that regular breadcrumbs just can’t match.
- Meal Prep Hero: I make a big batch on Sunday and it reheats beautifully for lunches all week.
- Budget Stretcher: Chicken breast cutlets are affordable, and this recipe turns them into something special without breaking the bank.
Step-by-Step Instructions for Breaded Chicken
Master the technique for achieving a perfectly crisp coating with moist, tender meat inside.
Step 1: Season and Marinate the Chicken
Begin by patting the 1.5 lb Chicken Breast Cutlets thoroughly dry with paper towels to ensure optimal breading adhesion. Season both sides evenly with 1.5 tsp Kosher Salt, 1 tsp Freshly Ground Black Pepper, 1 tsp Garlic Powder, 1 tsp Onion Powder, and 1 tsp Paprika for a balanced flavor profile. For a subtle kick, add 0.25 tsp Cayenne Pepper.
Place the seasoned cutlets in a shallow dish and pour 0.5 cup Buttermilk over them, ensuring each piece is fully coated. Let them marinate for 20-30 minutes at room temperature. The buttermilk tenderizes the meat while helping the breading cling effectively.
Step 2: Prepare the Breading Stations
Set up three shallow dishes for dredging. In the first, combine 1 cup All-Purpose Flour and 0.25 cup Cornstarch—this mixture creates an extra-crispy base layer. In the second dish, beat the 2 whole Large Eggs until smooth, which will act as the binding agent. In the third, place the 2 cups Panko Breadcrumbs.
The cornstarch in the flour mixture is crucial for achieving that desired crunch, while the panko breadcrumbs provide maximum texture without becoming dense or gummy. This three-step process ensures a uniform, professional-quality coating every time.
Step 3: Bread the Chicken Cutlets
Working with one cutlet at a time, remove it from the buttermilk and let any excess drip off. Dredge it in the flour-cornstarch mixture, pressing gently to adhere the coating evenly on both sides. Shake off any excess flour.
Next, dip the floured cutlet into the beaten eggs, allowing any excess to drip back into the dish. Finally, press the cutlet into the panko breadcrumbs, ensuring full coverage. Place the breaded cutlet on a wire rack set over a baking sheet. Repeat with the remaining cutlets and let them rest for 10 minutes to set the breading.
Step 4: Fry to Golden Perfection
Heat 4 cups Neutral Oil in a deep, heavy-bottomed skillet or Dutch oven over medium-high heat until it reaches 350-375°F. To test the readiness, drop in a small piece of breading—it should sizzle immediately and float to the surface.
Carefully place one or two cutlets into the hot oil, avoiding overcrowding the pan. Fry for 3-4 minutes per side until the coating is deep golden brown and crispy. The internal temperature of the chicken should reach 165°F. Transfer the fried cutlets to a wire rack or paper towels to drain excess oil.
Step 5: Rest and Serve
Allow the breaded chicken to rest for 2-3 minutes before serving. This brief resting period helps the juices redistribute, ensuring the meat remains moist and juicy.
Serve immediately while the coating is still crisp. The cutlets should feature a uniformly golden, crunchy exterior with tender, flavorful meat inside. This method guarantees both the promised crispiness and juiciness in every bite.
Pro Tips For Making Recipe With Breaded Chicken
- Pound the Chicken: I learned this the hard way—uneven cutlets burn on the thin edges while the thick parts stay raw. Use a rolling pin or meat mallet to get them to an even 1/2-inch thickness.
- Double Dredge: For crust that actually stays put, do flour, egg, panko, then back in the egg and panko again. Sounds tedious, but it’s the only way to get that restaurant-style crunch.
- Skip Cold Chicken: After burning three batches, I finally figured out that cold chicken straight from the fridge makes the oil temperature drop too fast. Let it sit out 15 minutes first.
- Use Cornstarch: Swap a tablespoon of flour for cornstarch in your dredge—it makes a real difference in getting that extra-crispy coating. My grandmother swore by this, and she was right.
Best Sauces and Condiments for This Dish
Classic Dipping Sauces
I always pair my breaded chicken with honey mustard—mix 3 tbsp Dijon with 2 tbsp honey and a splash of lemon juice. The sweet-tangy combo complements the crispy coating perfectly. For heat lovers, sriracha mayo (equal parts mayo and sriracha) adds just the right kick. 🌶️
Rich and Creamy
Ranch dressing is a crowd-pleaser—use Hidden Valley or make your own with buttermilk, mayo, and fresh herbs. For a gourmet touch, garlic aioli (blend ½ cup mayo with 2 minced garlic cloves and 1 tbsp lemon juice) elevates the dish beautifully.
Tangy Favorites
Marinara sauce from Rao’s is my go-to for dipping or drizzling over the top. It adds Italian flair without overpowering the chicken. BBQ sauce works too—try Sweet Baby Ray’s for a smoky-sweet contrast.
Fresh and Light
A simple lemon-dill yogurt sauce (mix 1 cup Greek yogurt with 1 tbsp lemon zest and 1 tbsp fresh dill) keeps things light. It’s refreshing against the richness of the breading. 💛
For a herby option, blend ½ cup mayo with 2 tbsp chopped tarragon and 1 tbsp capers for a French-inspired tartar sauce.
Nutrition Facts
Frequently Asked Questions
Can I use regular breadcrumbs instead of panko?
You can, but panko creates a lighter, crispier coating. Regular breadcrumbs will work in a pinch but may yield a denser texture. For best results, stick with 2 cups panko as specified.
How do I keep the breading from falling off?
Pat the chicken completely dry before breading and let it rest for 10 minutes after coating. The buttermilk marinade also helps the breading adhere better during frying.
What’s the best oil for frying?
Use a neutral oil with a high smoke point like peanut or vegetable. Heat 4 cups to 350-375°F for perfect crispiness without burning. Never reuse oil after frying.
Can I bake instead of fry?
Yes! Bake at 400°F for 15-20 minutes, flipping halfway. Spray with oil first for extra crispiness. The texture won’t be identical but still delicious.

- BBQ Sausage Recipe Oven: Smoky Depth Without the Grill - September 28, 2026
- BBQ Chicken Bowl Recipe Rice: Smoky Sweetness Over Fluffy Grains - September 28, 2026
- Beef Cutlet Recipe Ideas: Crispy Breaded Patties With Bold Seasonings - September 28, 2026