
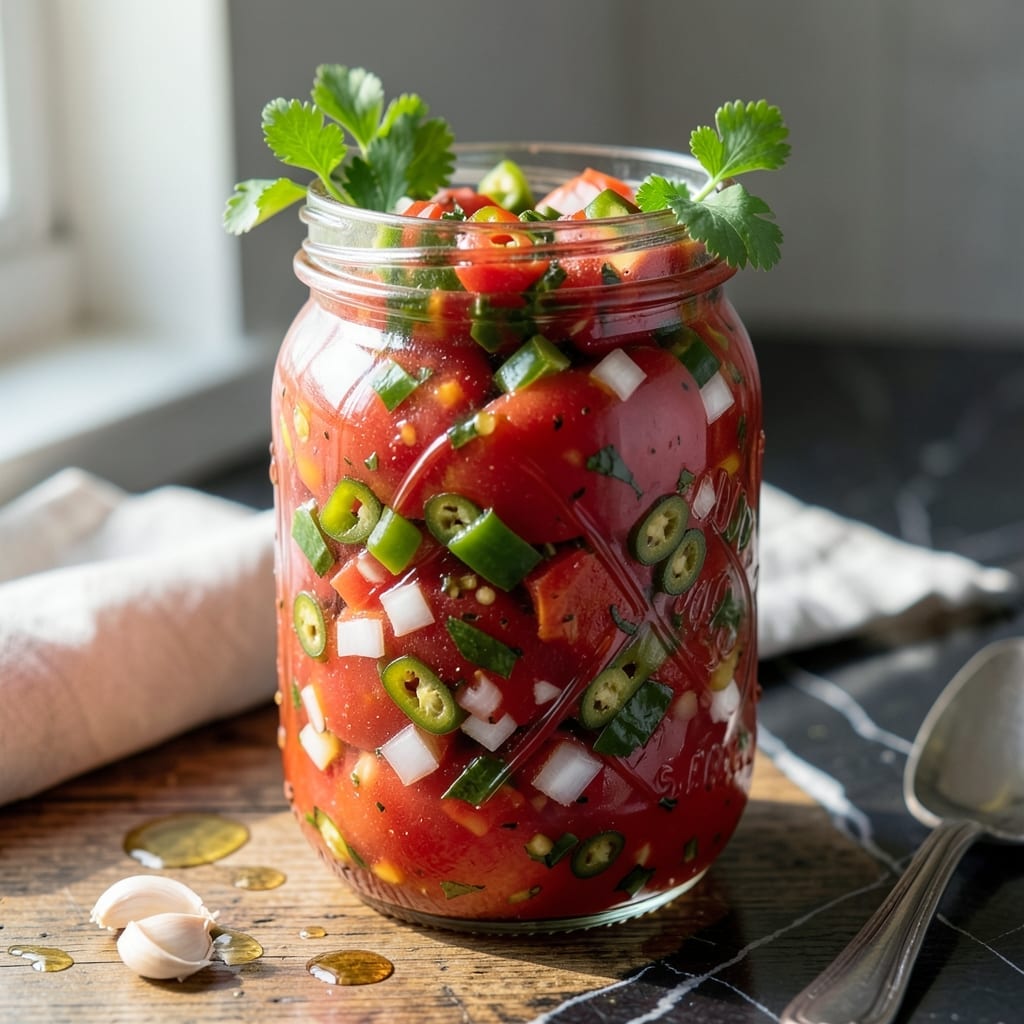
Preserving summer’s bounty has never been more rewarding than with this proven canning salsa. The method locks in garden-fresh flavor while ensuring safe, shelf-stable results.
This recipe delivers a perfect balance of tomatoes, onions, and peppers with a tangy kick. Follow the tested processing times for jars that stay vibrant and delicious all year.
Ingredients for Salsa Recipe for Canning
Ten garden-fresh ingredients capture peak summer flavor in every shelf-stable jar.
| Ingredient | Amount | Notes |
|---|---|---|
| Roma Tomatoes 🍅 | 10 lb | Peeled, cored, and chopped |
| White Onions 🧅 | 3 whole | Finely diced for even texture |
| Jalapeño Peppers 🌶️ | 1 lb | Seeds removed for milder heat |
| Bell Peppers 🌶️ | 2 whole | Assorted colors, diced |
| Fresh Cilantro 🌿 | 1 cup | Chopped, stems removed |
| Garlic Cloves 🧄 | 8 cloves | Peeled and minced |
| Lime Juice 🍋 | ¾ cup | Freshly squeezed for tang |
| Apple Cider Vinegar 💧 | ½ cup | 5% acidity for safety |
| Canning Salt 🧂 | 2 tbsp | Non-iodized for purity |
| Ground Cumin 🌿 | 1 tbsp | Toasted for depth of flavor |
The tomatoes are non-negotiable here—Roma or San Marzano for their low water content and meaty texture. Farmers markets are ideal for peak ripeness, but Whole Foods or Trader Joe’s carry quality options in season. Jalapeños should be firm and vibrant; if you prefer heat, leave some seeds in. Always use canning salt to avoid cloudiness in your jars.
No fresh cilantro? Flat-leaf parsley at a 1:1 ratio works in a pinch, though the flavor profile shifts. Lemon juice can replace lime at the same quantity, but lime’s brightness is classic. For a smokier note, swap half the cumin for smoked paprika. If garden tomatoes aren’t available, high-quality canned tomatoes (drained) are acceptable, though fresh is superior for texture.
Store unopened jars in a cool, dark place for up to 12-18 months. Once opened, refrigerate and use within 1 week. For best results, process jars in a water bath for 15 minutes to ensure safety. Always check seals after 24 hours.
Why You’ll Love This Recipe
- One Pot Wonder: I toss everything in at once—Roma tomatoes, jalapeños, cilantro—and let the canner do the work.
- Flavor Explosion: The mix of smoky jalapeños and sweet bell peppers with fresh cilantro is my kind of addictive.
- Pantry Staple: Honestly, I reach for a jar of this homemade salsa more than store-bought these days.
- Budget Friendly: A bushel of Roma tomatoes and a few peppers make gallons. I’ll be real: my wallet loves it.
Step-by-Step Instructions for Salsa for Canning
This method preserves garden-fresh flavor safely using tested canning techniques.
Step 1: Prepare and Chop the Vegetables
Peel, core, and chop the 10 lb Roma Tomatoes. Finely dice the 3 whole White Onions for consistent texture throughout the salsa. Remove seeds from the 1 lb Jalapeño Peppers for milder heat, then finely chop. Dice the 2 whole Bell Peppers into uniform pieces.
This prep ensures even cooking and proper texture in the final product. I use a sharp chef’s knife for precision—blunt knives slip and create uneven cuts. The uniform size helps the salsa cook evenly and look professional in the jars.
Step 2: Combine All Ingredients in a Large Pot
In a large stainless steel or enamel pot, combine the chopped tomatoes, onions, jalapeños, and bell peppers. Add the 1 cup Fresh Cilantro (stems removed), 8 cloves Garlic Cloves (peeled and minced), 0.75 cup Lime Juice, 0.5 cup Apple Cider Vinegar, 2 tbsp Canning Salt, and 1 tbsp Ground Cumin.
Stir thoroughly to distribute all ingredients evenly. The acidity from lime juice and vinegar is critical for safe canning—don’t reduce these amounts. I always taste at this stage to check the balance, though remember flavors will concentrate slightly during cooking.
Step 3: Cook to the Proper Consistency
Bring the mixture to a full rolling boil over medium-high heat, stirring frequently to prevent sticking. Once boiling, reduce heat to medium and simmer for 10-15 minutes, stirring occasionally.
The salsa should thicken slightly but remain somewhat liquid—it will thicken more during canning. Watch for the color to deepen and the raw vegetable smell to give way to a rich, cooked aroma. If it begins to stick, reduce heat slightly and stir more often.
Step 4: Process in a Water Bath Canner
Ladle the hot salsa into clean, hot pint jars, leaving ½-inch headspace. Remove air bubbles by running a clean knife or bubble tool around the inside of each jar. Wipe rims with a clean, damp cloth, then apply lids and rings, finger-tightening the bands.
Process the jars in a boiling water canner for 15 minutes (adjusting for altitude if necessary). Start timing when the water returns to a full boil. After processing, remove jars and place on a towel-lined countertop to cool undisturbed for 12-24 hours.
Step 5: Verify Seals and Store Properly
After cooling, check that lids have sealed (they should not flex when pressed). Any unsealed jars should be refrigerated and used within 1 week. Store sealed jars in a cool, dark place. The salsa flavor will develop and improve over 4-6 weeks.
Properly canned salsa maintains quality for 12-18 months. Always check for signs of spoilage before use—discard any jars with bulging lids, off odors, or visible mold. This method ensures both safety and the vibrant garden-fresh taste you worked to preserve.
Pro Tips For Making Salsa Recipe For Canning
- Blanch Tomatoes First: I learned this the hard way—peeling raw Roma tomatoes is a nightmare. Drop them in boiling water for 30-45 seconds, then shock in ice water, and the skins slip right off.
- Drain the Veggies: After chopping onions, peppers, and jalapeños, let them sit in a colander with a sprinkle of salt for 10 minutes to draw out excess water—your salsa won’t be watery in the jars.
- Skip the Seeds: Sounds tedious, but scoop out the seeds and membranes from jalapeños and bell peppers—it prevents a bitter aftertaste and keeps the heat consistent.
- Add Cilantro Last: Stir in fresh cilantro right before canning, not during cooking. It keeps the flavor bright and green, not dull and gray from the heat.
Storing and Reheating This Dish
Pantry Storage
Store your sealed jars in a cool, dark pantry at 50-70°F for optimal flavor preservation. I keep mine on a shelf away from direct sunlight and heat sources. Properly canned salsa maintains peak quality for 12-18 months in these conditions. ❄️
Refrigeration After Opening
Once opened, transfer unused salsa to an airtight container and refrigerate immediately. It will stay fresh for up to 1 week. I always label my opened jars with the date to track freshness.
Freezing Option
If you have excess salsa, freezing is a great alternative to canning. Portion into freezer-safe containers with 1-inch headspace and freeze for up to 6 months. Thaw overnight in the refrigerator before use.
Reheating for Serving
For warm salsa, gently heat in a saucepan over medium-low heat for 5-7 minutes, stirring occasionally. Avoid boiling to preserve texture. I sometimes add a splash of lime juice after reheating for extra brightness. 🔥
Spoilage Warning
Before using, always check for bulging lids, off odors, or visible mold. If you notice any of these signs, discard the jar immediately. Safety first when it comes to home canning!
Frequently Asked Questions
Do I need to peel tomatoes for canning salsa?
Yes, peeling is recommended for best texture. Use a 30-second boil followed by an ice bath to easily slip off skins. This prevents tough bits in your final product.
Why add vinegar or lime juice?
The 5% acidity is critical for safe canning, preventing botulism. Never reduce these amounts—it affects both safety and flavor balance.
Can I adjust the heat level?
For milder salsa, remove all jalapeño seeds. For extra heat, leave some in or add a pinch of cayenne pepper.
How do I prevent jars from breaking?
Use only canning jars and avoid sudden temperature changes. Always start with hot jars and lids, and don’t over-tighten the bands.
Nutrition Facts

- BBQ Sausage Recipe Oven: Smoky Depth Without the Grill - September 28, 2026
- BBQ Chicken Bowl Recipe Rice: Smoky Sweetness Over Fluffy Grains - September 28, 2026
- Beef Cutlet Recipe Ideas: Crispy Breaded Patties With Bold Seasonings - September 28, 2026