
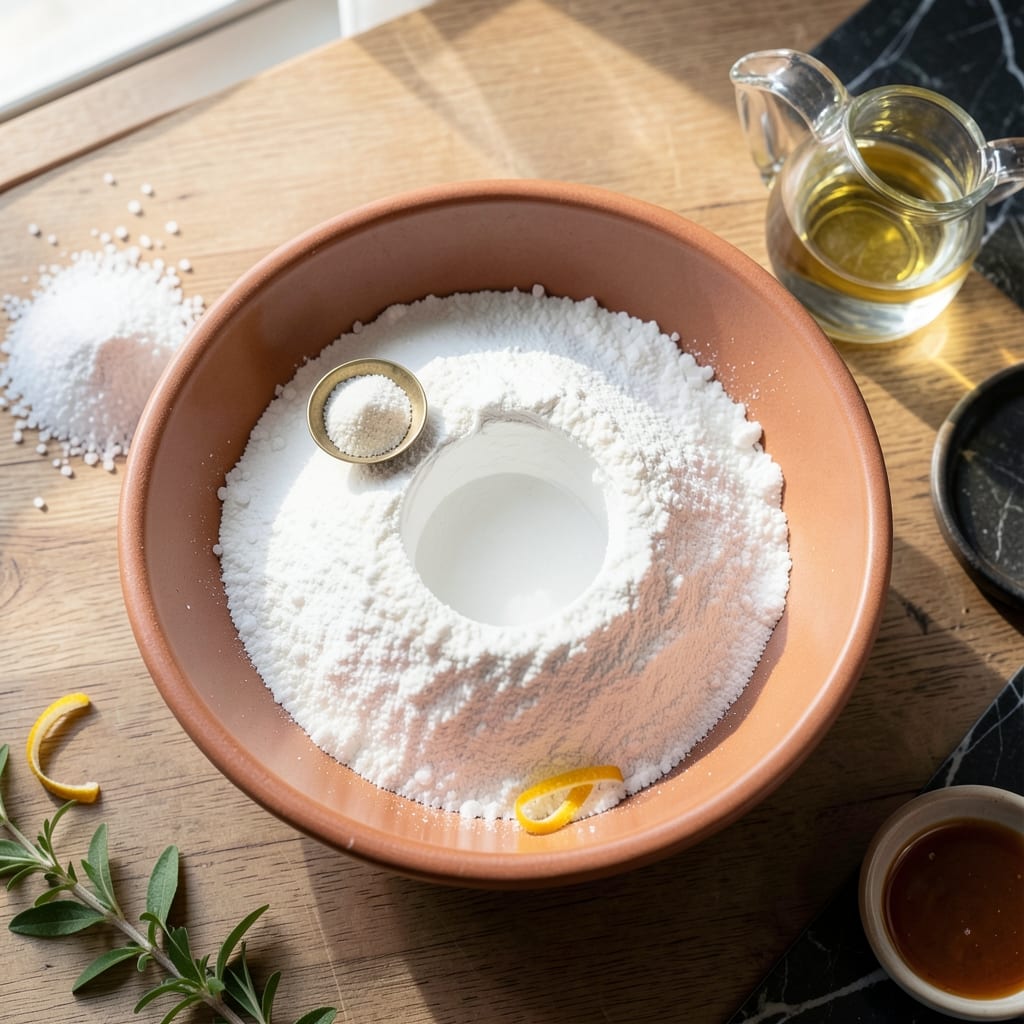
This salt dough recipe with cream of tartar creates a durable, long-lasting crafting material perfect for ornaments and keepsakes. The cream of tartar strengthens the dough, making it less likely to crack during baking.
With just flour, salt, water, and cream of tartar, you can make a smooth, workable dough that holds fine details beautifully. It bakes to a hard finish, ideal for painting and preserving.
The process is straightforward: mix, knead, shape, then bake. This version stays firm for years, unlike basic salt dough that can become brittle.
Note that this is a decorative dough, not meant for eating. Perfect for holiday crafts, gifts, or educational projects.
Ingredients for Salt Dough Recipe with Cream of Tartar
Five simple ingredients create a smooth, durable dough perfect for crafting.
| Ingredient | Amount | Notes |
|---|---|---|
| All-Purpose Flour 🌾 | 4 cups | Plus extra for dusting |
| Fine Sea Salt 🧂 | 1 cup | Do not use iodized salt |
| Cream of Tartar 🧂 | 2 tbsp | Strengthens the dough structure |
| Water 💧 | 1 ½ cups | Room temperature preferred |
| Vegetable Oil 🫒 | 1 tbsp | For smoother dough texture |
The cream of tartar is key here—look for it in the baking aisle at Walmart or King Arthur’s online shop. Fine sea salt works best (avoid iodized, which can make the dough brittle). All-purpose flour is standard, but bread flour gives slightly more structure. I stock up on cream of tartar in bulk since it keeps indefinitely.
No cream of tartar? Lemon juice at half the amount works in a pinch, but the dough may be slightly less stable. Table salt can substitute for sea salt, but reduce by one-quarter due to finer grains. The oil prevents sticking—coconut or olive oil also work well if that’s what you have on hand.
Store unused dough wrapped tightly in plastic at room temperature for up to 2 days. Baked pieces keep indefinitely (seriously, years) in a dry, cool place. Perfect for making ahead—just shape, bake, and store until ready to paint.
Why You’ll Love This Recipe
- Five Ingredients Only: I love that this comes together with just flour, salt, cream of tartar, water, and oil—no fancy ingredients.
- Stays Soft Longer: The cream of tartar keeps the dough pliable for days, so my creations don’t crack while I work.
- Kids Can’t Resist: Honestly, my little ones will spend an entire afternoon shaping and reshaping this dough.
- Penny-Wise Crafting: A batch costs mere cents and replaces store-bought modeling clay without the weird chemicals.
Step-by-Step Instructions for Salt Dough With Cream of Tartar
Here’s the method. Straightforward, tested, works every time.
Step 1: Combine Dry Ingredients
In a large mixing bowl, whisk together the 4 cups All-Purpose Flour, 1 cup Fine Sea Salt, and 2 tbsp Cream of Tartar until fully combined. I use a wire whisk for this—it breaks up any lumps and ensures even distribution of the leavening agent.
The cream of tartar is crucial here. It strengthens the dough structure and helps prevent cracking as it dries. Make sure you’re using fine sea salt, not iodized table salt, as the latter can affect the dough’s color and texture.
Step 2: Add Wet Components Gradually
Create a well in the center of your dry mixture. Pour in the 1.5 cups Water and 1 tbsp Vegetable Oil. Using a wooden spoon or silicone spatula, begin mixing from the center outward, gradually incorporating the dry ingredients into the wet.
I find that adding the water slowly helps prevent a sticky mess. The dough should come together into a shaggy ball. If it feels too dry, add water 1 teaspoon at a time—but resist the urge to over-moisten, as this can make the dough prone to cracking when dried.
Step 3: Knead to Smooth Consistency
Turn the dough out onto a lightly floured surface. Dust the top with a bit more flour and knead for 8-10 minutes until smooth and elastic. You’ll know it’s ready when it springs back slightly when pressed and no longer feels gritty from the salt.
If the dough sticks to your hands or the surface, add flour 1 tablespoon at a time. Conversely, if it becomes too stiff, work in a few drops of water. The finished dough should be firm but pliable—think Play-Doh texture rather than bread dough.
Step 4: Rest Before Shaping
Form the dough into a ball, place it in a lightly oiled bowl, and cover with a damp towel. Let it rest at room temperature for 30 minutes. This allows the gluten to relax, making the dough easier to roll out and shape.
During this rest period, the cream of tartar begins its work, creating a more stable structure that will hold its shape better during drying. Don’t skip this step—it makes a noticeable difference in the final product’s durability.
Step 5: Shape and Dry Your Creations
After resting, roll out the dough on a floured surface to ¼-inch thickness for most projects. Use cookie cutters or shape by hand, then transfer pieces to a parchment-lined baking sheet.
For air-drying, place in a well-ventilated area and let dry for 24-48 hours, flipping halfway through. For oven-drying, bake at 200°F for 2-3 hours until completely hard. The dough is fully cured when it feels solid throughout and makes a hollow sound when tapped.
Pro Tips For Making Salt Dough Recipe With Cream Of Tartar
- Knead Thoroughly: Work the dough for at least 8-10 minutes until smooth and elastic—I learned this the hard way after my first few batches cracked while baking.
- Measure Cream of Tartar Precisely: Use exactly 2 teaspoons per cup of flour; even a little extra can make the dough too stiff and hard to shape.
- Skip Cold Water: Room temperature water mixes into the flour and salt more evenly, preventing lumps that ruin the texture.
- Rest Before Shaping: Let the dough sit covered for 30 minutes before rolling—this relaxes the gluten and makes it way easier to work with.
Flavor Customization for This Dish
Colorful Additions
Add vibrant hues by mixing in food coloring during the kneading stage. Use gel-based colors for the most intense shades—I recommend Wilton brand for consistent results. Start with ½ tsp per color, adjusting to reach your desired intensity. 💛
Textured Effects
Create interesting textures by pressing objects into the dough before drying. Try lace fabric, leaves, or textured rolling pins. The cream of tartar helps maintain these fine details during the drying process.
Scented Dough
Incorporate essential oils for fragrant creations. Peppermint or vanilla extract work beautifully—add 5-10 drops per batch. Avoid citrus oils as they can cause the dough to degrade over time.
Glow-in-the-Dark
For magical nighttime ornaments, mix in glow-in-the-dark powder (available at craft stores). Use about 2 tbsp per batch for a subtle glow. Charge under bright light before display for best results.
Metallic Finishes
Add shimmer with metallic powders or mica flakes. Mix 1-2 tsp into the dough or brush onto finished pieces with a clear sealant. Gold and silver create stunning holiday decorations.
I love how these simple additions transform basic dough into extraordinary keepsakes.
Nutrition Facts
Frequently Asked Questions
Why add cream of tartar to salt dough?
It strengthens the structure, making the dough more durable and less prone to cracking during drying. This results in longer-lasting ornaments and keepsakes.
Can I use lemon juice instead?
Yes, but use half the amount. The acidity mimics cream of tartar’s effect, though the dough may be slightly less stable. Avoid overloading the mixture.
How long does it take to dry?
Air-drying takes 24-48 hours, while oven-drying at 200°F takes 2-3 hours. Flip pieces halfway through for even curing.
Is this dough edible?
No, this is purely decorative. The high salt content makes it unsafe for consumption, even after baking. Keep it for crafts only.

- BBQ Sausage Recipe Oven: Smoky Depth Without the Grill - September 28, 2026
- BBQ Chicken Bowl Recipe Rice: Smoky Sweetness Over Fluffy Grains - September 28, 2026
- Beef Cutlet Recipe Ideas: Crispy Breaded Patties With Bold Seasonings - September 28, 2026