
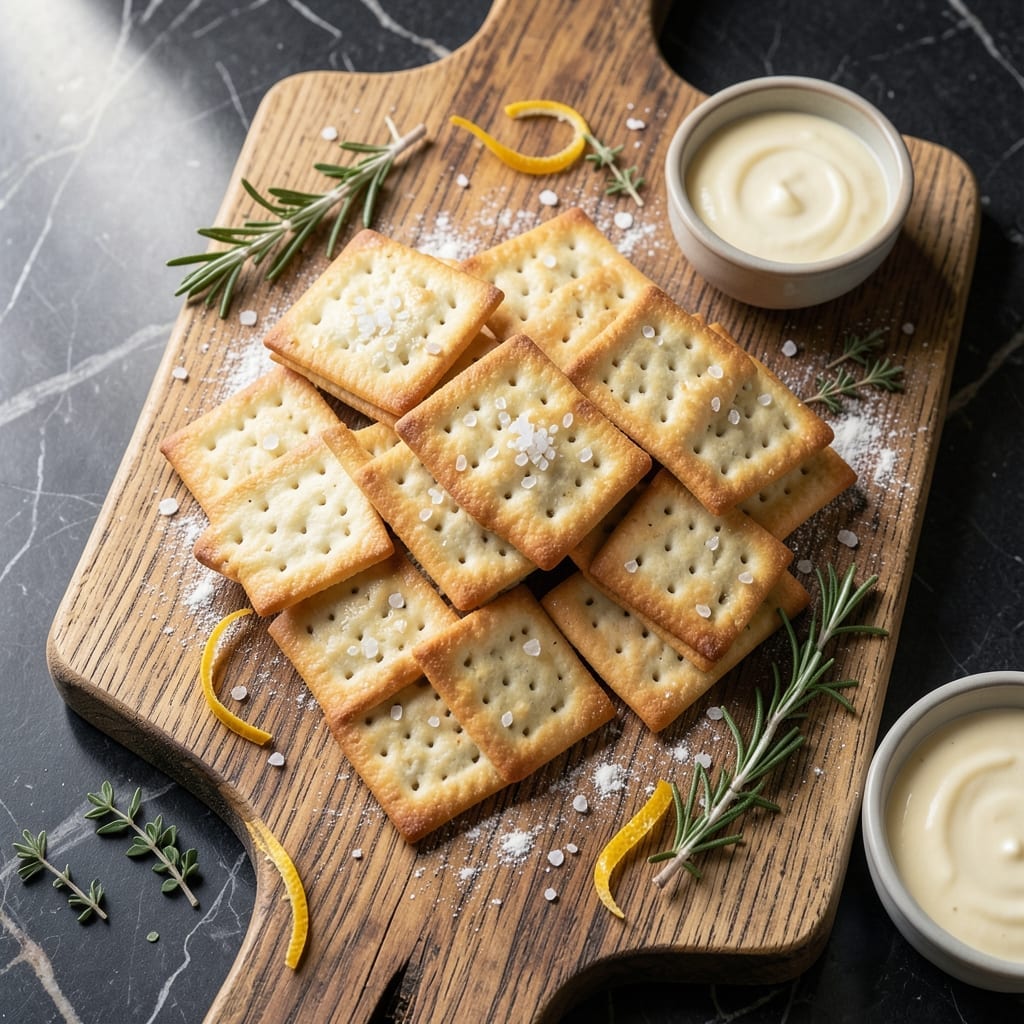
There’s a special satisfaction in making saltines from scratch, and this recipe captures that perfect balance of crisp texture and light flavor. The process transforms simple ingredients into the classic cracker we all recognize.
I developed this method to achieve that signature snap and subtle saltiness without any artificial additives. The dough comes together quickly, then rests briefly before rolling paper-thin. This ensures each cracker bakes up crispy and delicate.
What emerges from the oven are golden squares with just the right amount of salt on top. They’re ideal for snacking, soups, or cheese boards. The homemade version tastes fresher than any store-bought option.
With precise measurements and baking times, you’ll get consistent results every time. The recipe scales easily for larger batches.
Ingredients for Saltine Crackers
Simple ingredients transform into crisp, golden crackers with perfect snap and delicate flavor.
| Ingredient | Amount | Notes |
|---|---|---|
| All-Purpose Flour 🌾 | 2 cups | Plus extra for dusting surface |
| Baking Powder 🧂 | 1 tsp | Ensures light texture in dough |
| Salt 🧂 | 1 tsp | Fine sea salt preferred |
| Cold Unsalted Butter 🧈 | 4 tbsp | Cubed for flaky layers |
| Ice Water 💧 | ½ cup | Cold for crisp dough |
| Coarse Sea Salt 🧂 | 1 tsp | For sprinkling on top |
| Vegetable Oil 🫒 | 1 tbsp | For brushing dough sheets |
The flour is the foundation here. King Arthur or Gold Medal all-purpose give consistent results. Baking powder must be fresh—check the expiration date or test by dropping a teaspoon in hot water. It should bubble vigorously. Use European-style butter if available (higher fat content = flakier layers). Cold ingredients are non-negotiable for that signature crisp texture.
No all-purpose flour? Bread flour at half the amount plus all-purpose works, but the texture will be slightly chewier. Salt can be adjusted to taste—start with the full teaspoon and reduce next batch if too salty. For a richer flavor, swap half the water for cold milk. The coarse salt on top can be flaky Maldon for extra crunch and visual appeal.
Dough rests best wrapped tightly in plastic for 30 minutes to 1 hour. Baked crackers keep in an airtight container at room temperature for up to 2 weeks. For longer storage, freeze the dough balls and roll/bake fresh as needed.
Why You’ll Love This Recipe
- Five Ingredients: I love that it only needs flour, butter, salt, baking powder, and water—no fancy pantry items.
- Buttery Crisp: The cold butter makes them flaky and rich, with just the right amount of salt to keep you reaching for more.
- Snack or Side: Honestly, they’re great with soup, cheese, or straight out of the oven.
Step-by-Step Instructions for Saltine Crackers
Master the technique for achieving perfectly thin, crisp crackers with a delicate crunch.
Step 1: Create the Dough Base
In a large mixing bowl, combine the 2 cups All-Purpose Flour, 1 tsp Baking Powder, and 1 tsp Salt. Whisk thoroughly to distribute the leavening agent evenly throughout the dry ingredients. This ensures consistent texture in every cracker.
Cut in the 4 tbsp Cold Unsalted Butter using a pastry cutter or your fingers, working quickly to maintain the cold temperature. The mixture should resemble coarse crumbs with pea-sized butter pieces visible. This cold fat creates the flaky layers characteristic of quality crackers.
Step 2: Form and Chill the Dough
Gradually add the 0.5 cup Ice Water while stirring with a wooden spoon until the dough just comes together. It will appear shaggy but should hold when pressed. Avoid overworking, as this develops gluten and results in tough crackers rather than light, crisp ones.
Turn the dough onto a lightly floured surface and knead gently 4-5 times just until smooth. Divide into 4 equal portions, shape into discs, and wrap each in plastic. Refrigerate for 1 hour—this resting period relaxes the gluten and makes the dough easier to roll thinly.
Step 3: Roll and Dock the Dough Sheets
Working with one disc at a time, roll the dough on a well-floured surface to a thickness of 1/16 inch. Use a ruler for precision—the thinner the dough, the crispier the final cracker. Rotate the dough frequently to prevent sticking and ensure even thickness.
Transfer the rolled sheet to a parchment-lined baking sheet. Using a fork, dock the entire surface by pricking it at ½-inch intervals. This prevents air pockets from forming during baking, which could cause uneven cooking. Lightly brush the surface with 1 tbsp Vegetable Oil for added crispness.
Step 4: Bake to Golden Perfection
Preheat your oven to 375°F. Using a pizza cutter or sharp knife, score the dough into 1½-inch squares without cutting through the parchment. Sprinkle evenly with the 1 tsp Coarse Sea Salt, pressing lightly to adhere.
Bake on the middle rack for 12-15 minutes until the edges are light golden brown. Watch closely—the crackers will darken quickly once they begin to brown. Rotate the pan halfway through baking for even coloration.
Step 5: Cool and Break into Crackers
Remove from the oven and immediately transfer the parchment with the baked dough to a wire rack. Allow to cool completely for 20-30 minutes—this final step is crucial as the crackers continue to crisp as they cool.
Once fully cooled, break along the scored lines into individual crackers. They should snap cleanly with a satisfying crispness. Store in an airtight container for up to 1 week, though they’re best enjoyed fresh when the texture is at its peak.
Pro Tips For Making Saltine Crackers
- Chill the Dough: After mixing, let the dough rest in the fridge for at least 30 minutes—I learned this the hard way when my first batch spread into a sad, greasy puddle.
- Use Ice-Cold Butter: Cut the butter into tiny cubes and keep it in the freezer until the last second; this guarantees flaky layers instead of a dense, tough cracker.
- Roll It Thin: Aim for about 1/16-inch thickness—any thicker and you’ll end up with a chewy biscuit instead of a crisp saltine.
- Prick the Dough: Dock the rolled dough all over with a fork to prevent air pockets, or you’ll be pulling puffy, uneven crackers out of the oven.
Storing and Reheating This Dish
Room Temperature Storage
Once completely cooled, transfer your crackers to an airtight container or resealable bag. They’ll stay crisp at room temperature for up to 1 week. I use glass jars with tight lids to maintain that perfect snap. 💪
Extending Freshness
For longer storage, add a silica gel packet to absorb any moisture. This can extend freshness to 10 days. Keep the container in a cool, dark pantry away from heat sources that might soften the crackers.
Freezing for Later
Unbaked dough discs freeze beautifully for up to 3 months. Wrap each tightly in plastic wrap, then place in a freezer bag. Thaw overnight in the fridge before rolling and baking. This lets you enjoy fresh crackers anytime.
Reviving Soft Crackers
If your crackers lose their crispness, spread them on a baking sheet and warm in a 300°F oven for 5-10 minutes. They’ll restore to their original texture. Let them cool completely before storing again.
Avoiding Moisture
Never store crackers in the fridge—the humidity will make them soggy. If you live in a humid climate, consider adding a Bay leaf to your storage container as a natural moisture absorber.
Nutrition Facts
Frequently Asked Questions
Why does the dough need to chill?
Chilling relaxes the gluten and firms the butter, making the dough easier to roll thinly. Without this 1 hour rest, the crackers may shrink or become tough. It’s a crucial step for achieving that signature crisp texture.
Can I make these without a rolling pin?
Yes! Use a wine bottle or flat-bottomed pan as a substitute. For even thickness, place guides like wooden sticks on either side of the dough. Aim for 1/16 inch thickness for best results.
How do I prevent burning?
Bake at 375°F and check at 12 minutes. Rotate the pan halfway through for even browning. The edges should be just light golden when done.
What if my crackers aren’t crispy?
They likely need more time to dry out. Return them to a 300°F oven for 5-10 minutes to restore crispness. Always cool completely on a rack before storing.

- Bread Recipe KitchenAid Mixer: Foolproof Loaf With Perfect Rise - September 28, 2026
- BBQ Oysters Recipe Grill: Smoky Garlic Butter Bliss - September 28, 2026
- Crock Pot Mac and Cheese Recipe Paula Deen: Ultra Creamy Southern-Style Comfort - September 28, 2026